
Volvo 780 Bertone Project Pt. 2 - Why buying another persons project is the WORST.
Well already 2 months have passed of 2021, and here I am writing an update on my 1987 780 whilst sitting at my cold garage desk. To say this project has gone way deeper than I expected would be an understatement, but it has been a great learning experience along the way. As usual with these “catch up” posts, I will start from the oldest photos I have and work my way up to the present. This allows me to try and cover in-depth what I am doing and why, as well as structure the narrative a bit better. Without any further rambling, lets begin.
Lots of the work on the car so far has been in the engine bay. As expected with a PRV, nothing is quite perfect, and getting replacement parts is no easy task. Many of the parts are standard Volvo and Bosch units, however things like the Fuel Pressure Regulator is a Bosch part shared with a few air-cooled Porsches of the era, making them impossible to find at a reasonable price.

An engine bay detail was in order to really give the car some new life, as well as increase my quality of life while I spent long hours wrenching away.
Finally solving my rough running issues (which still somewhat persist now unfortunately), was a massive research undertaking. One piece I never checked originally was the cars air filter and MAF, a good place to start with any car suffering from performance issues. What I found was something I had never seen before.

Inside the filter housing.

The inside of the Bosch MAF
Let me explain these two photos. At some point Ether was used to try to start the car. Well the resulting backfire from this process caused the air filter to light on fire, which then melted the plastic. This molten plastic, then was sucked through the MAF from the engines vacuum, which coated the inside of the MAF in plastic, completely destroying it. Not once have I ever seen something like this. Thankfully, I was able to source a good used MAF, and trim the melted plastic out of the air filter housing. One problem for the books.
Next I replaced the “thermotimer”, which is Volvos name for the coolant temp. sensor. The unit on the car was original, and most likely as to blame for some of the rough running issues.
Last piece was the fuel pressure regulator, which was leaking significant amounts of fuel into the engine bay as well as past its rubber diaphragm. The old gas in the tank was sucked out as it had expired many years ago, and fresh premium gasoline was added to the tank. The filter was not replaced, however I may do that as well.

Moving on from the engine bay it was in order to clean up some pieces around the chassis that had been overlooked or improperly repaired by the previous owners. When the car was up on the lift it was easy to see that one of the sway bar end links had been damaged at some point, somehow resembling a “J” shape.
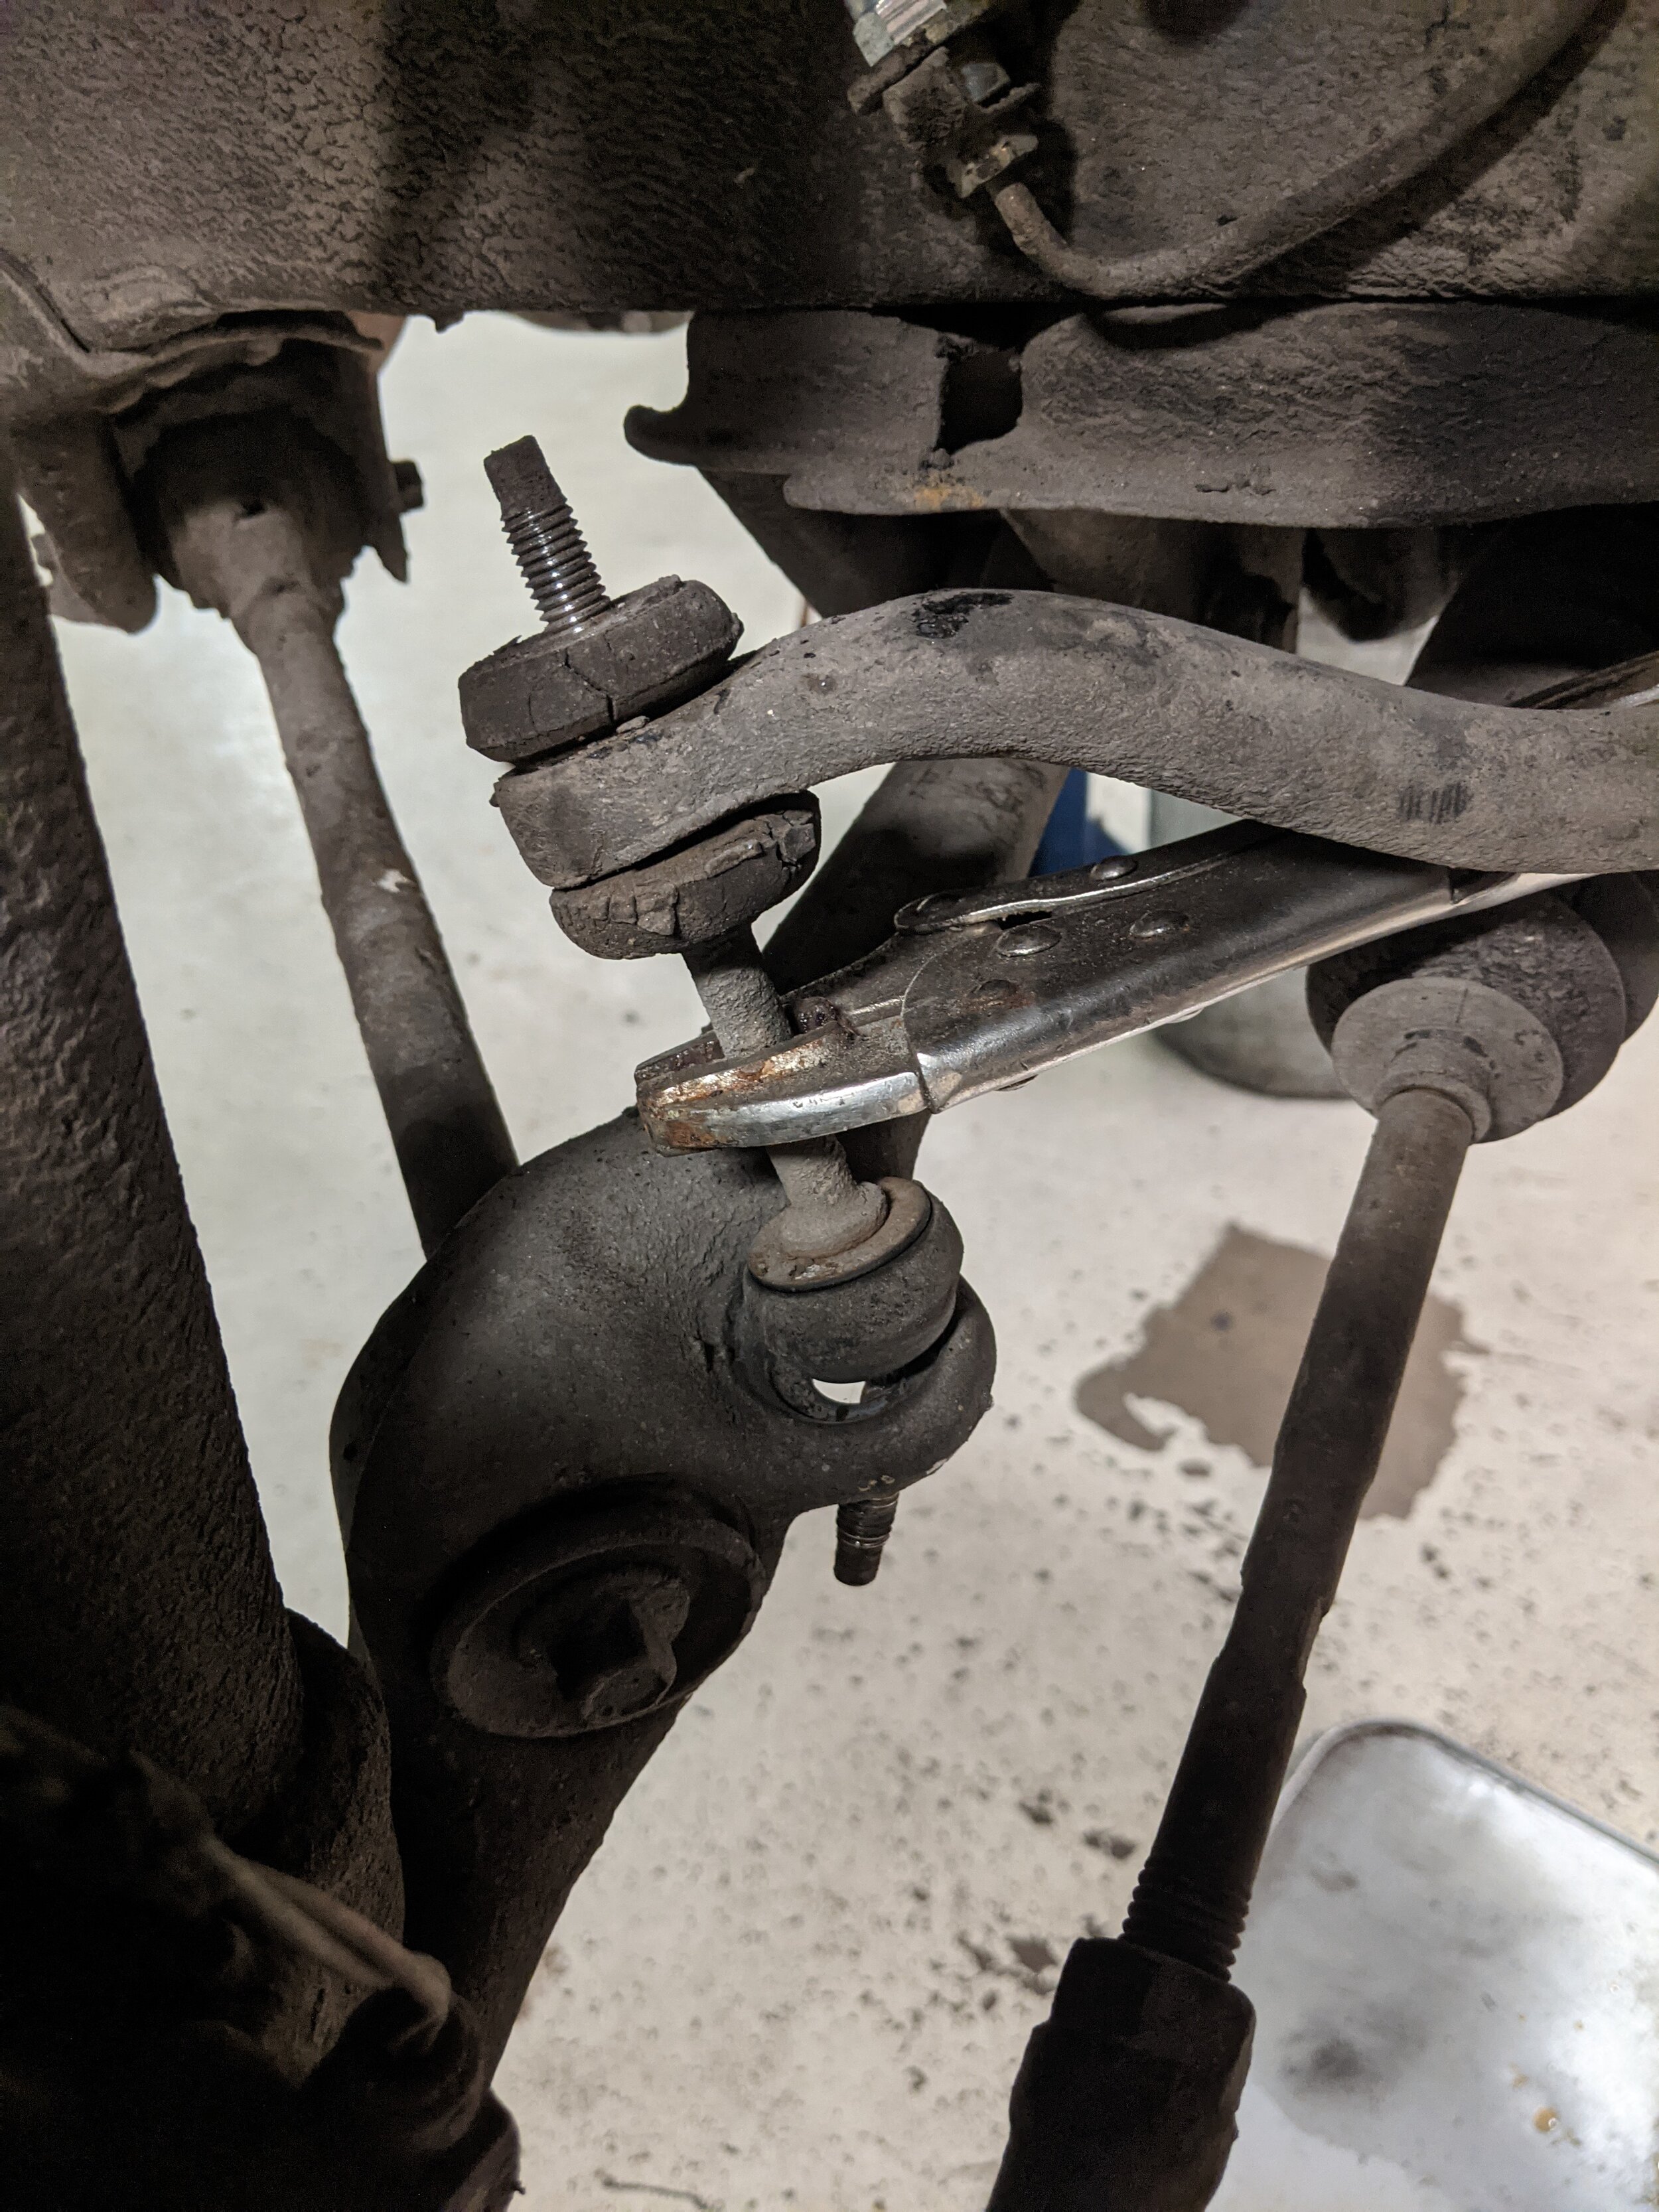
Vice grips were needed to prevent the rusted up end links from free spinning when removing the bolts.

The drivers side vs. passenger side end links.
As you can see from the photos, these were most likely original as well. The bent side was obviously trash and missing the lower bushings as well. Installation of these is actually very straight forward, and doesn’t even use a ball joint like many modern cars. These simply are a threaded rod with 2 bushings on each end to sandwich the chassis and sway bar.
Small details like the gas door cap were also fixed. This one really upset me because of the way it was repaired. These fuel doors were used on many different model Volvos, and a rebuild kit from online suppliers like IPD cost about $10 for a new clip and spring. The previous owner of this car was very liberal with their use of butyl “dumdum” tape.

Rivets and butyl tape…completely unneeded.
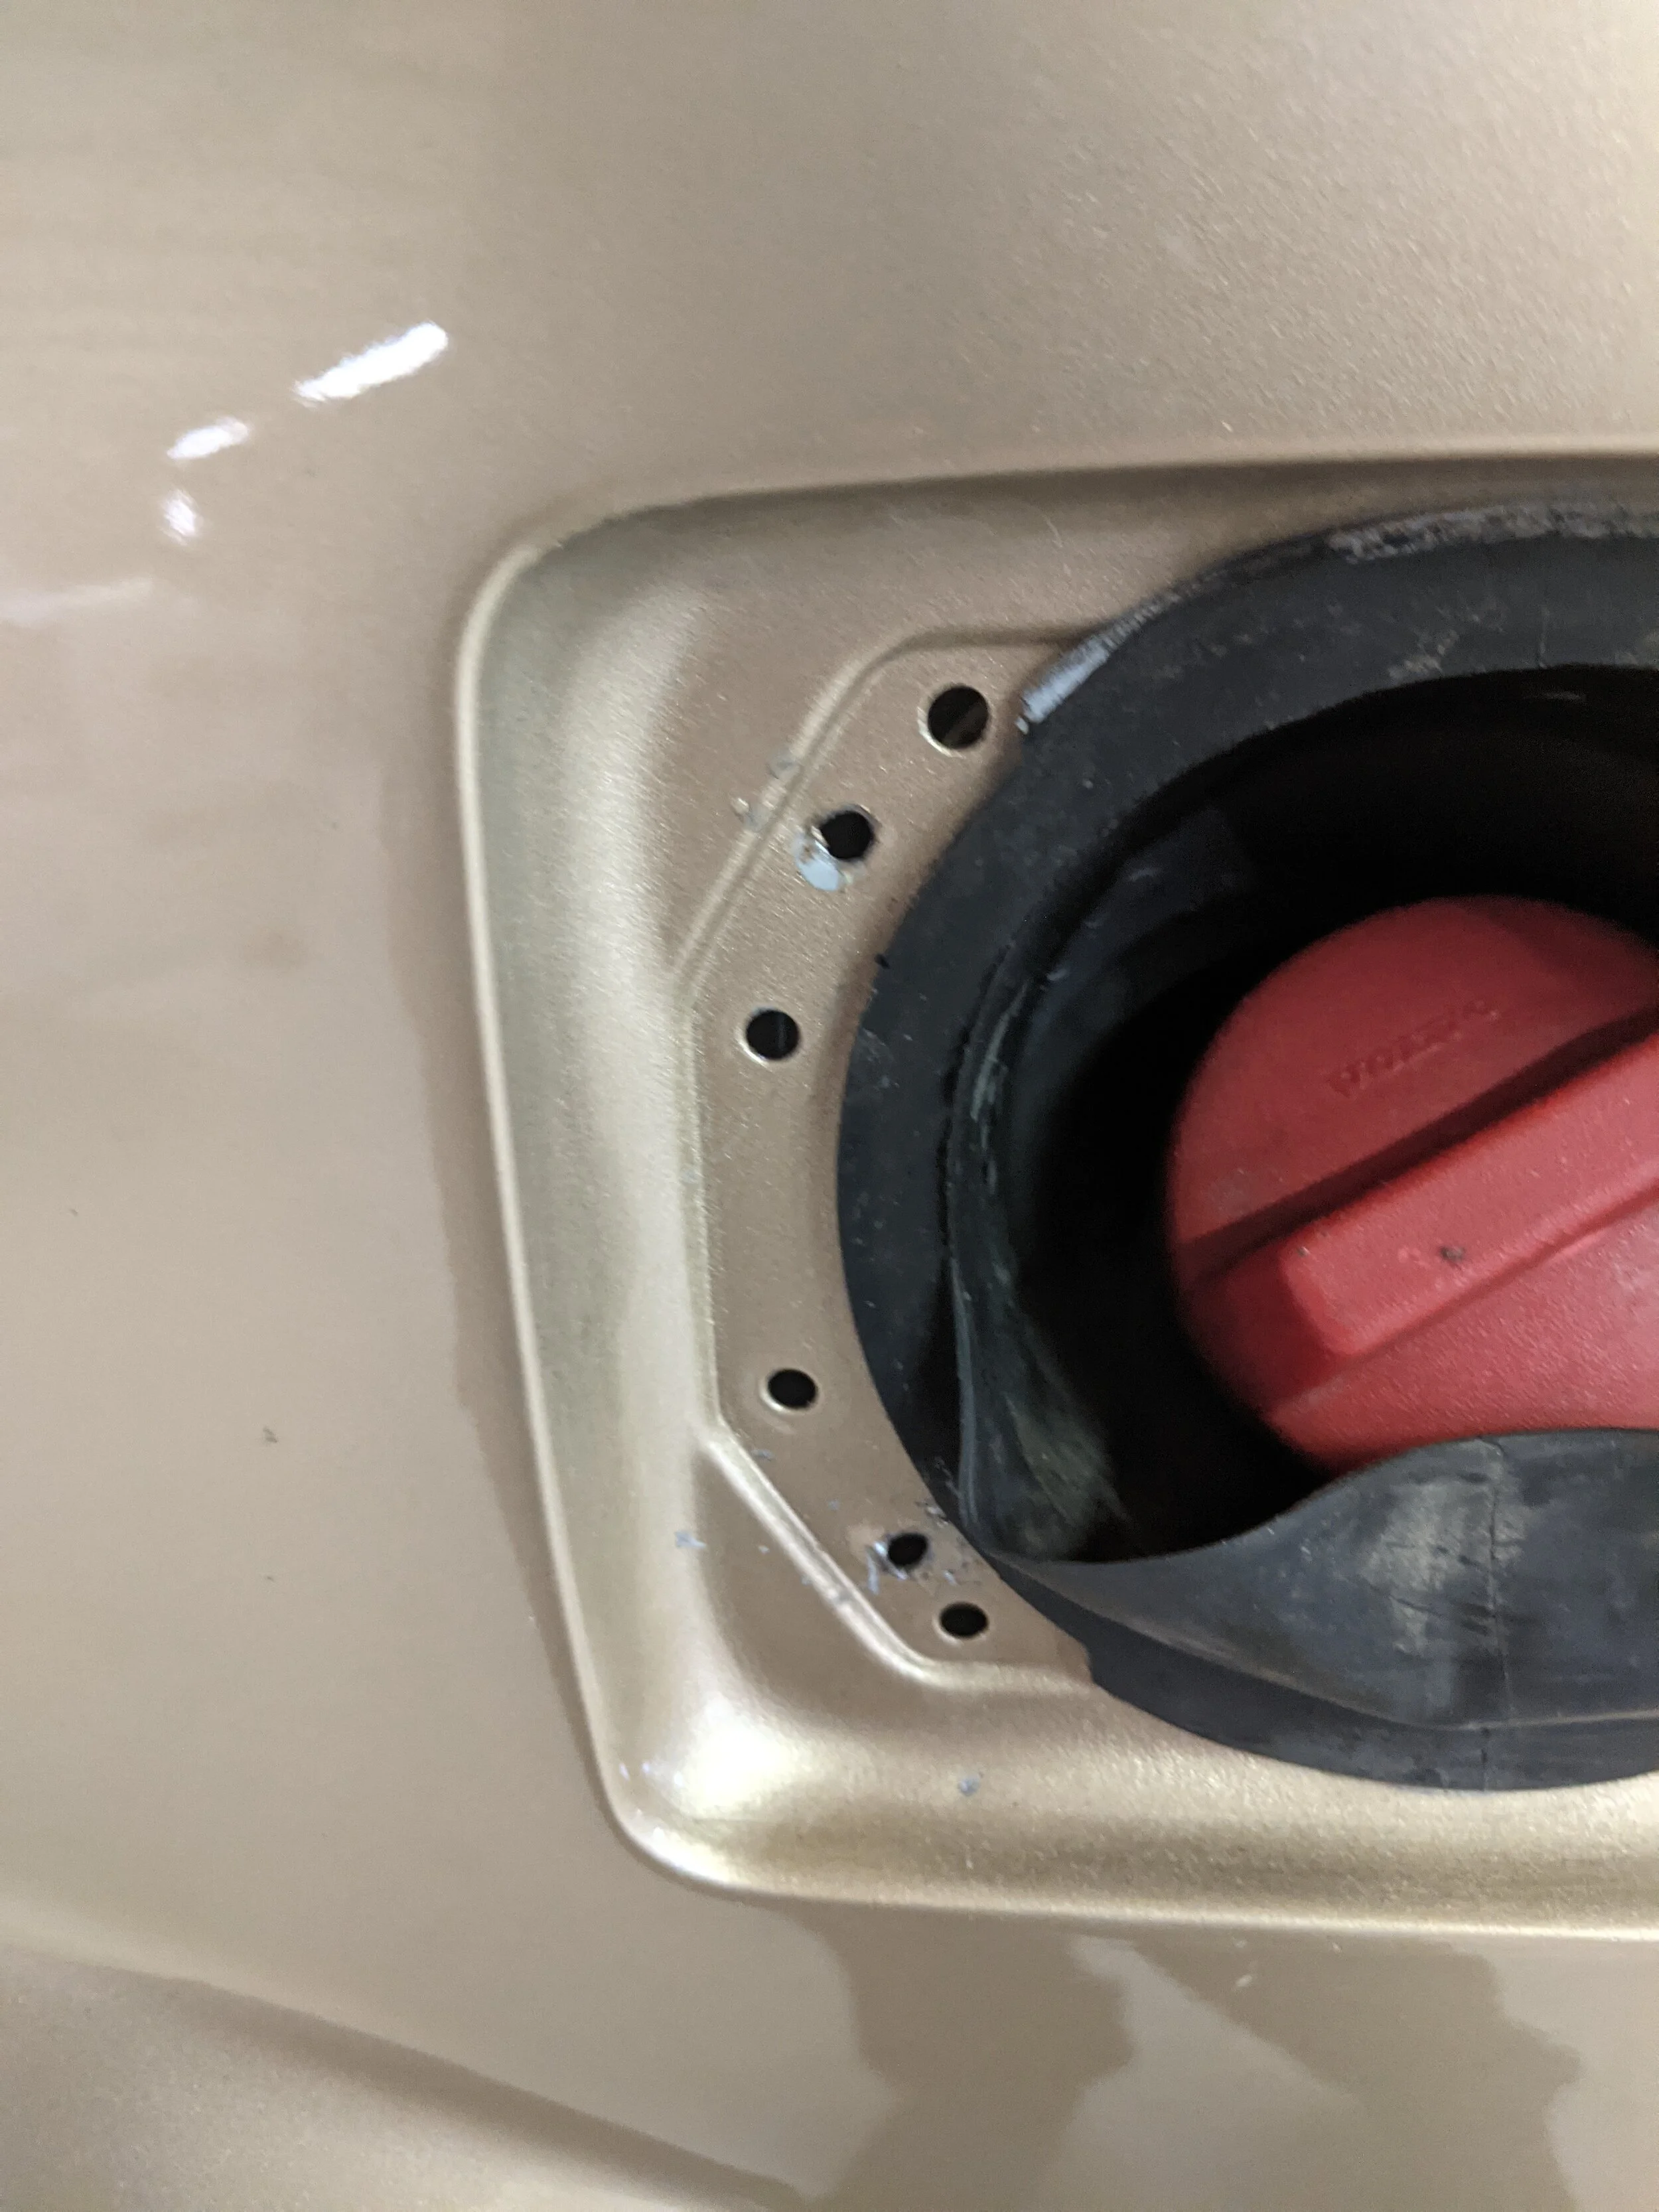
The rivets and tape were carefully removed to not exacerbate the damage they had done any more. The area was then wiped down and I was able to snap the new hinge into place. Its the small details that can really add value and show that the car was properly cared for, not just thrown together. Its these small details that I always strive to fix and improve, especially on a car as rare and collectible as this.
Part 3 should be following this write up soon. I wanted to split this into a few sections as I have a whole writeup on the power seats planned. Lets just say, its not a pretty sight…