
Volvo 960 Project Pt. 6 - Still Alive
As usually, my writings tend to drop off during the spring into the early summer. The weather is nicer, things are happening and with the full removal of any travel and event restrictions, my time on weekends isnt spent sitting at a desk all day. Actually, that’s a lie but I am still busy! God knows how much Volvo stuff has been going on since my last post back in March, but it has been a lot. Progress on the 780 has been slow / stalled out. I have lost a lot of motivation in working on it, and just have been waiting for a few small pieces to tie it all together and get it ready for sale. In the mean time, I have started a project on the 960 that I never thought I would have the ability to do… fully deleting the sunroof.
This topic has been, shall we say sensitive, to many of my European friends across the internet as they believe that a sunroof is the peak of luxury. “How could you do this, and why?!” they say. I said, with an angle grinder.
But all joking aside this was a project a long time coming, as the sunroof in my 960 had been leaking for some time. Even after resealing the glass and the drains, I was still getting significant water intrusion into the car. The roof and headliner were a few things I never really showed off in the car, or always tried to hide in photos. Much of the panels were either damaged, peeling, ripped, etc. I wanted to redo the interior, but it would have been a moot point if it was just going to get damaged by water again.
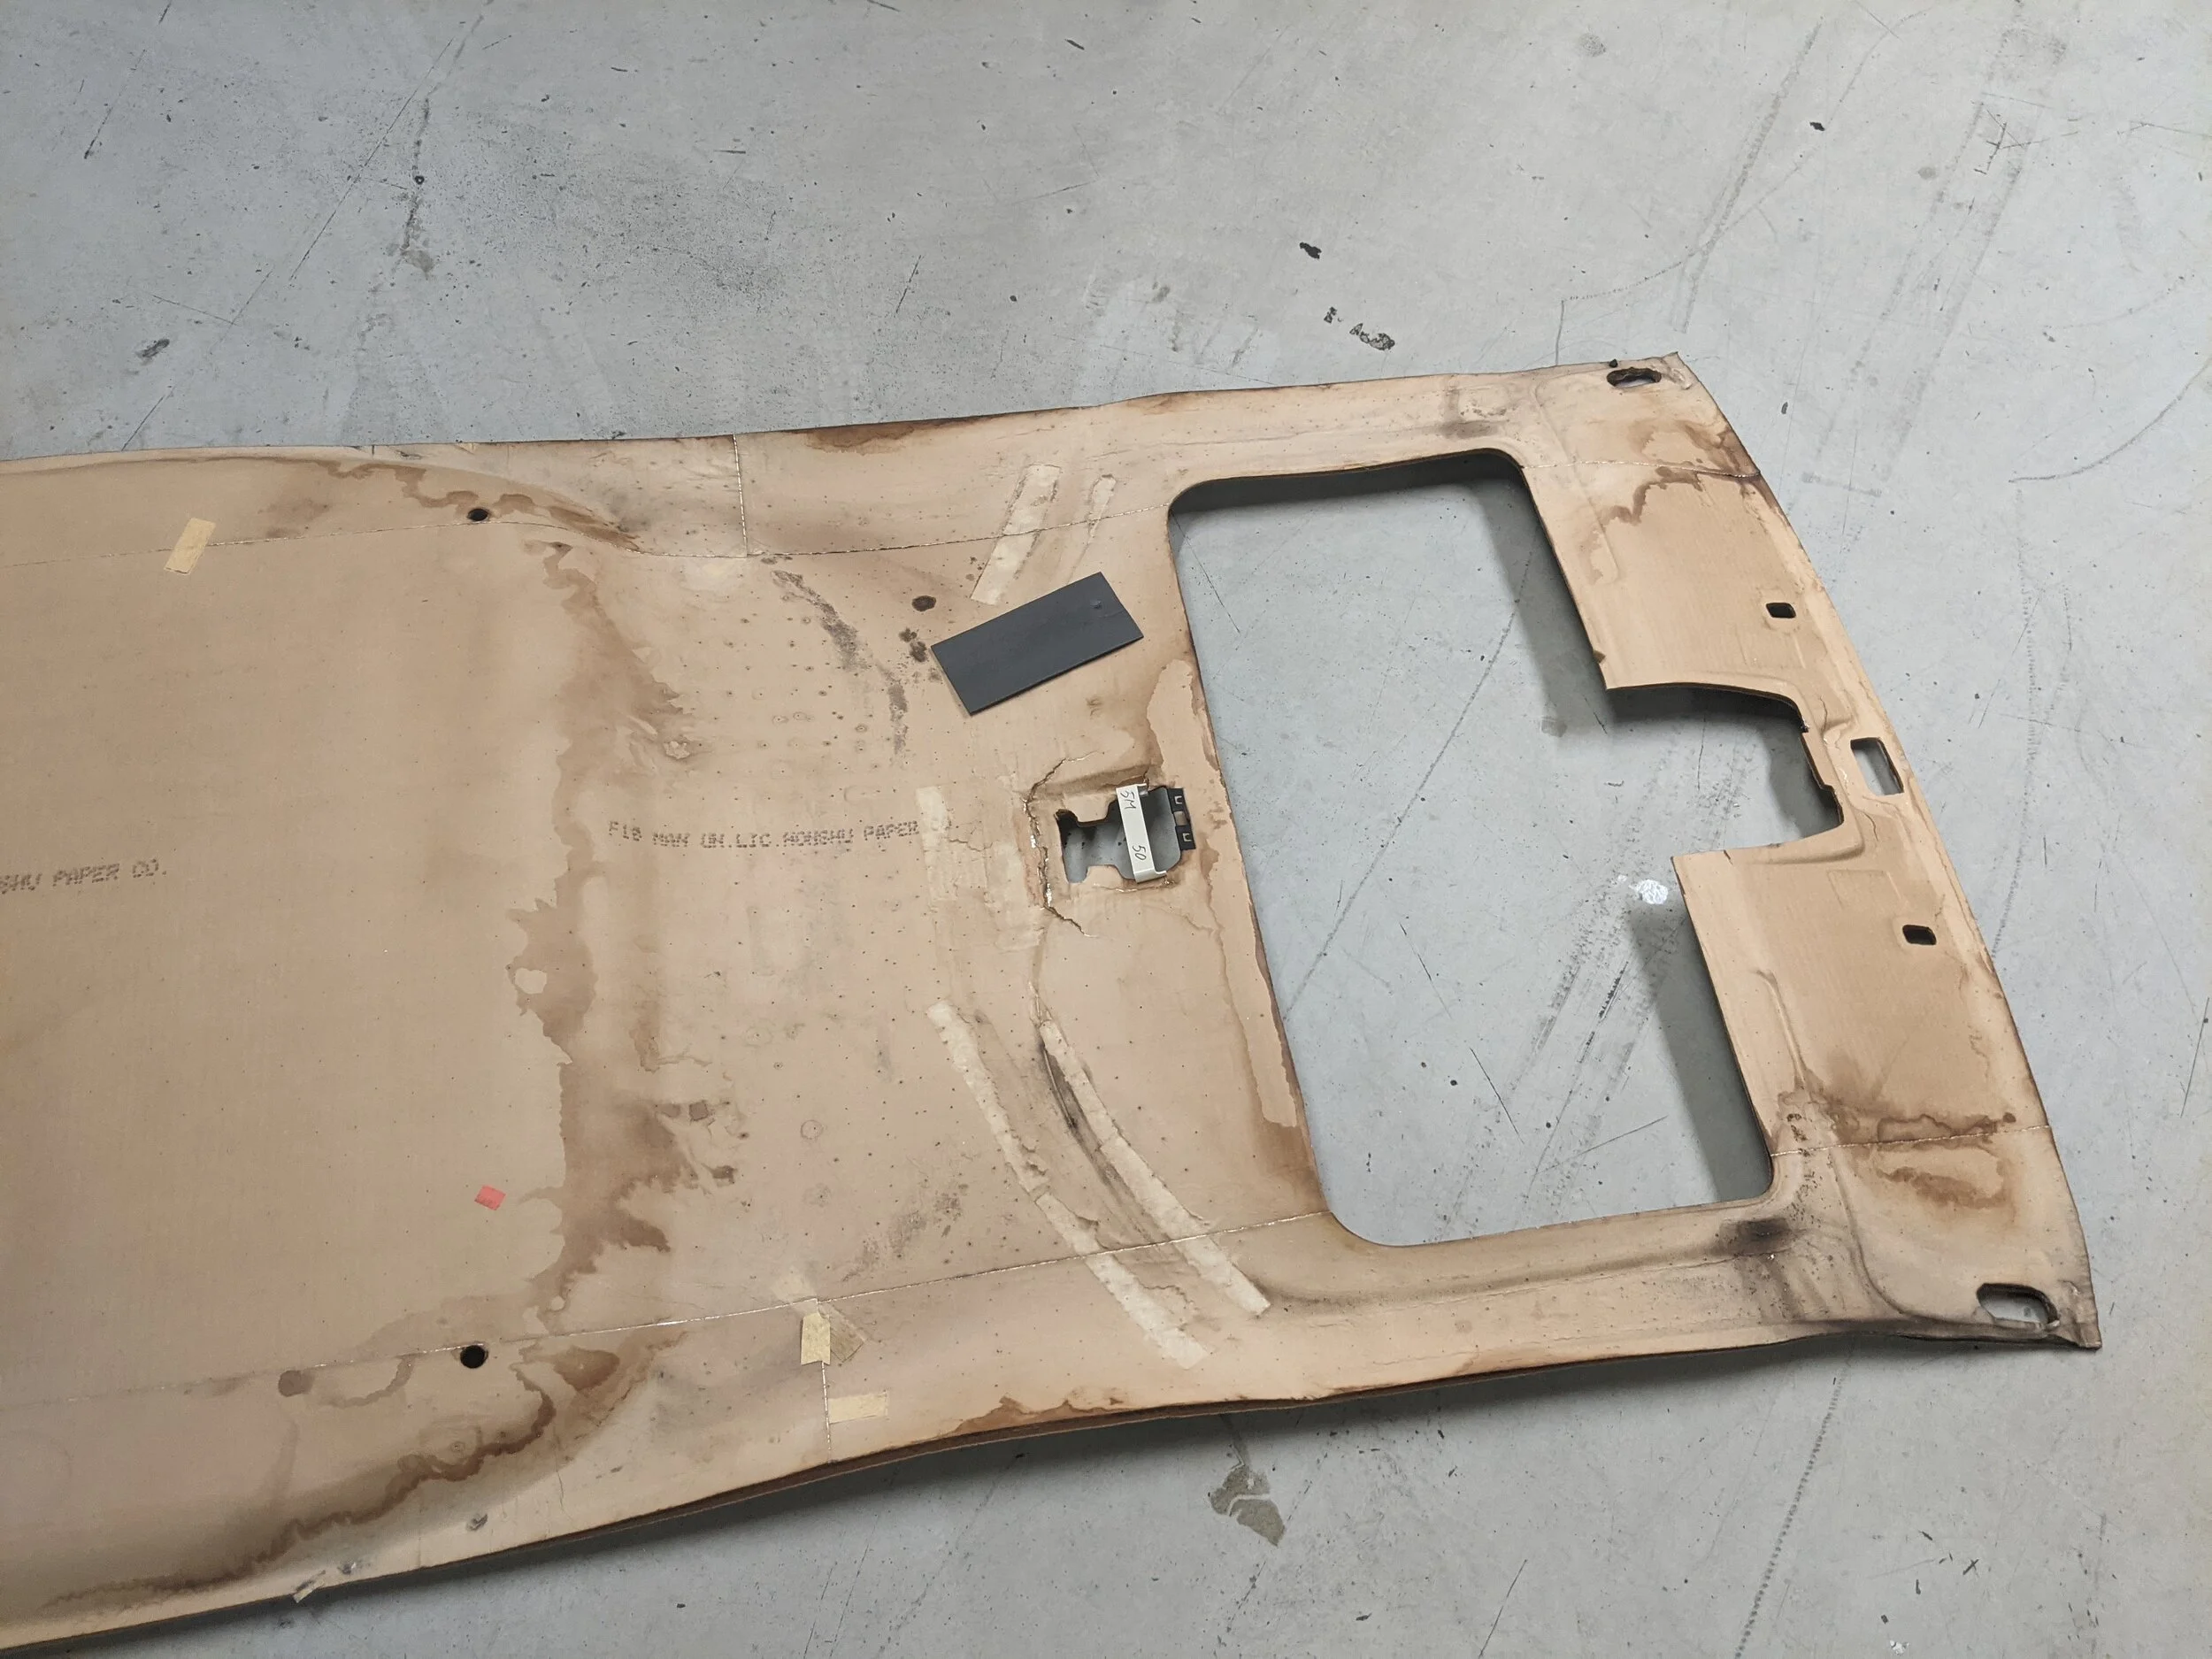
The headliner was severely damaged from water, and had warped entirely.
Like anything, the best way to start was jumping right in. I started by removing almost all the interior panels from the door panels up. Much of the tan fabric interior had signs of water damage as it was peeling away from the brittle plastic backing. The headliner, which had been sagging for some time, was in a state when removed. The cardboard like material was falling apart, and signs of mold were beginning to show.

I also collected all the pieces I was going to need for the interior. Thankfully, a 940 wagon interior was just what I needed. The panels are identical to the 960, but lack the fabric covering, make them very easy to work with and paint. I was also able to get the new headliner from said 940, which did not have the hole from the sunroof. Lets just say, driving with a spare headliner inside a car of the same size, isnt very fun.

The panels laid out in the sun for drying.
For this project I grabbed the A, B, and C pillar panels, all of which were painted with a coat of Duplicolor Vinyl and Fabric Coating, gloss black. This was also used on the headliner as well. it adhered very well to the panels after they were quickly wiped down and cleaned before paint. Using the sun, they dried almost instantly. All of the small interior pieces also received a quick spray like the mirror cover trim, grab handles, and screw covers.

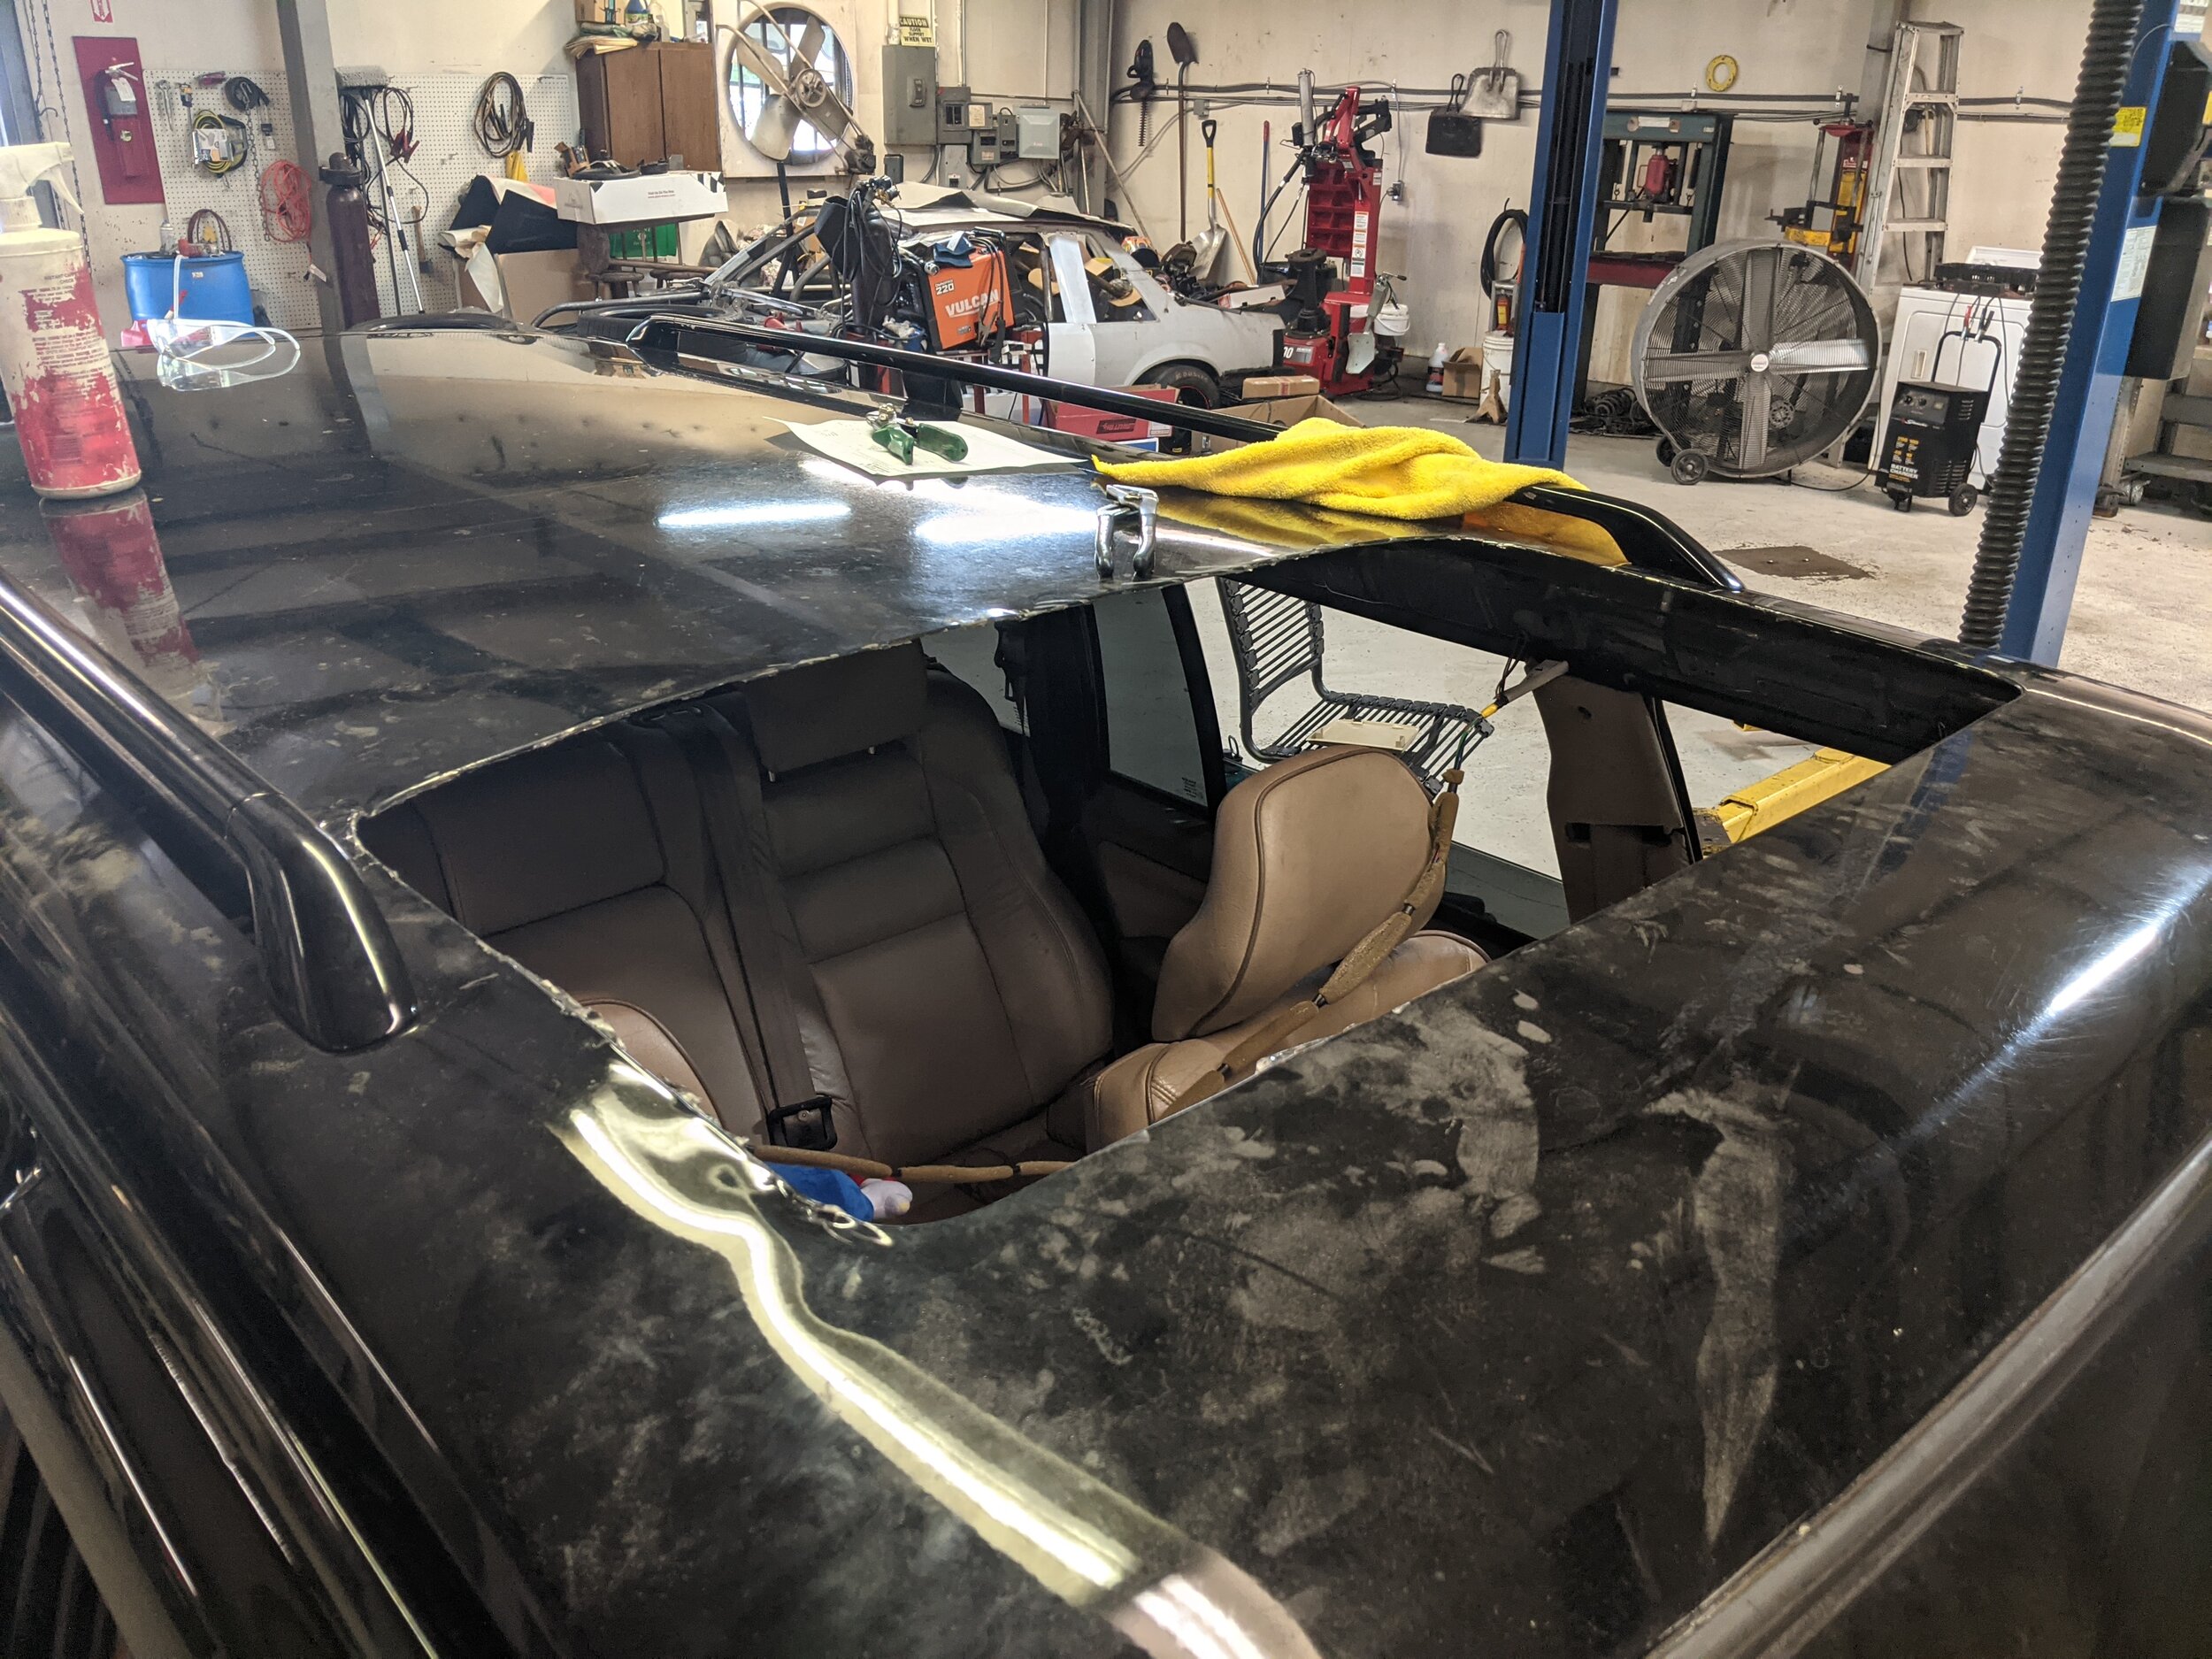
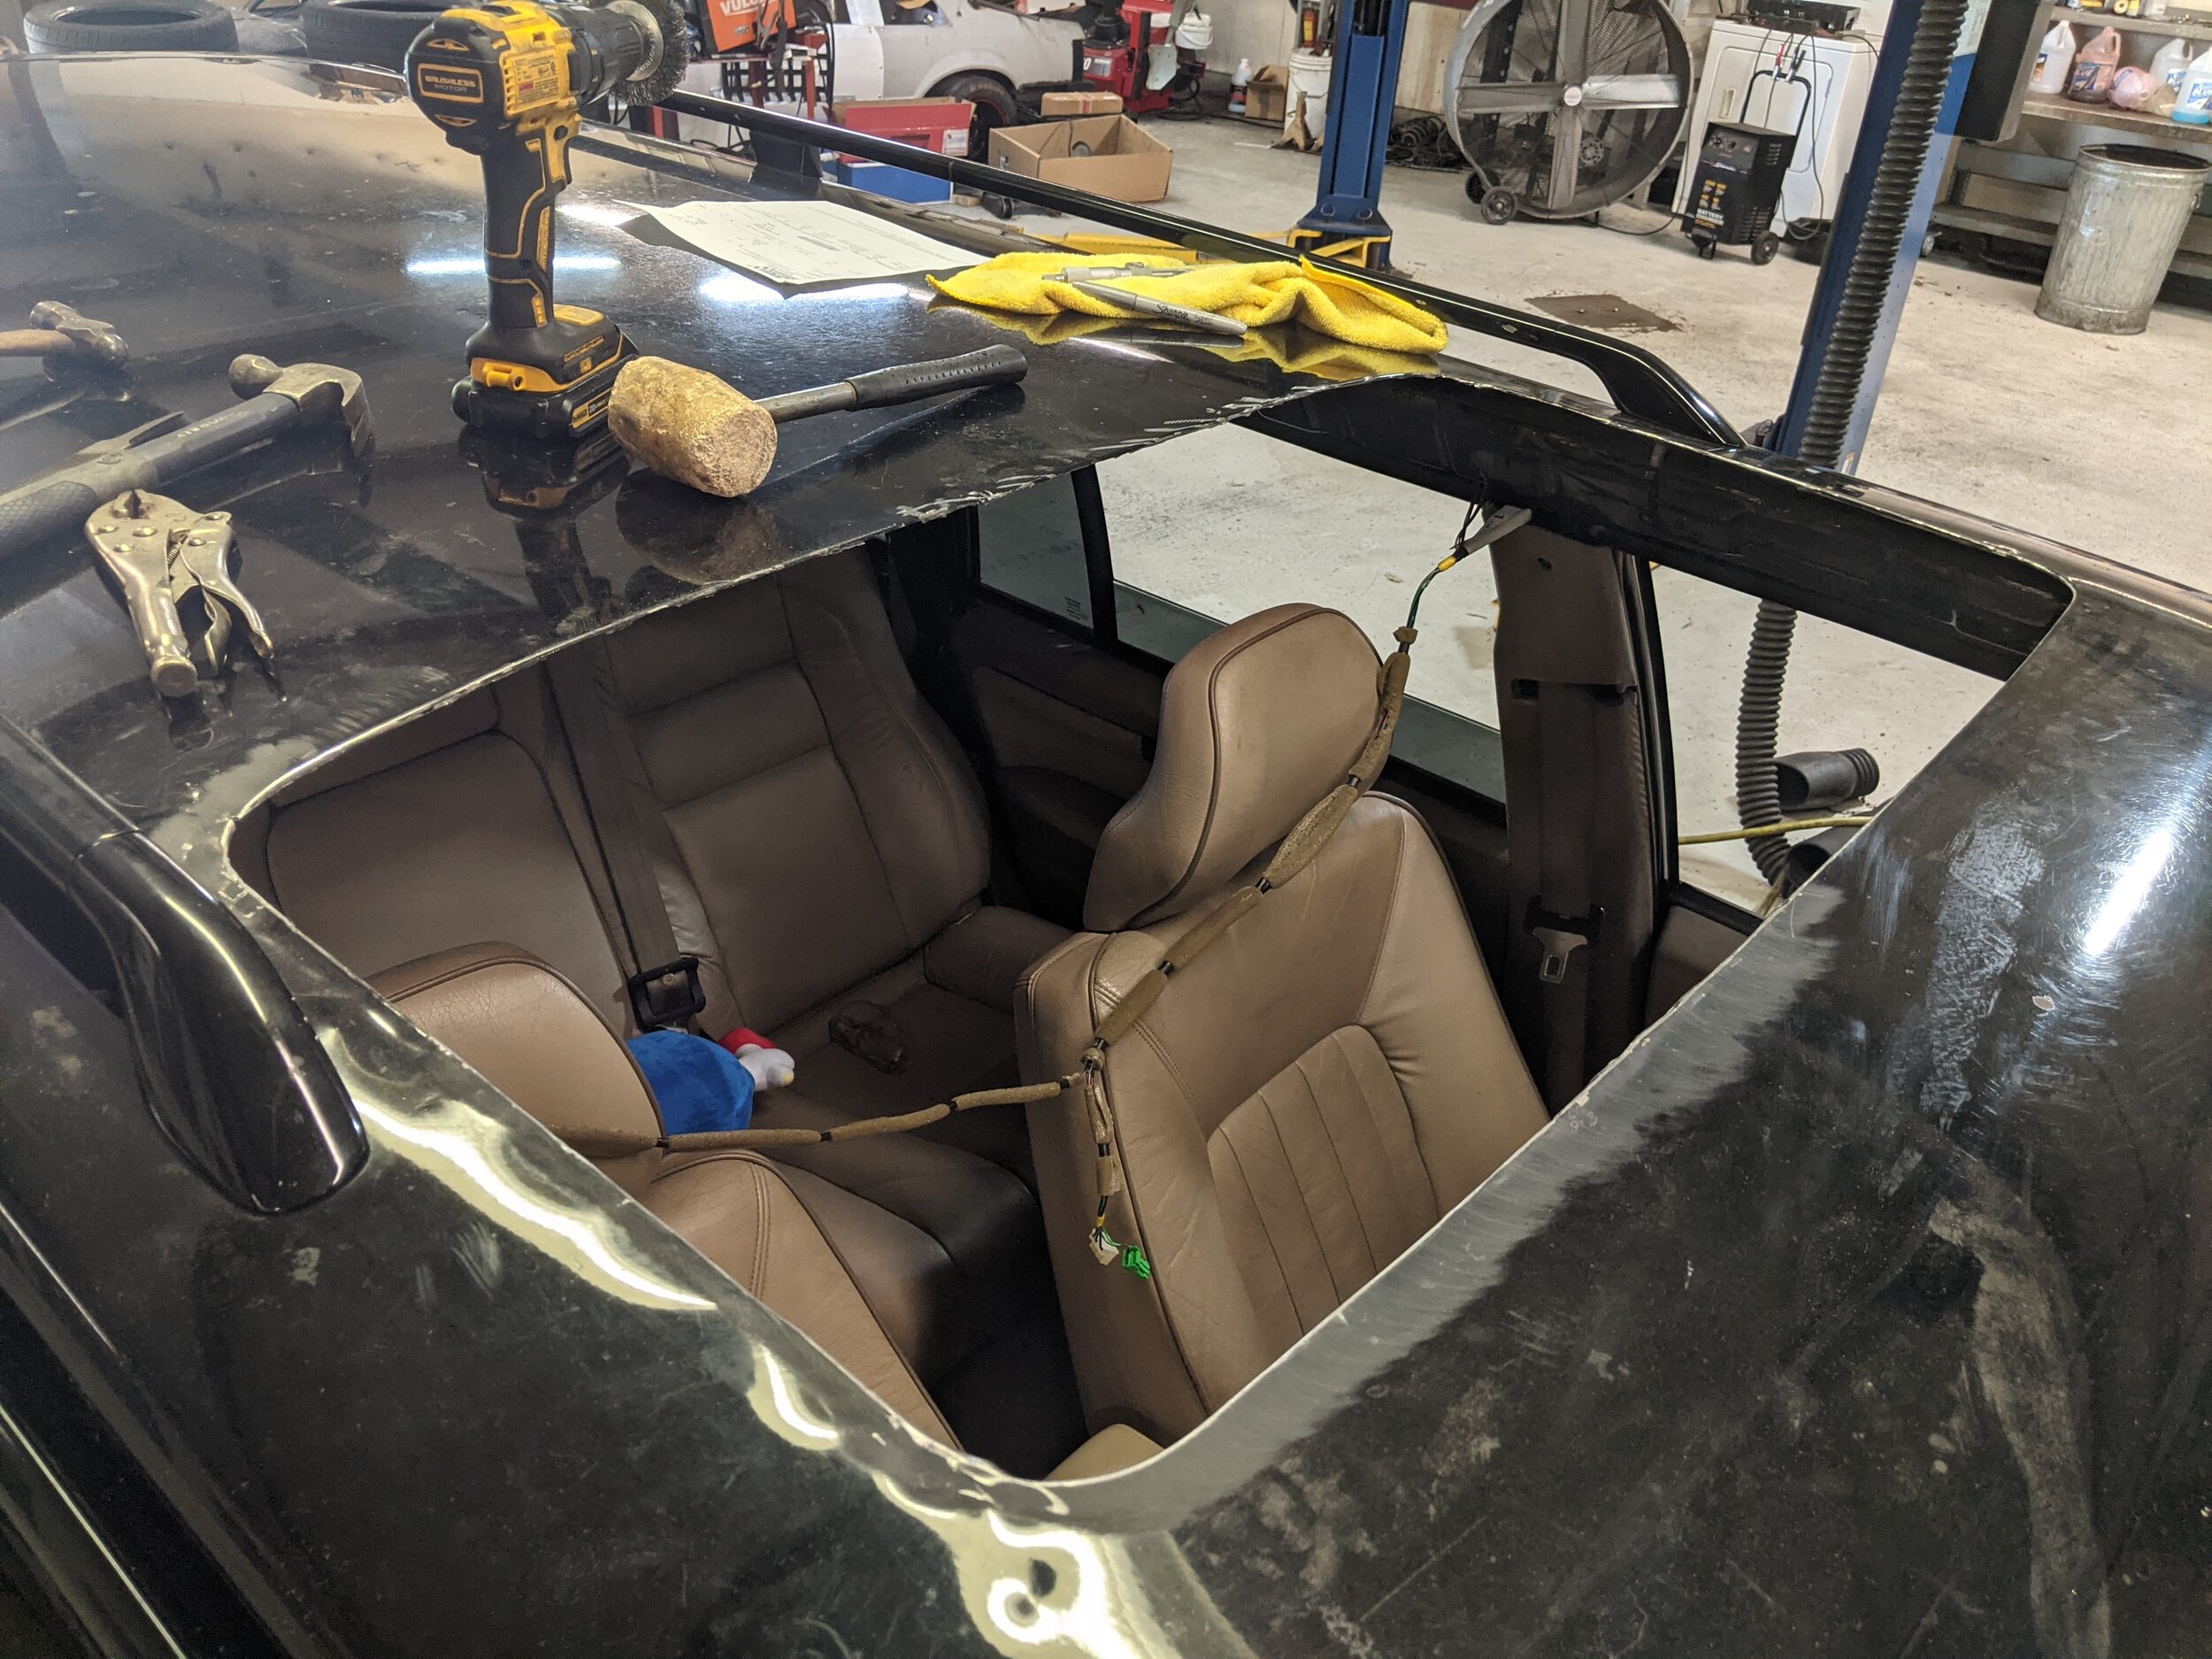
After removing the interior assembly of the sunroof, it was time to sink the teeth in. This was easily the hardest part of the process, not because of the very slow grinding, but also because I wasnt quite sure how I should be doing it. The sunroof is supported inside the roof by an extra cage that is welded into the roof structure and has the roof skin folded down into it. The metal would need to be removed to make room for the new headliner, so cutting was a must. The first corner was rough, however I slowly started to get a feel for how the metal was shaped and where to cut to make pulling the supports out easy.

DONT BE LIKE ME, COVER YOUR WINDOWS AND PANELS BEFORE GRINDING OR WELDING!
With the supports out, I had reached the first ‘checkpoint’ of the project. However, seeing the big hole in the roof was certainly not very fun. It looked awful, all jagged and bent up. I wondered to myself if it was ever going to turn out the way I wanted.
With the roof out it was time to start devising the plan on how it would all go back together. The sunroof support cage also functioned as the cross member support for the roof skin. Without it the roof is very flexible and tends to bend and distort with any sort of pressure or high winds. A new cross support was needed.
Reusing the old metal seemed to be the best method as the bracket had already been designed to follow the curve of the roof, and sit exactly on the inner roof rails.

With the cross rigidity solved, next was getting a roof panel and designing that to work. However, with how long this post has already become. I will be saving the rest of the write up for part 2. There is a lot more done over what has been pictured, and 90% of what will be in part 2 I already have done. But for my sake, lets keep this one under 2 pages.