Facility Upgrades and Updates Pt. 1 - John Deere 165 Hydro Restoration
Its been about a year since the last “state of the union” post on the business' so here is where we stand. I have decently purchased a new house on 2.6 acres of land. This includes a 3 car garage as well as a 3 car detached building in the back. While I will likely be getting more into detail as the year goes on and the renovation process starts finishing up on certain sections, one of my first purchases for the property was a lawn tractor. Not only will the vast lawns need to be cut, but it will also allow me to easily move vehicles and trailers around the property more easily. So with the winter still in full effect and the market for a lawn mower low, I set my sights on Facebook marketplace and found a nice running mower for a decent price.
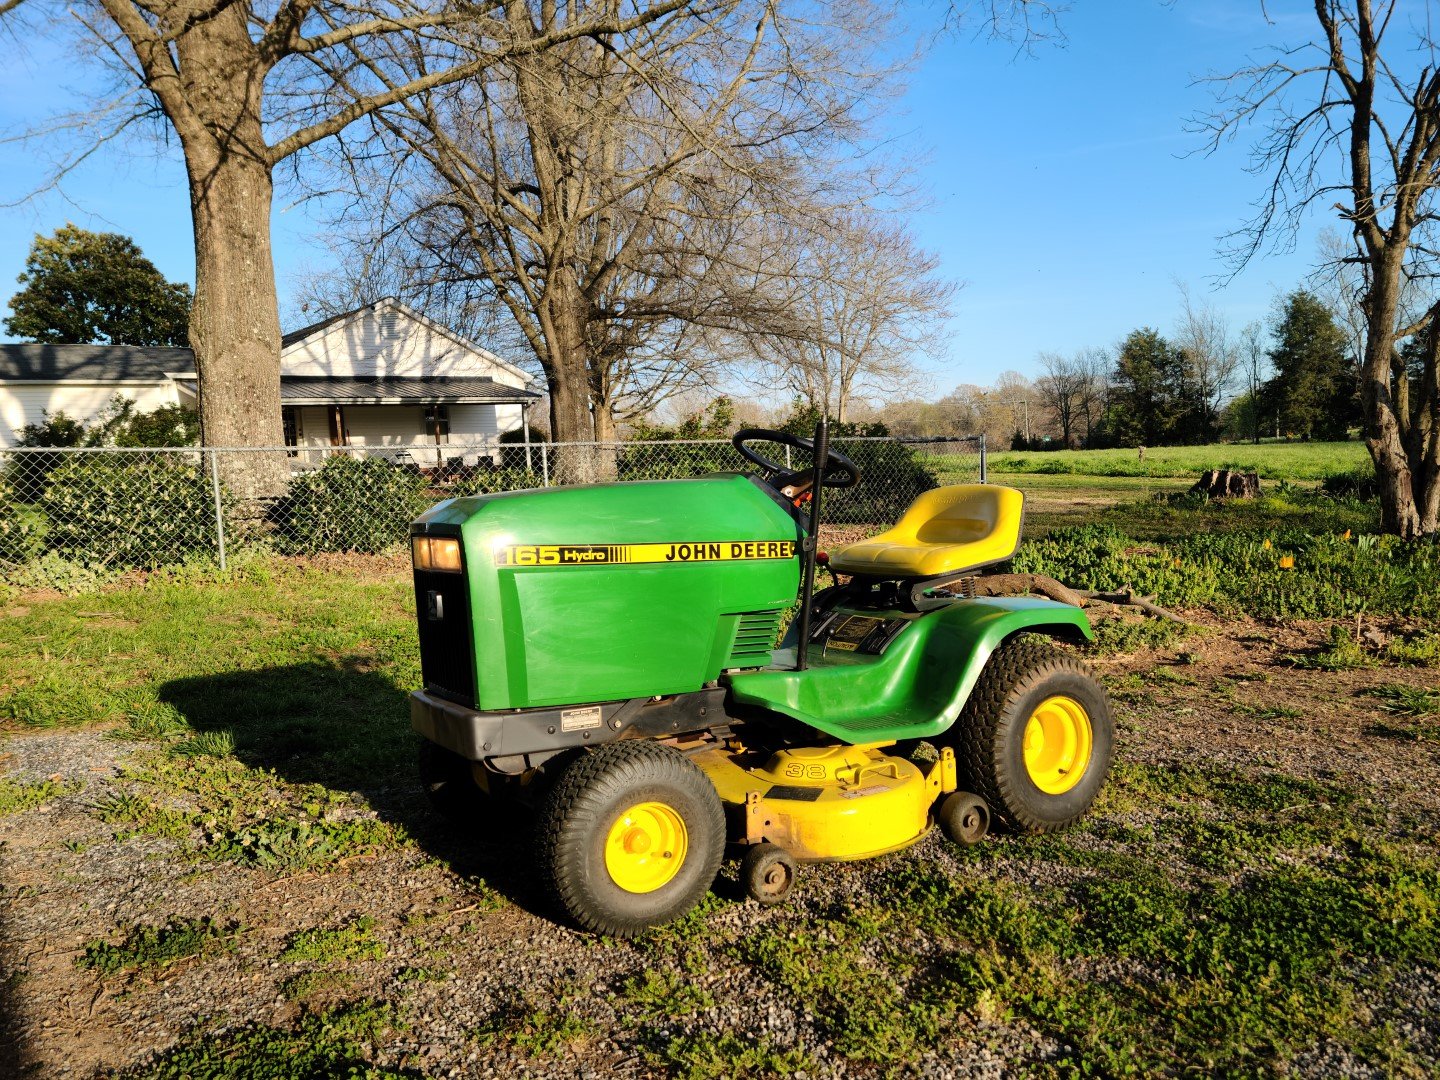
THIS….is a 1987 John Deere 165 Hydro. A 12 horsepower lawn tractor with a 38” mowing deck and fancy hydrostatic transmission. No gears here, just a lever to actuate fluid levels much like a torque converter.

Here is the first picture I took of it. Its a little dirty, but it seems to have been well cared for (for a 30 year old lawnmower) and was stored inside for most of its life so no rust or paint issues. it did have a rough running issue which the seller chalked up to a bad carb. So $500 and a firm handshake later I was the owner of a lawn mower.

Here it is after a quick wash and degrease. Still needs a deep clean but I get into that a little later. Once cleaned up I opened up the hood and went to work doing some basic fixes and replacements on key components. Unlike my Volvos, I pretty much hit this thing with the parts cannon and hoped for the best. I guess its easy to do when even the OEM parts are only a couple bucks.

New heat shrink on the loose wire.
When the mower was delivered the positive cable had completely been pulled from the eyelet bolted to the battery. This was a quick fix with some pliers and a nice new shrink tube over to clean it up visually a little as the end of the eyelet was all chewed up. New battery bolts were also installed on both the positive and negative cable replacing the randomly sized bolts. I used an SAE bolt set from harbor freight but the sizes work out right at about an 11mm which should be more than ample.
As a side note, I know that this mower will probably live out the rest of its life with me, however whenever I do a repair I always try to keep in mind that maybe someone will be working on it after me and try to make it as high quality and standardized as possible.

Probably original fuel hose.
The day before I swung by Lowes and picked up some 1/4 inch hose knowing that most of the lines on the mower would need replacing. This way I dont have to worry about leaks in the engine bay. The other two braided lines could also stand to be replaced as well, however I will wait till the end of mowing season to do this refresh.
With the hose clamps on and the OEM carb cleaned and an Amazon special carb installed. I took the mower out into the yard for its first mow test. Unfortunately, this did not last long. Ater just a couple yards of mowing with the PTO engaged, it began to lose power and stopped running in the middle of the yard. With some help, I was able to get it pushed back into the garage and I was back to the drawing board.
I decided to go back to the OEM carb as all the pieces I needed to properly restore it were finally delivered. I had a pail of Chem-Dip that I used to soak the carb for 24 hours, this allowed any deposits inside the carb to break down and become lose for a second round of carb cleaner spray. I also used some Scotch-brite scuff pads to clean the gasket surfaces of the carb and used the new gaskets from the Amazon carb. The last new piece installed was a new sparkplug. The manual for the 165 states that a Champion or NGK spark plug can be used, so of course I went with the much better NGK.

The Champion plug was all fouled and of unknown age. I also have suspicion to believe that the Chinese made replacement carburetor was running the engine too rich and possibly fouling out the plug with too much fuel. Either way, with these new / rebuilt parts installed I threw everything back together and its back off to the races for the little 12HP Kawasaki.

The next upgrade was a nice new set of front wheels. These really make the tractor pop, and the new tires should last me a long time. The only snag I ran into was with actually installing the wheels. The offset of them was slightly different than the stock wheels. Therefore once they were installed onto the axle, I just had to add 2 machine washers so that there was no side to side play on the axle. Added some grease through the zerks and they are ready for the season. I am planning on also doing the rears, however I will need to remove the tires to repaint the rims. This will allow me to also install new valve stems as the originals are slowly falling apart. (Additionally, one of the wheels has a bunch of plugs in it, and are probably in need of replacing soon anyway).
The final step for prepping the mower for the season will be to sharpen the blades. Thankfully the seller gave me an extra set of blades so I can use those on a bench grinder to practice in case I mess them up. For this I bought a harbor freight bench grinder and installed it in the barn. I will use the wire wheel side to clean up the blades, then I will coat them in STEELIT to prevent rust, then finally sharpen them with the grinder wheel.