
960 Project Pt. 2 - I built it one piece at a time...
Section 1 - Repairs
Its almost the end of November and we are swiftly approaching the holidays. As such, my work on the 960 has slowed down a bit in relation to the cold weather. I still wanted to give an update and also talk about some of the things I have learned along the way working on this car.
I have done a lot of maintenance work on the 960, and acquired quite a few junkyard parts and spares to keep it going. One of the biggest fixes was solving the misfiring issue. I ended up taking the car to my local shop here in Greensboro for some more expert diagnostics. They found that the intake manifold gasket had gone bad, and that the wiring to many of the coils was severely damaged from the heat and wear of 22 years of driving. That little repair cost me close to $400 when all said and done, but I am glad I didnt have to pull the entire intake system myself.
The first shipment from IPD was a pretty small, basic order with a few easy to replace parts like a new intake filter, as well as a new gasket for the oil cap. Both of these were very easy to install and cost less than $20 in total. The gasket on the oil cap, as I may have previously mentioned in another write up, slowly hardens due to the engine heat and allows oil to escape out onto the top of the engine. After replacing the gasket I did not see any more oil in or around the oil cap or on the top of the block.

Previous filter, vs a brand new one.
The serpentine belt was a major replacement that needed to be done. I ordered a new belt, shifter bushings, and new front rotors from FCP Euro, all which made a considerable difference on the car. My first attempt at replacing the serpentine did not go as planned. The socket size used on the tensioner for the belt is a non, standard size and requires some creative tool usage to turn. The first step was removing the fan, this step is easy on the 960 since it uses an electronic fan which can be easily unscrewed and moved out of the way. The harder part is finding the right drive socket to physically move the tensioner to release pressure on the belt. For this I ended up using a 1/2 in. to 3/4 in from this harbor freight socket adapter set this allowed me to easily use a standard wrench to turn the tensioner and slide a small screwdriver into the locking hole.
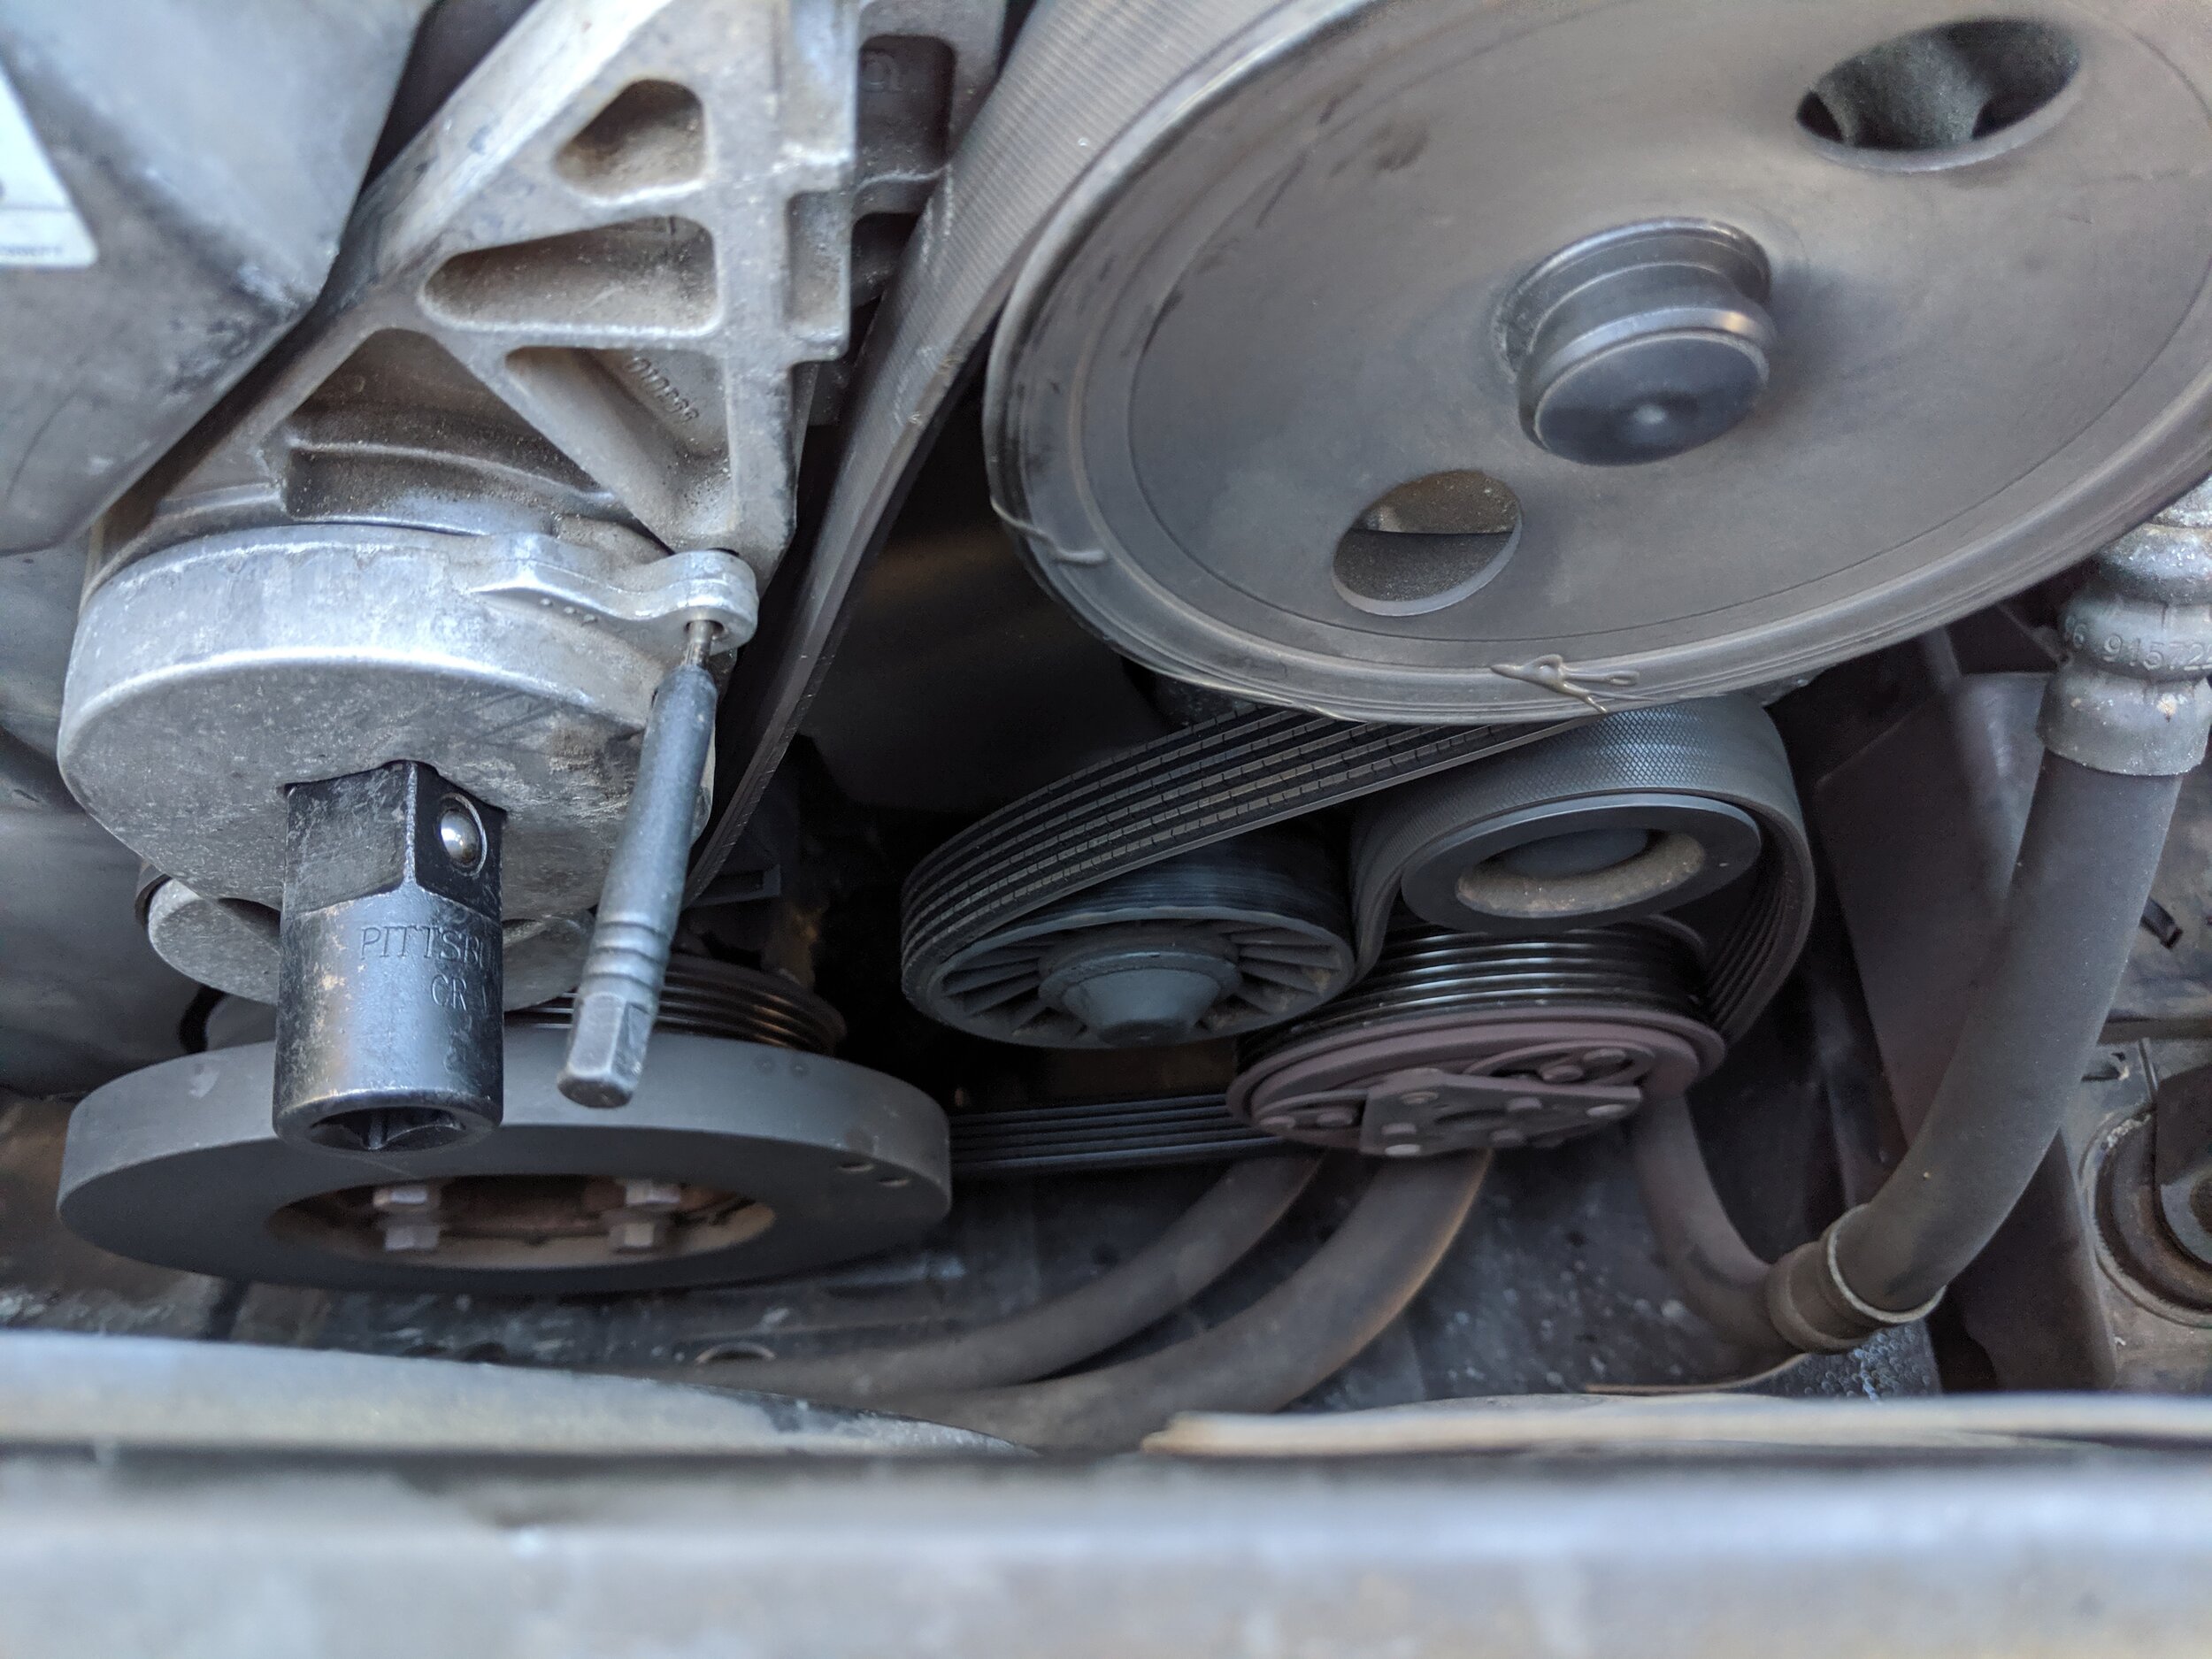
The tensioner doesn’t take to much force to move, just remember to take a picture of your belt before it comes off to help you properly feed the new belt on. This was definitely an intimidating job for someone who has never done belts before, but it was surprisingly very easy!
As previously mentioned, I also bought new shifter bushings from FCP Euro. For two, I think I paid a whole 90c. These small rubber O shaped bushings go into each end of the short linkage connecting the shifter inside the car to the transmission. The original bushings had fallen out long ago, meaning there was a large amount of forward and backward play in the shifter even when in gear. It also had the side effect of making a nasty clanking sound when shifting out of park. The bushings are very simple to install, and you will only need a 13mm wrench, a 15mm wrench and a pair of needle nose pliers. I didnt take many pictures, but the process of locating and installing these new bushings is extremely straight forward and took maybe 15 minutes total to do. The pay off however, well worth the time and money. The car now shifts into gear like its brand new, and drastically changed the feeling on the shifter in operation. It also completely eliminated any play that it previously had.
Section 2 - Cosmetics
In addition to the many small mechanical repairs I have made on the car, I was able to recruit my long time friend, and former 850R co-owner Steve to help me with really giving the car a good cosmetic make over. If I am being honest, the car will never be perfect, because at the end of the day its still a 22 year old Volvo that I bought for $800. We were able to rent a wet vacuum from Home Depot, as well as pick up a few heavy duty cleaners and de-greasers to really give the interior of the car a good makeover. Most of the work was done at night, but I can attest to the fact that Steves elbow grease on the door cars and carpet made a huge difference in removing the smokey, stale smell from the car.
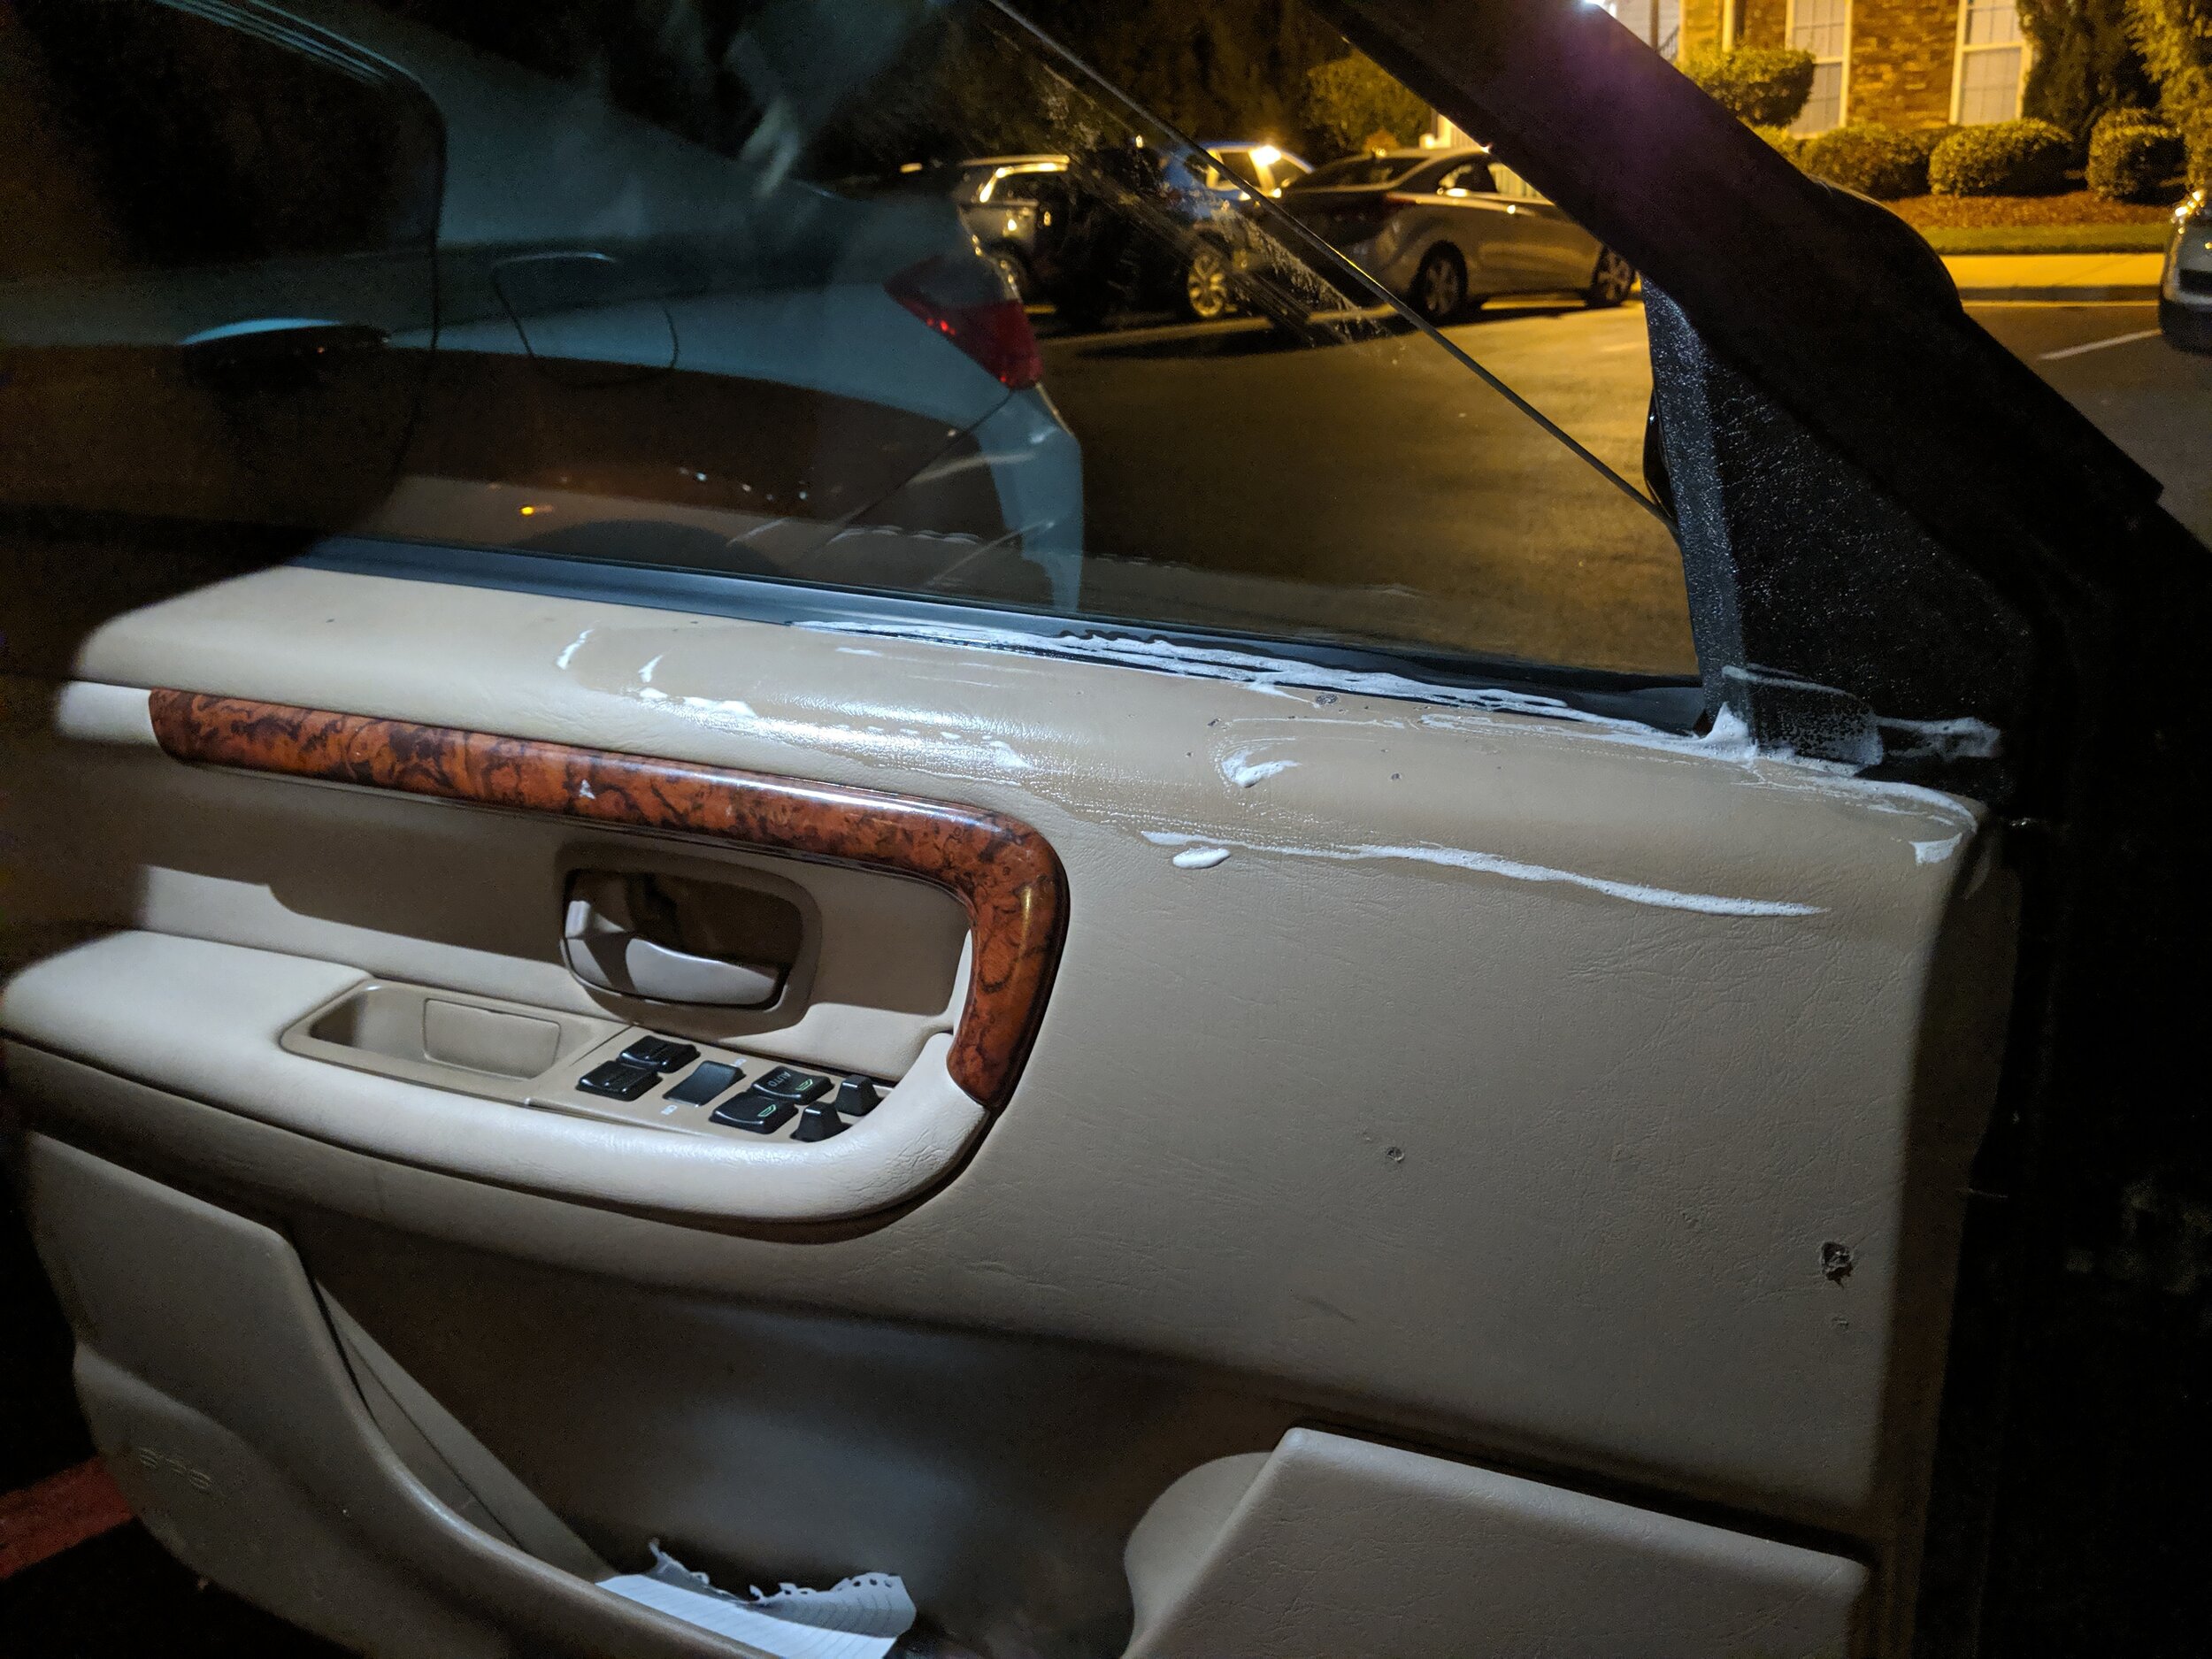
A mixture of Simple Green and a Magic Eraser being used to remove the built up tar and grime from each door card. Note all the cigarette burn holes…
Now this may controversial, but here it goes:
I.
HATE.
PINSTRIPING.
The 960 was no exception. It had to go. Using a rubber wheel on a drill, I slowly worked down one side of the car removing the painted on pinstripe. It must have been originally installed by the first owner since it was severely faded and chipping away in some places. I feel like that stripe gone it gives the side profile of the car a much cleaner appearance. Unfortunately the paint still need a lot of attention at the moment so its not perfect, but from afar (or when wet) it really brings out the clean lines of the wagon.

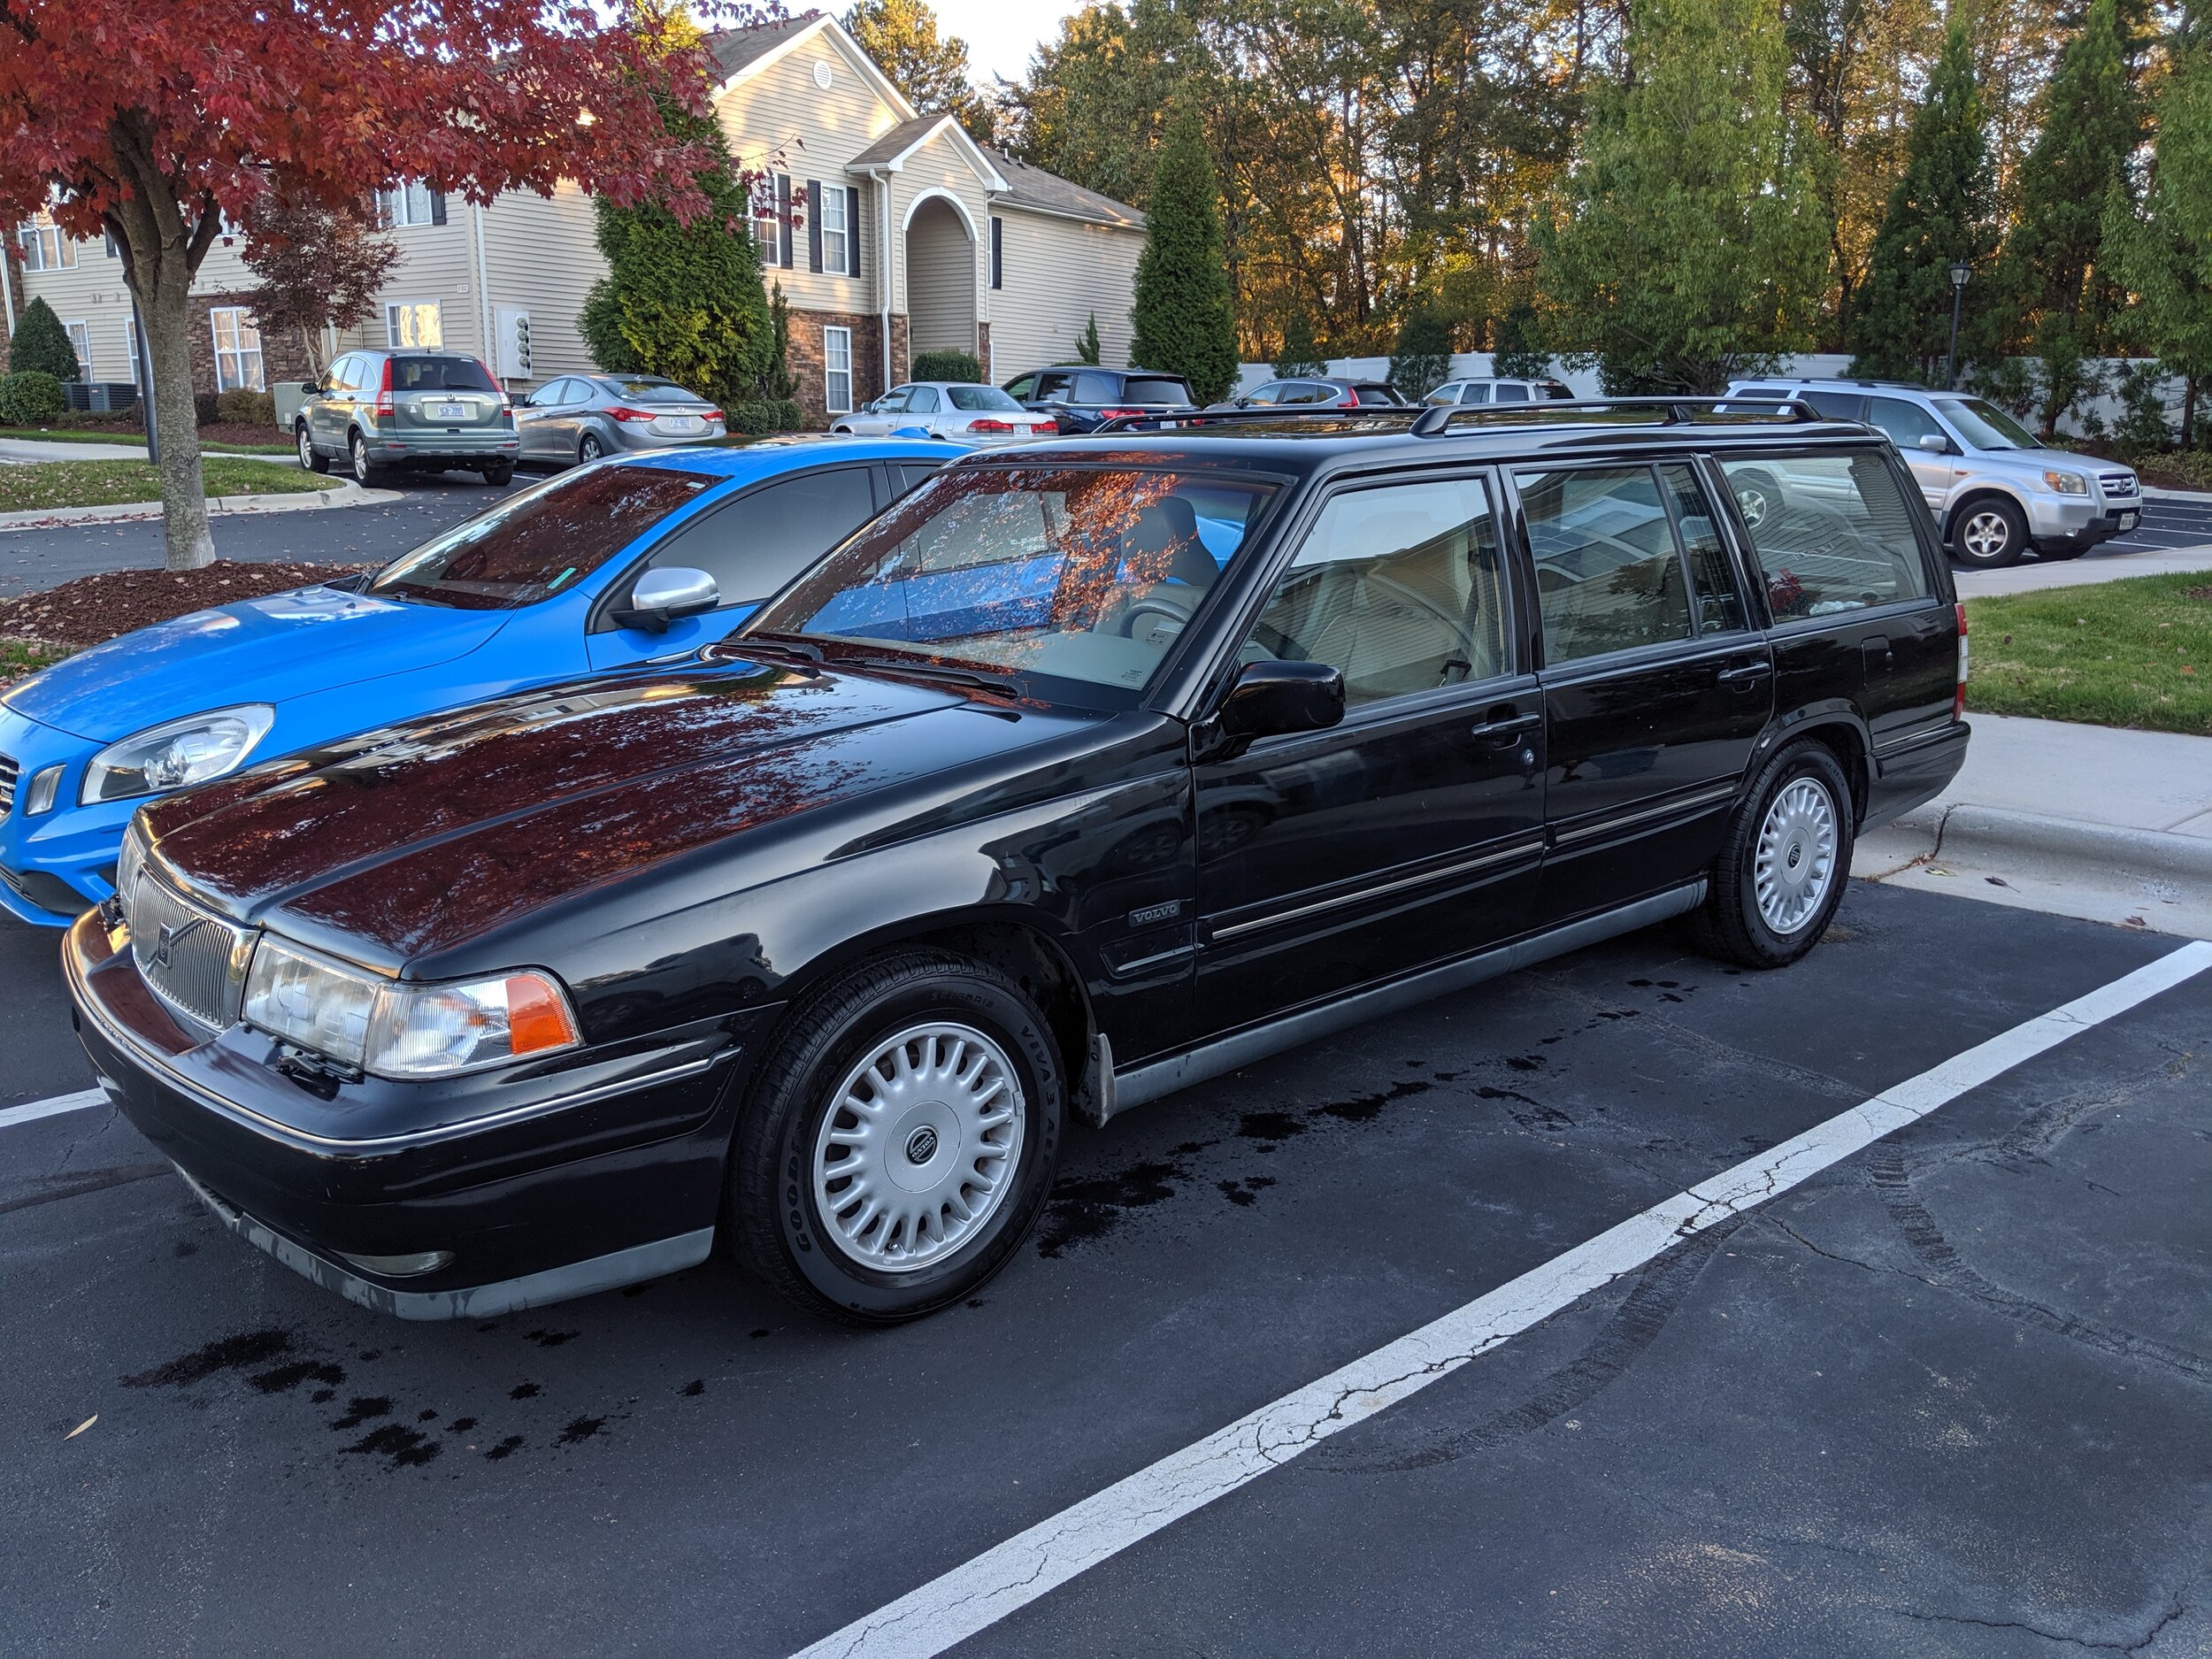
Drivers side after pinstripe removal and a quick 2 bucket wash.
That’s it for this installment. There is still a lot that needs to be done to the 960 before its really ready to be a daily driver in any sort of way. I have yet to tackle the brakes, or suspension. It also has a mysterious fluid leak near the front wheels I have yet to diagnose, as well as a new fuel rail that needs to be installed. I hope to start working on it a bit in my local shop where I can get it up on a lift, but as it sits currently, I am happy with the progress. As usual, feel free to drop a comment or suggestion for the project, there is not much information out there on the 960 series cars so I am always looking for any information I can get my hands on!
As a bonus, I have a picture of the final missing trim piece installed. The owner I bought it from finally found it after 2 months of searching!

This photo really shows the true damage to the paint, hoping a wet sand, buff, and polish may be able to bring back that original shine!