
Misc. Project - Volvo P3 Desk Chair
Foreward
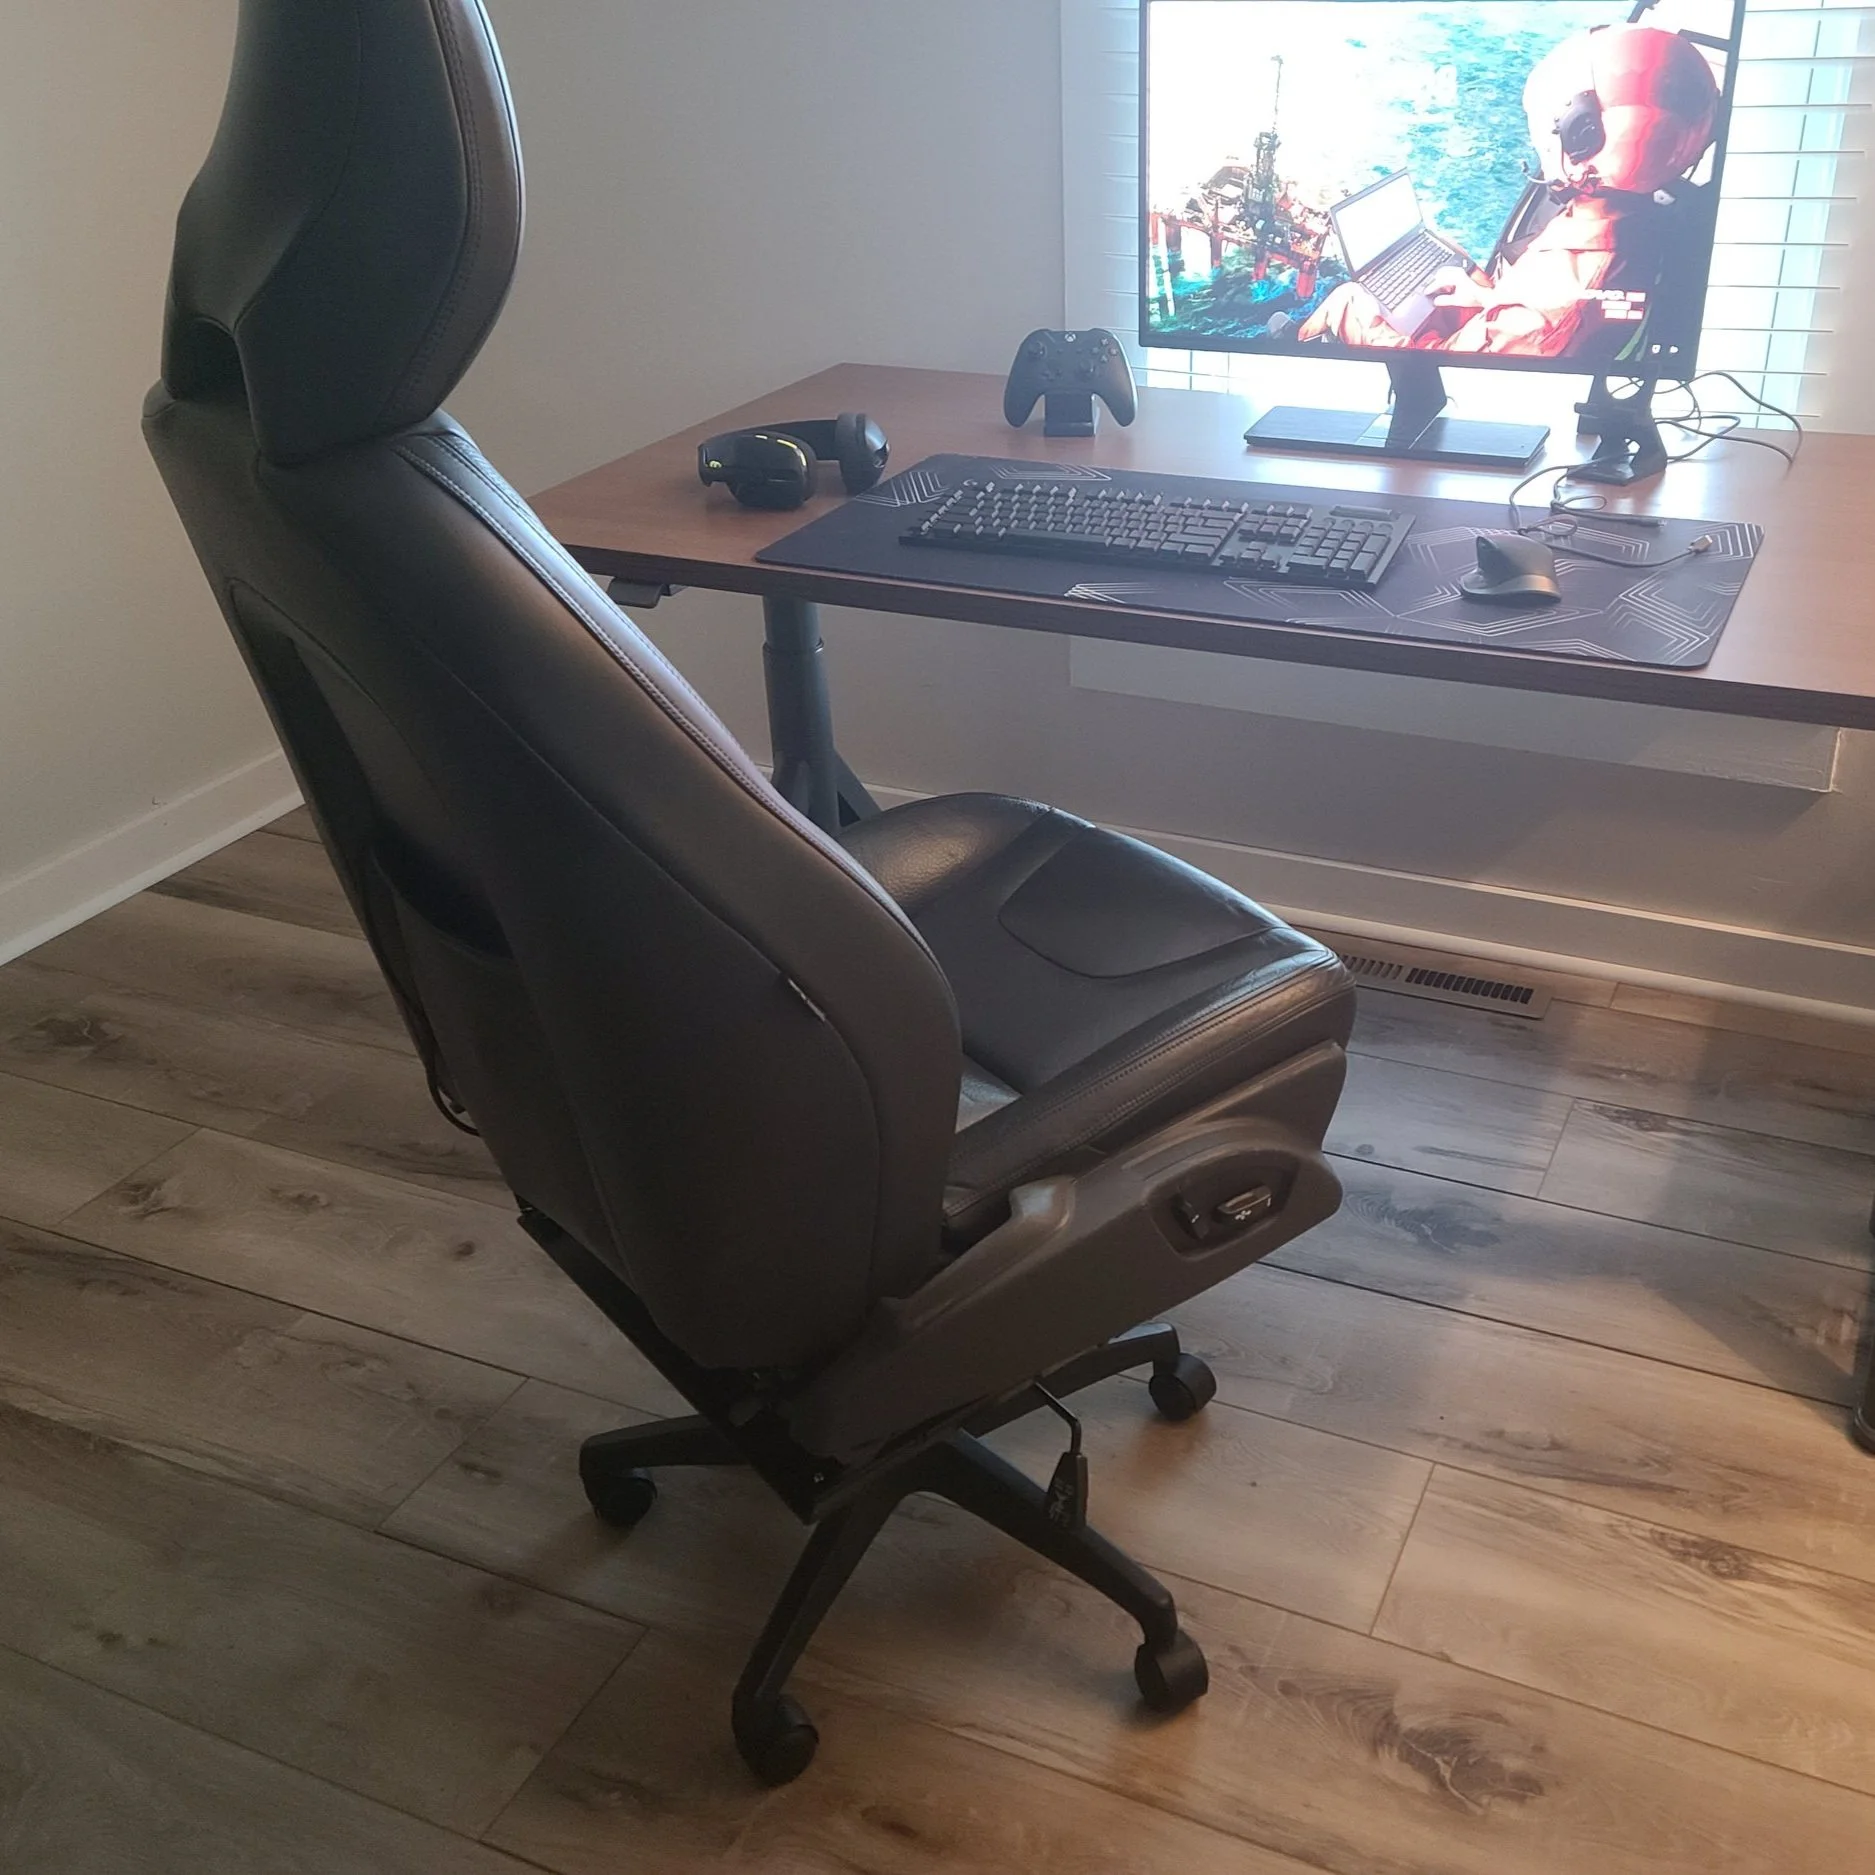
I am in the process of upgrading my desk setup as my current Ikea desk with a piece of plywood over it and a gaming chair isnt the best look in my house. Given the costs of “professional” desk chairs designed for taller people I decided to take it upon myself to build one from a Volvo seat. The project was actually much easier than I thought, and If I had to build another there are a few changes I would make.
Prerequisites
Tools you will need:
Angle grinder
Bench grinder (to remove burrs) or grind stone for angle grinder
Wire strippers
Misc. Torx and metric sockets
Flat blade screwdriver
Straight blade pick (I use the $1 ones from Harbor Freight)
Drill and 1/4inch drill bits (you can use whatever size you like, 1/4 was easy and fit through the stock frame holes)
Paint (I used STEELIT)
Items to purchase:
Volvo P3 seat. This can come from any model, the bases are all the same. Heated seats can be found in most models, heated and cooled seats can often be found in S80s.
Desk chair with basic base. Some desk chairs have multiple adjustments and plastic bases. I went with the most basic, free desk chair I could find on Marketplace. You want to also find one with the lowest rise you can, as the base of the car seat adds significant height which shorter people may find uncomfortable.
1/4in. thick steel bar stock / rectangular steel tube. I will touch more on this in the build details, however Stock Car Steel and Aluminum can cut and ship any size of steel you need for your projects without needing to visit a mill or buy huge pieces of steel!
Build Process
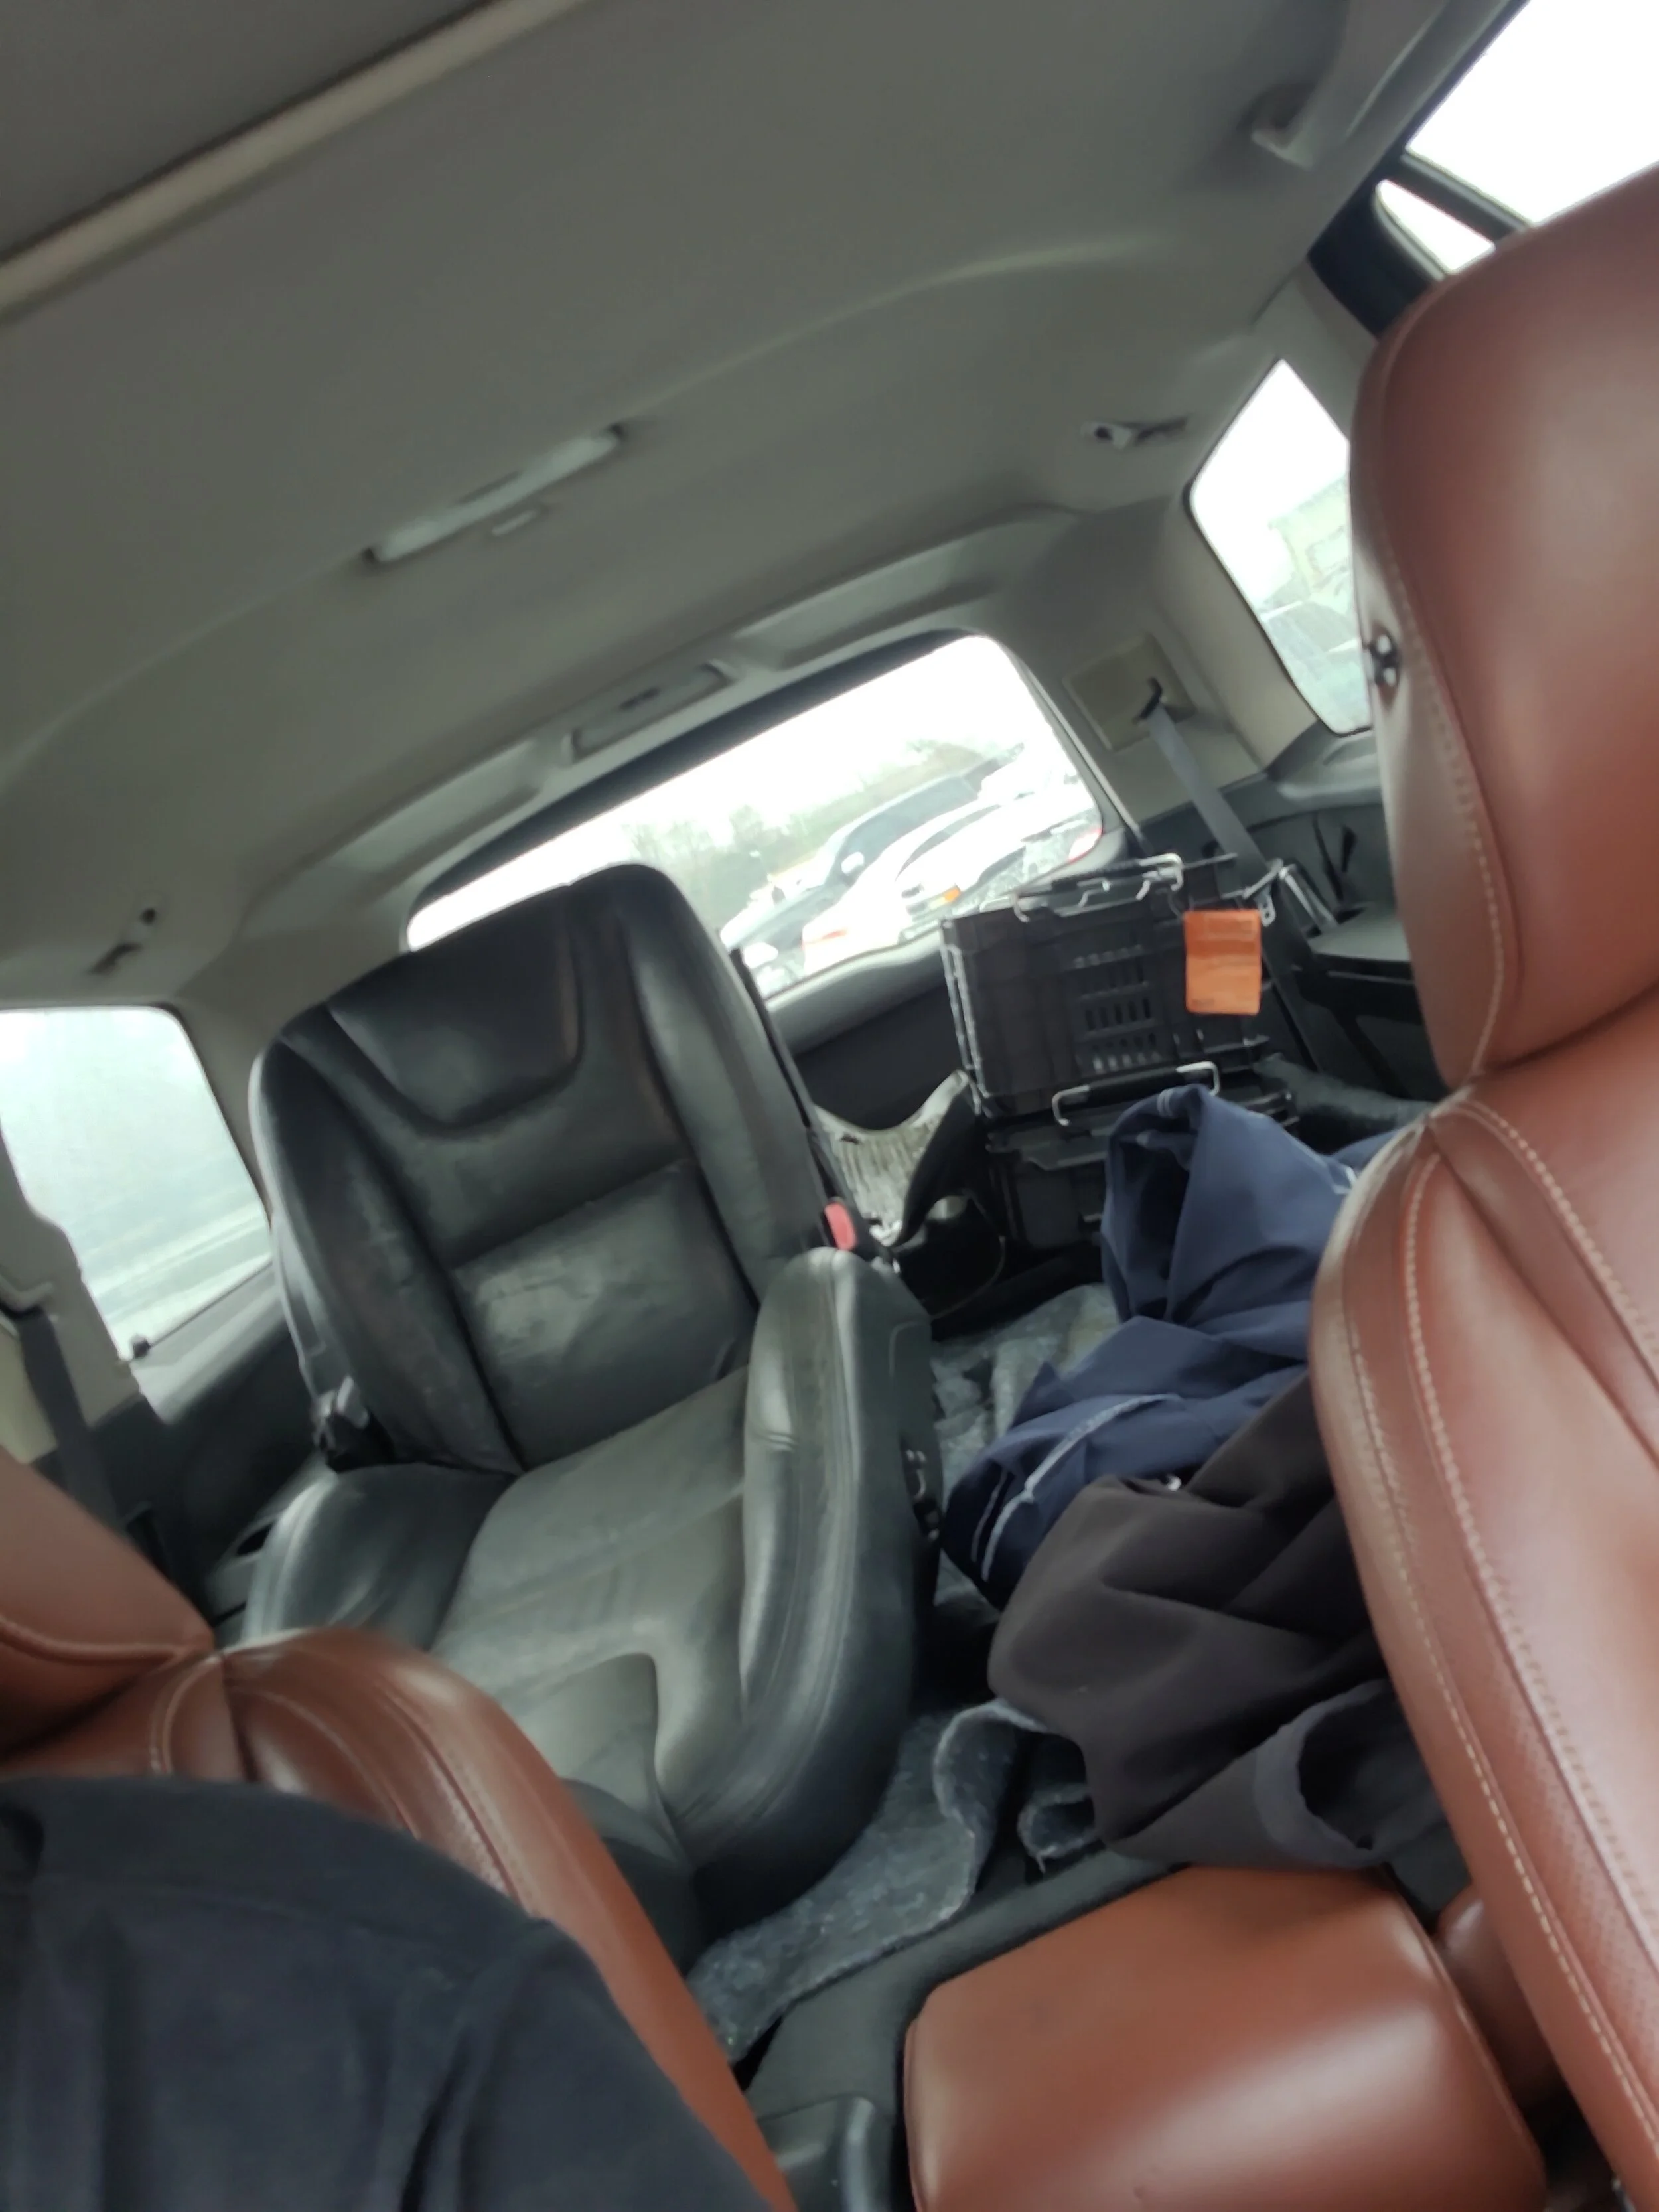
I started this build with the seat! These are relatively easy to find depending on where you are in the country. I went to a local DIY pull-a-part junkyard and paid $40 for my seat. The seats are held into the car with 4 bolts under plastic covers. I then used snips to cut the wires going to the harness of the seat, so I had wires to work with. The seatbelt an be unbolted from the seat frame, or in my case I just cut the seatbelt with my snips since I wasnt going to need it. This seat was not heated or cooled, so I will not be going into adding controls for those functions.
With the seat loaded up in my XC90 I headed back home to start prepping the chair for minor modifications.

I will be reusing this image, but the harness bolts into the chairs female harness, the wires usually come wrapped in tesa tape which I removed. I kept about 8 inches of pigtail harness.
With the seat now removed from the car, the first modification is making the rails completely flat. Each end has a bracket that is welded onto the slider so it can bolt into the car. With my design I needed these out of the way, leaving a perfectly flat rail on each side of the seat.

FOR VISUAL REPRESENTATION, THE SEAT DOES NOT NEED TO BE REMOVED FROM THE RAILS
I didnt take any of my own photos for this project (so I am using this photo of P2 rails which are close). There are brackets on each corner that I used my angle grinder to cut off from the rails. These only take a few minutes to cut through and make the bottom of the seat perfectly flat.
Once I had this done, I moved onto testing and fabricating the electronics to make the power functions work. On the P3, this is very easy and consists of a 12v power, a 12v signal wire, and a ground. I would consult the Volvo wiring diagram for your own seat to confirm which wires are needed, so for this case this applies to all 2011+ S60s (and probably V60s).
Here is the diagram I followed with my notes on what you need:

74/31 is the 20 pin connector that runs from the car to the seat. The only 3 pins you need to worry about on the car side of the harness are pins 14, 15, and 16.
Pin 14: Blue / White is a signal wire from the CEM, this is a signal to the Stop Logic to allow the seat to move. Connect 12V to this wire.
Pin 15: Brown / Red is 12V power to the seat control module (3/27). Connect 12V to this wire.
Pin 16: Black / Green: This is ground for the module.
A side note regarding the other pins, SRS module, and air bags:
There is some concern by some that there is a danger in not removing the air bag from the side of the seat. The route I went to avoid incidents was to remove any and all wiring in the pigtail going to these modules. All of the pins outside of the 3 listed above can be removed, and is why the small straight pick is listed in the parts list. You can remove the small red caps from each pin and use the pick to lift the clip and slide the pin end out. Additionally, the airbag firing system needs a signal from the OWS or Occupant Weight Sensor. Going off the wiring diagram, if the OWS does not have power, even if power was sent to the airbag firing system it would not deploy since it needs the circuit completed by the OWS signal.
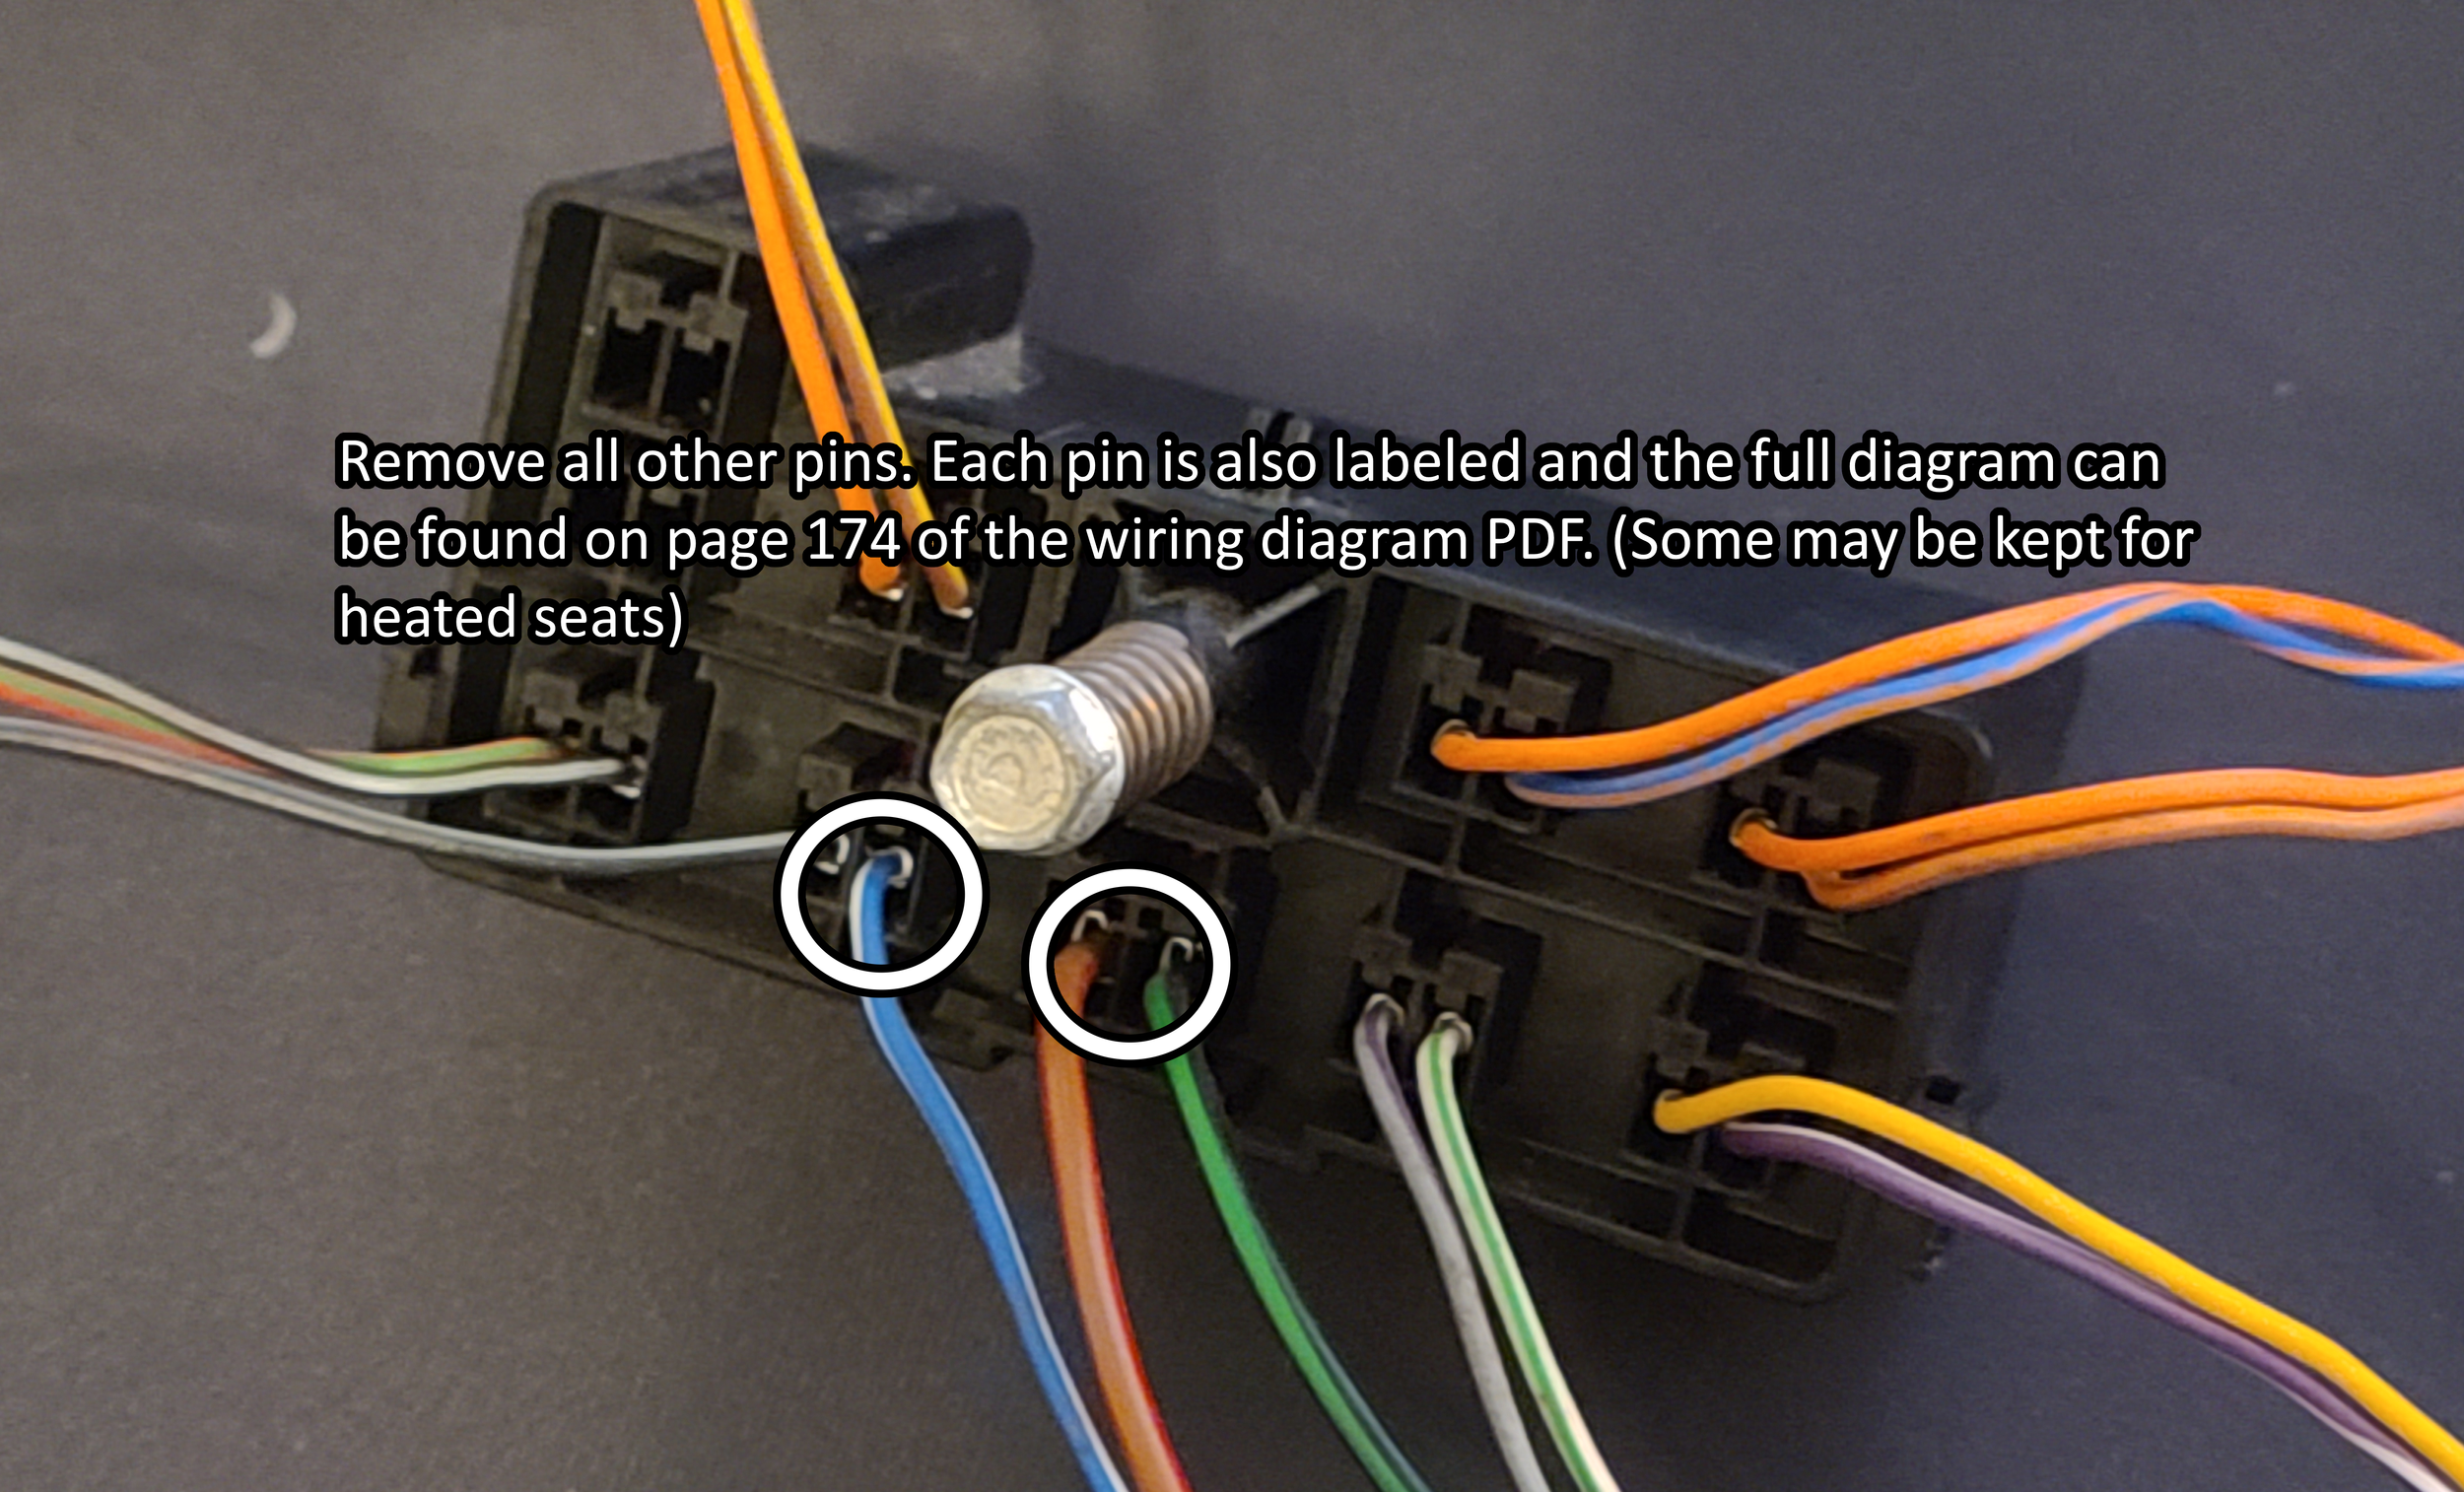
Be sure to remove the black/grey cable next to the white/blue cable as it is part of the airbag firing system!
Now you may be asking yourself well how do I apply 12V to these wires when the walls in my house put out 120V AC? Well for that we need the cheap adapter brick I linked at the top of the page. The unit I bought came with a barrel jack to screw terminal adapter which we will connect the 3 wires from out pigtail into.

I trimmed about 1/2in. from the end of each wire with my wire strippers, and twisted the 2 positive wires together at their end before inserting them into the connector. I put some electrical tape over everything before tucking it up into the seat just for extra protection. The power brick I then attached under the seat with some zip ties and tucked all the wires away.
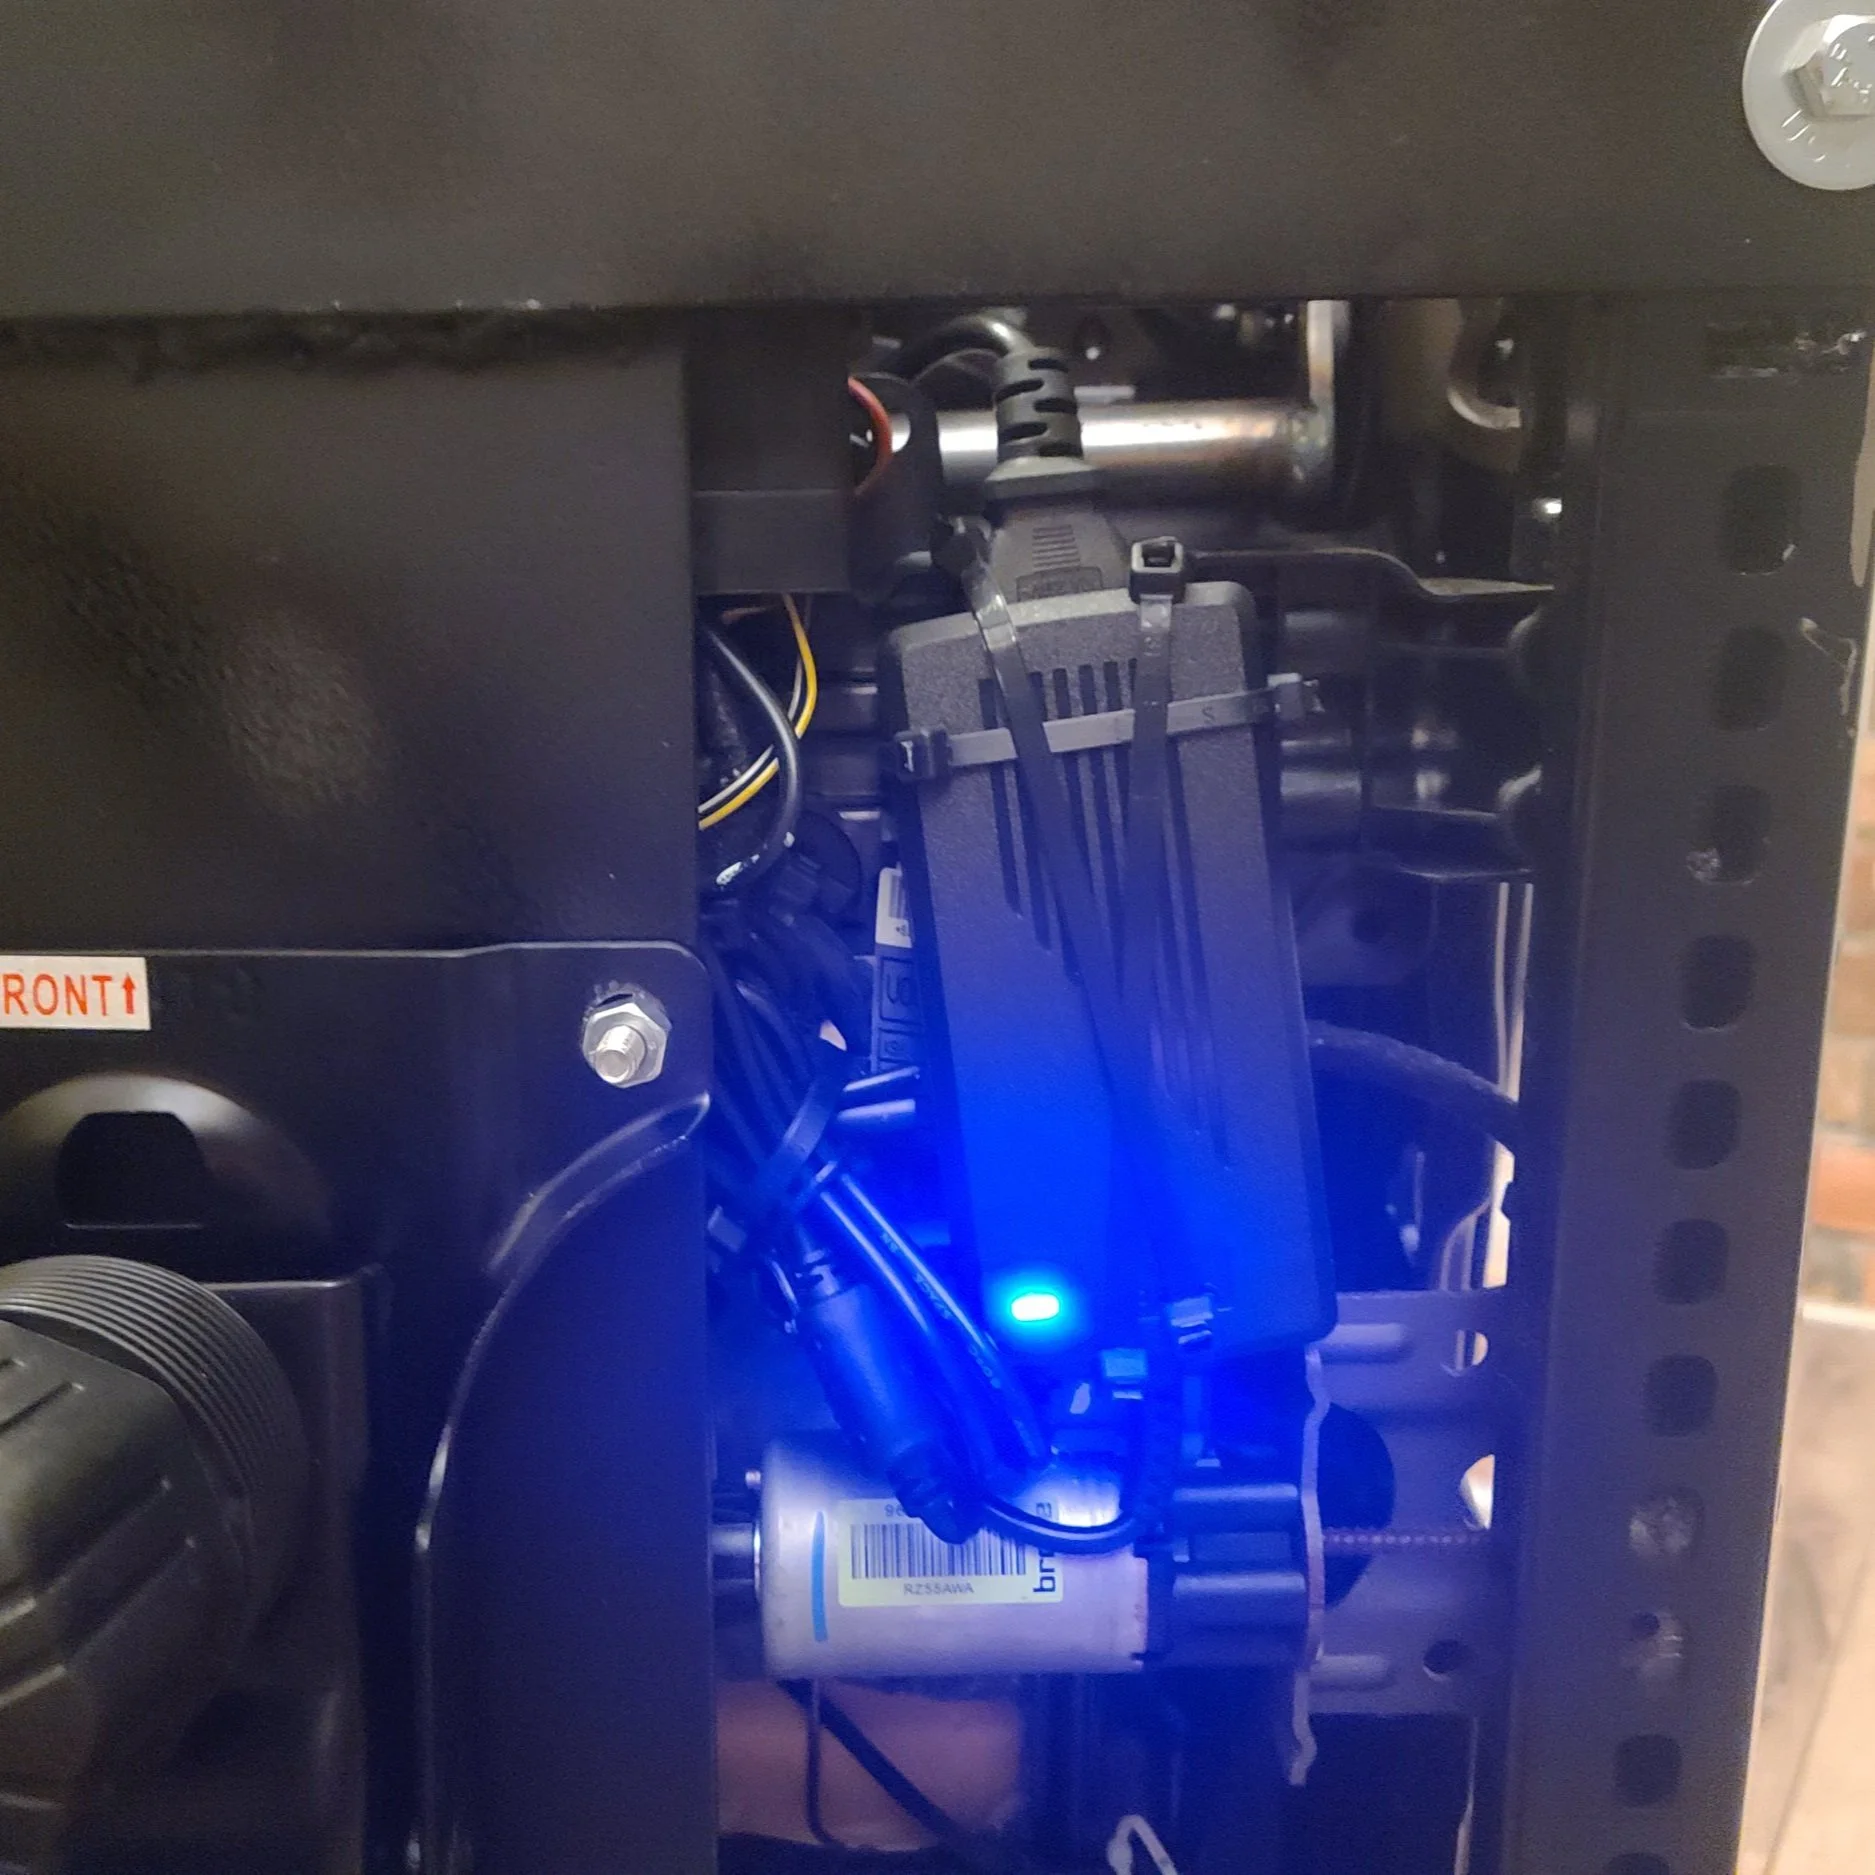
The power brick, zip tied under the chair inside the original seats rails with the other components.

The de-pinned connector to the seat.
With the electrical fully sorted, I then turned my attention to mounting the seat to the rolling chair base. I made sure to pick a donor office chair that had minimal adjustment points, and a standard 4 bolt base. Some higher end chairs have multiple pivot points and more complicated bases. I used a piece of ~8inch wide by 1/4inch thick steel flat bar. (Measure your base width before buying material) I went with what I had on hand at work in our scrap bins, otherwise I think I would have gone wider for stability. I then measured the distance between the rails both front and back and cut two more pieces of 2inch by 1/4inch steel flat bar to make my cross members. I mocked everything up with the seat sitting on the metal and the metal on the chair base so I could line everything up properly and make marks on where I needed to drill mounting holes and where the cross bars would need to sit. I did not do any crazy measurements here, just got everything looking “right” and marked parts with a paint pen so I could disassemble and bolt / weld everything together.

I (poorly) welded my brackets, however bolts could also be used to hold the cross members in place.
Here is the bracket mid construction. I still needed to drill the holes for the rails to bolt to, and I gave it a coat of flat black STEELIT paint. I also ended up flipping the bracket over in installation to lower the seat rails a bit to buy myself some lower seating position. Like I have previously mentioned these chairs sit very high compared to a standard chair due to all the motors underneath them, so choose your base chair wisely.

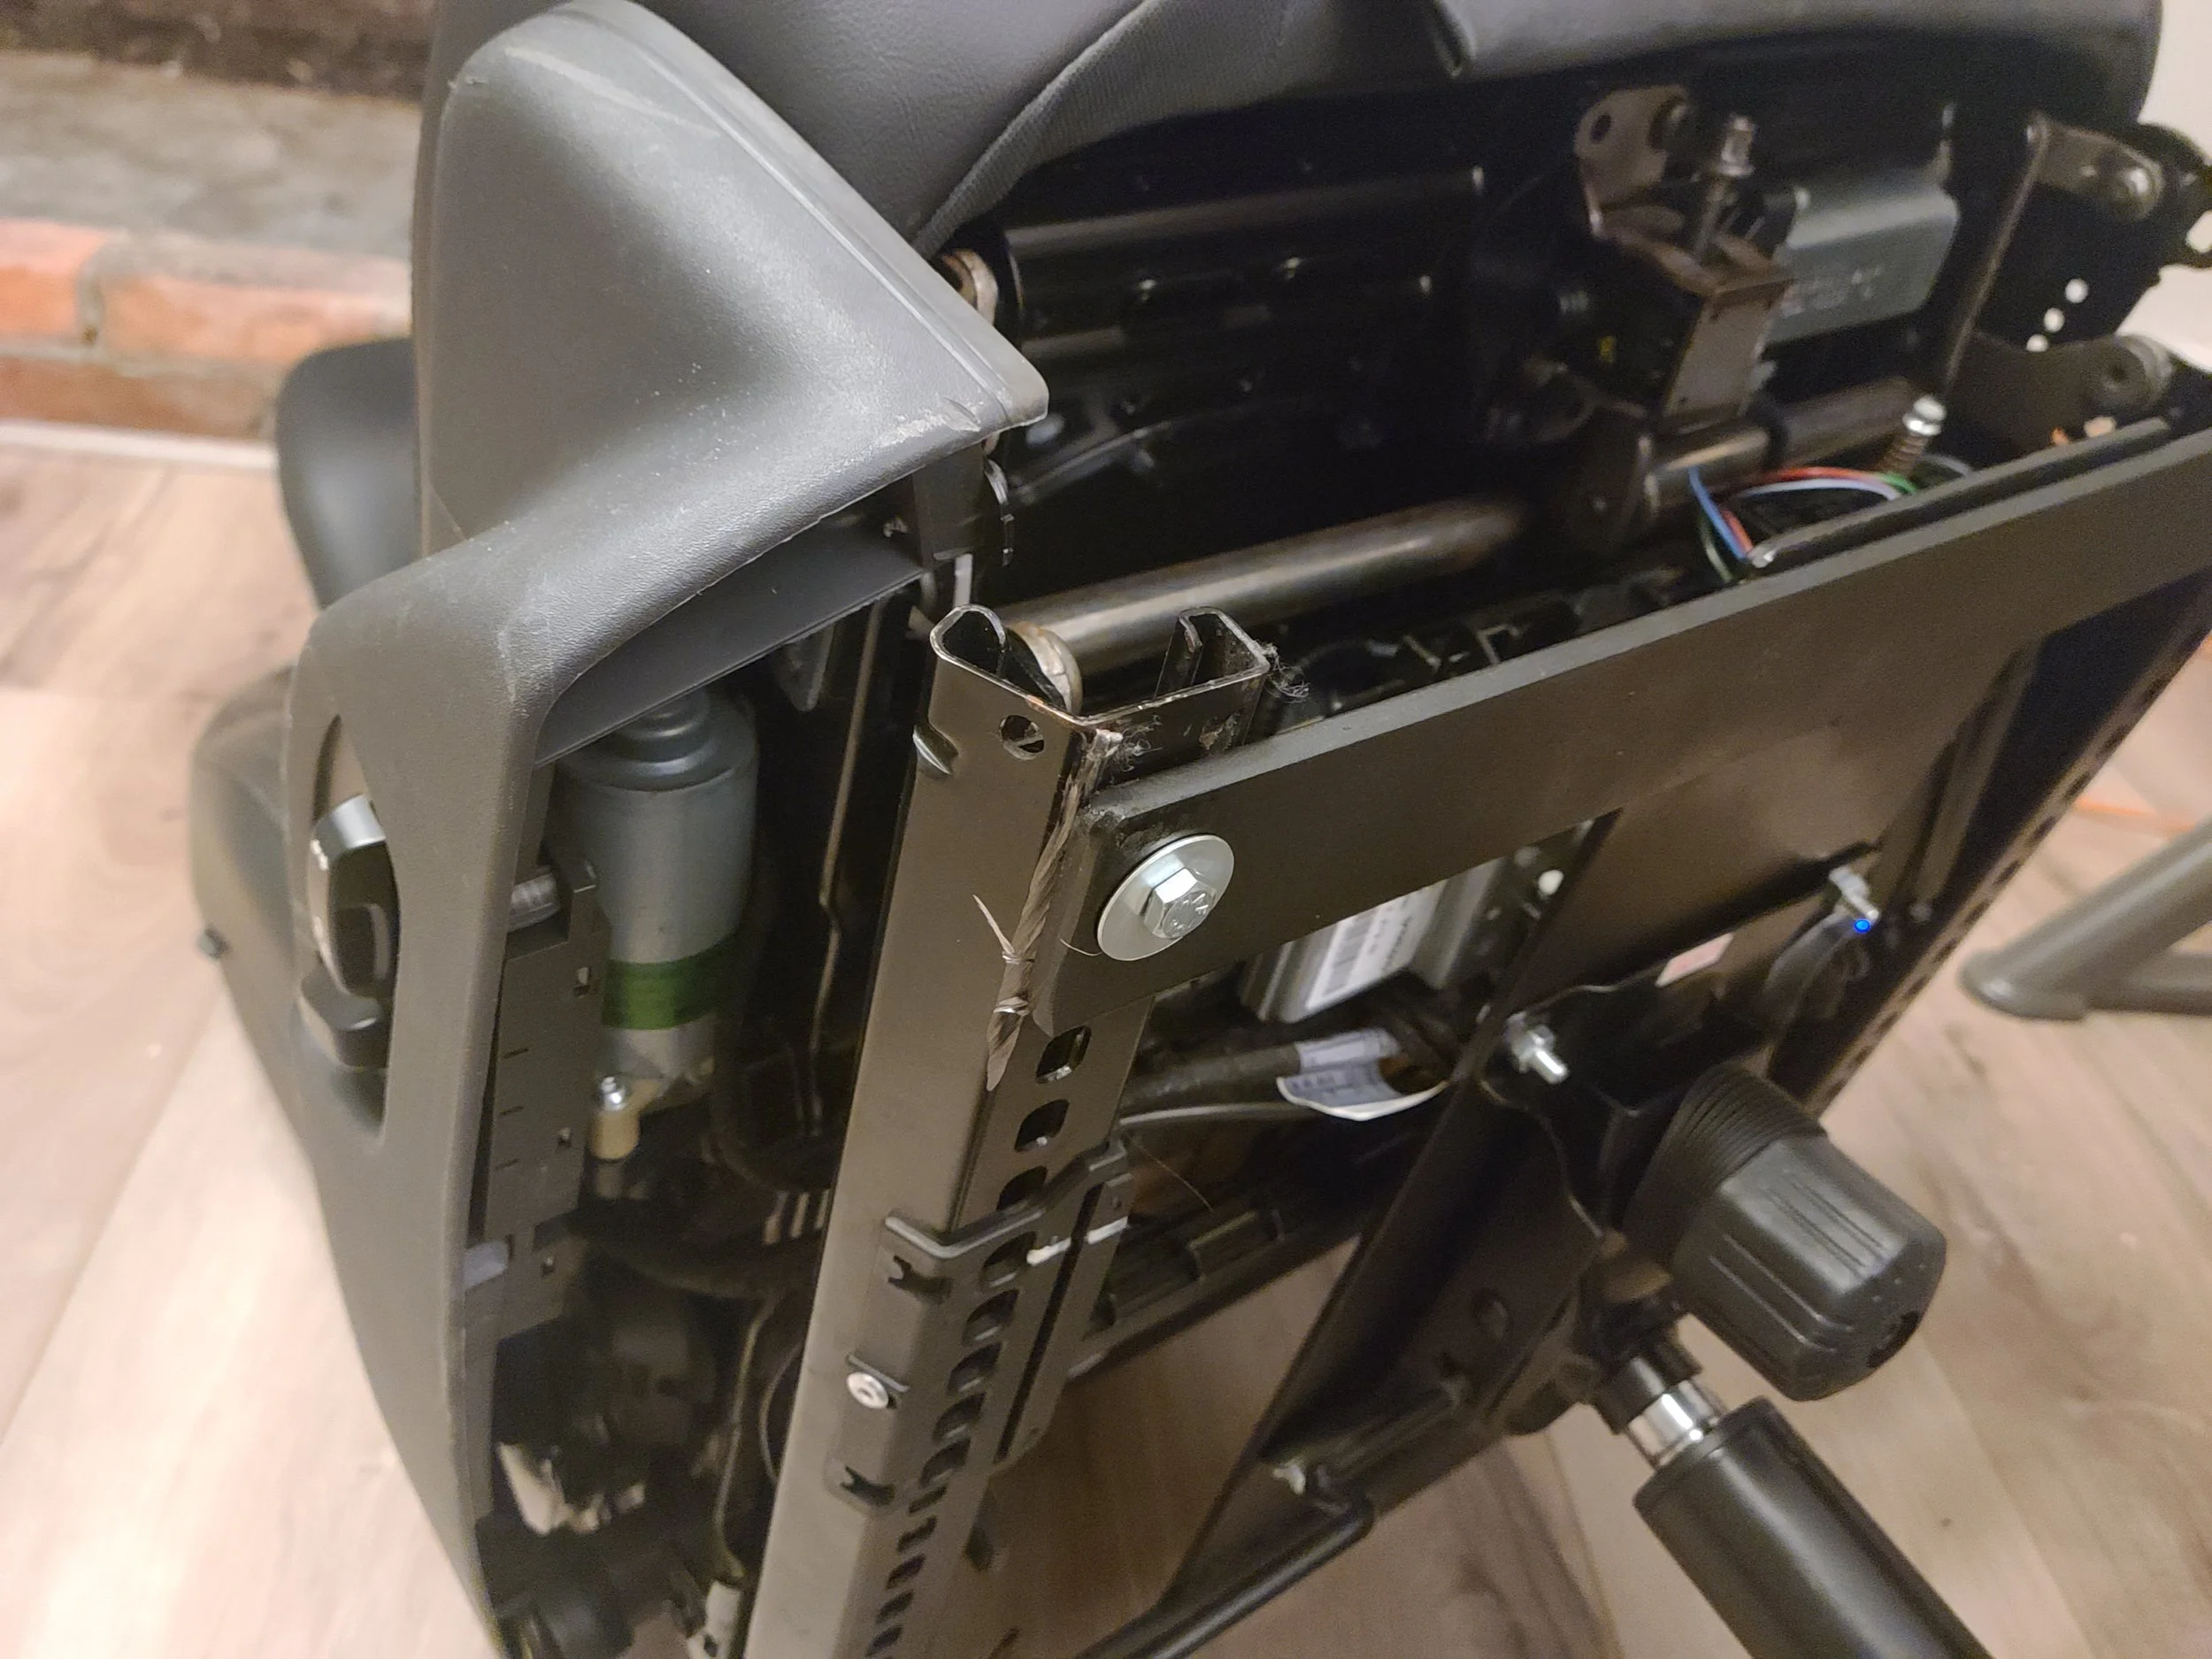

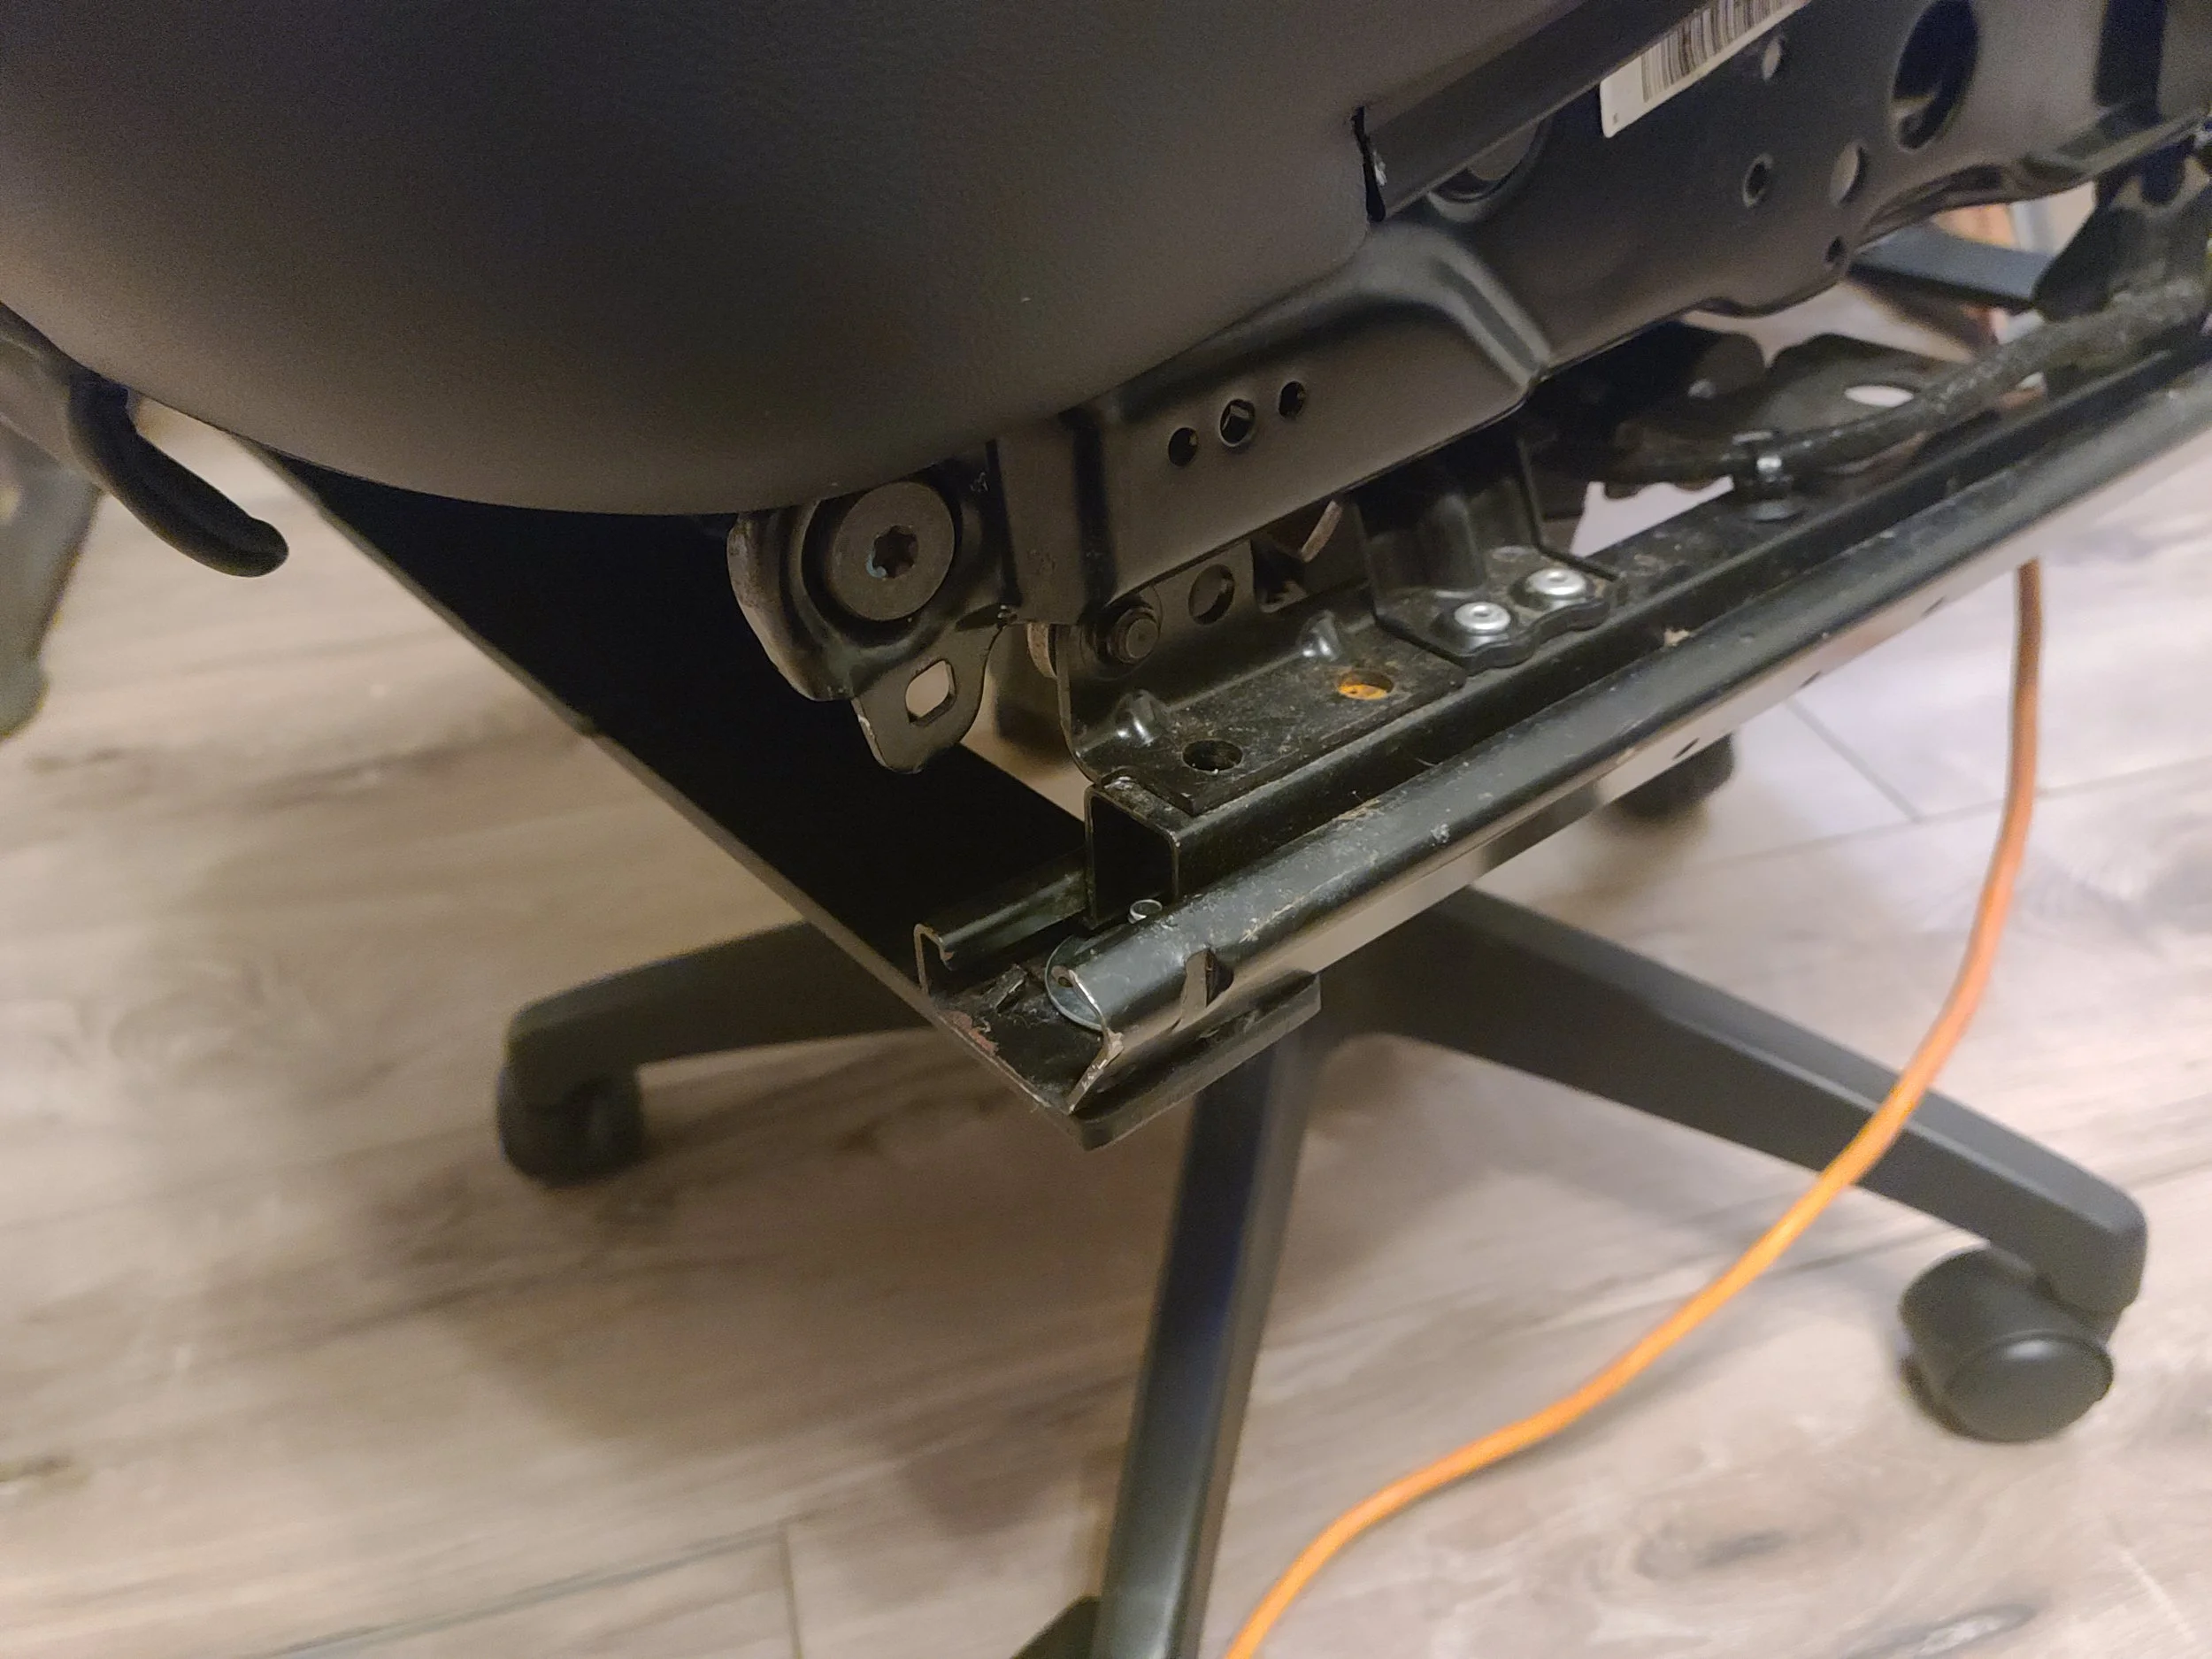
All of the hardware used was 1/4 inch bolts from Lowes. I also used some stacked washers on the front bolts for the frame rail since the hole for the original bolts in the car are quite large.
The last thing I did was run an 8ft "designer” extension cord out of the back of the seat from the power adapter and left all the slack in the seat back pocket. This will allow me to plug it into my desk without having to run the long extension cord from my wall to the chair, and it can be neatly tucked away inside the seat back pocket when not in use.

Conclusion:
There are a few things I would change about this build. The first thing is that I would have used a mild rectangle steel square tube instead of flat bar for the cross members. With the way I flipped the bracket upside down this would NOT have added any extra height but would have added some extra stability side to side. Additionally a higher quality base would have been nice to use as there is some play with the sheer amount of weight its now carrying. Lastly, I still plan on adding arm rests using some generic bolt on arm rests from Amazon, I just need to get around to ordering them and possibly adding some more brackets to allow them to attach where I need to.
I hope you all enjoyed this little project, it completely blew up on Reddit which I did not expect! For a 2 day project that I sort of made up as I went I am very pleased so far with the outcome. If you have any suggestions please feel free to leave them down in the comments.