
Facility Upgrades and Updates Pt. 2 - Tow Dolly
One of the biggest things needed for the business since I started was a way to tow cars. My Volvo 960 has always made a great tow vehicle, albeit a little slow. Now that I had the space, it was time to spend the money and buy a tow dolly to bring cars back for parting out.
Finding a tow dolly for cheap is no easy process. They tend to hold their value very well, as they really only exist in 2 states. Working and not working. Additionally there is a buyer at almost any price point for a dolly, mostly people trying to rent them out or start a towing service. The one I bought was a last minute deal, having to do most of the drive during the cold night hours of early March.
(Its worth noting I started writing this in March, and it is currently August as I am finishing it. Sorry!)
The first issue I had to tackle was actually getting the trailer lighting to work. The wiring was clearly redone multiple times in its lifetime, and was a absolute disaster of home grade wires and twist connectors. Additionally, the plug at the end was an ancient 5 pin design that wasn’t going to work at all with the 4 pin connector on my Volvo 960.

The crusty original wiring.
The trailer had clearly been sitting for some time in the previous owners property. Most surfaces had a thick layer of lichen and dirt. I trimmed the wiring back to just the black and red running through the chassis of the trailer and set about removing each fender for its new lighting. Everything already on the trailer was scrapped. Wiring, lights, everything. I wanted to make sure the new system was all LED for better reliability and brightness. On top of all that, I hated the goofy blue and white paint job the dolly had come from the factory with and I planned a full repaint.

A coat of STEEL-IT applied inside the barn. The cold weather outside forced me to work inside for a decent amount of time.
For each fender I planned on a new brake / turn lamp along with 2 orange markers that would also follow the light pattern of the brake light.
I want to note that this setup is not optimal but with the two wire system, I could not separate the functions as the “brake” and “turn” are the same signal. The orange marker lamps allow oncoming vehicles to see my turn signals from the front due to the wide width of the dolly, but this also means they illuminate when braking.

Bench testing with a repurposed PC power supply.
New holes were drilled for wiring, and the lights were all self-tappered into the very thick metal of the fenders. Each one of these fenders weighs at least ~20+lbs, so an upgrade to plastic fenders will possibly be in this dollys future. I am not totally happy with the wiring management and the inside of the fender leaves very few options on where to run them. This lead to an issue with one wire being rubbed on the tire during use which I was able to remedy.

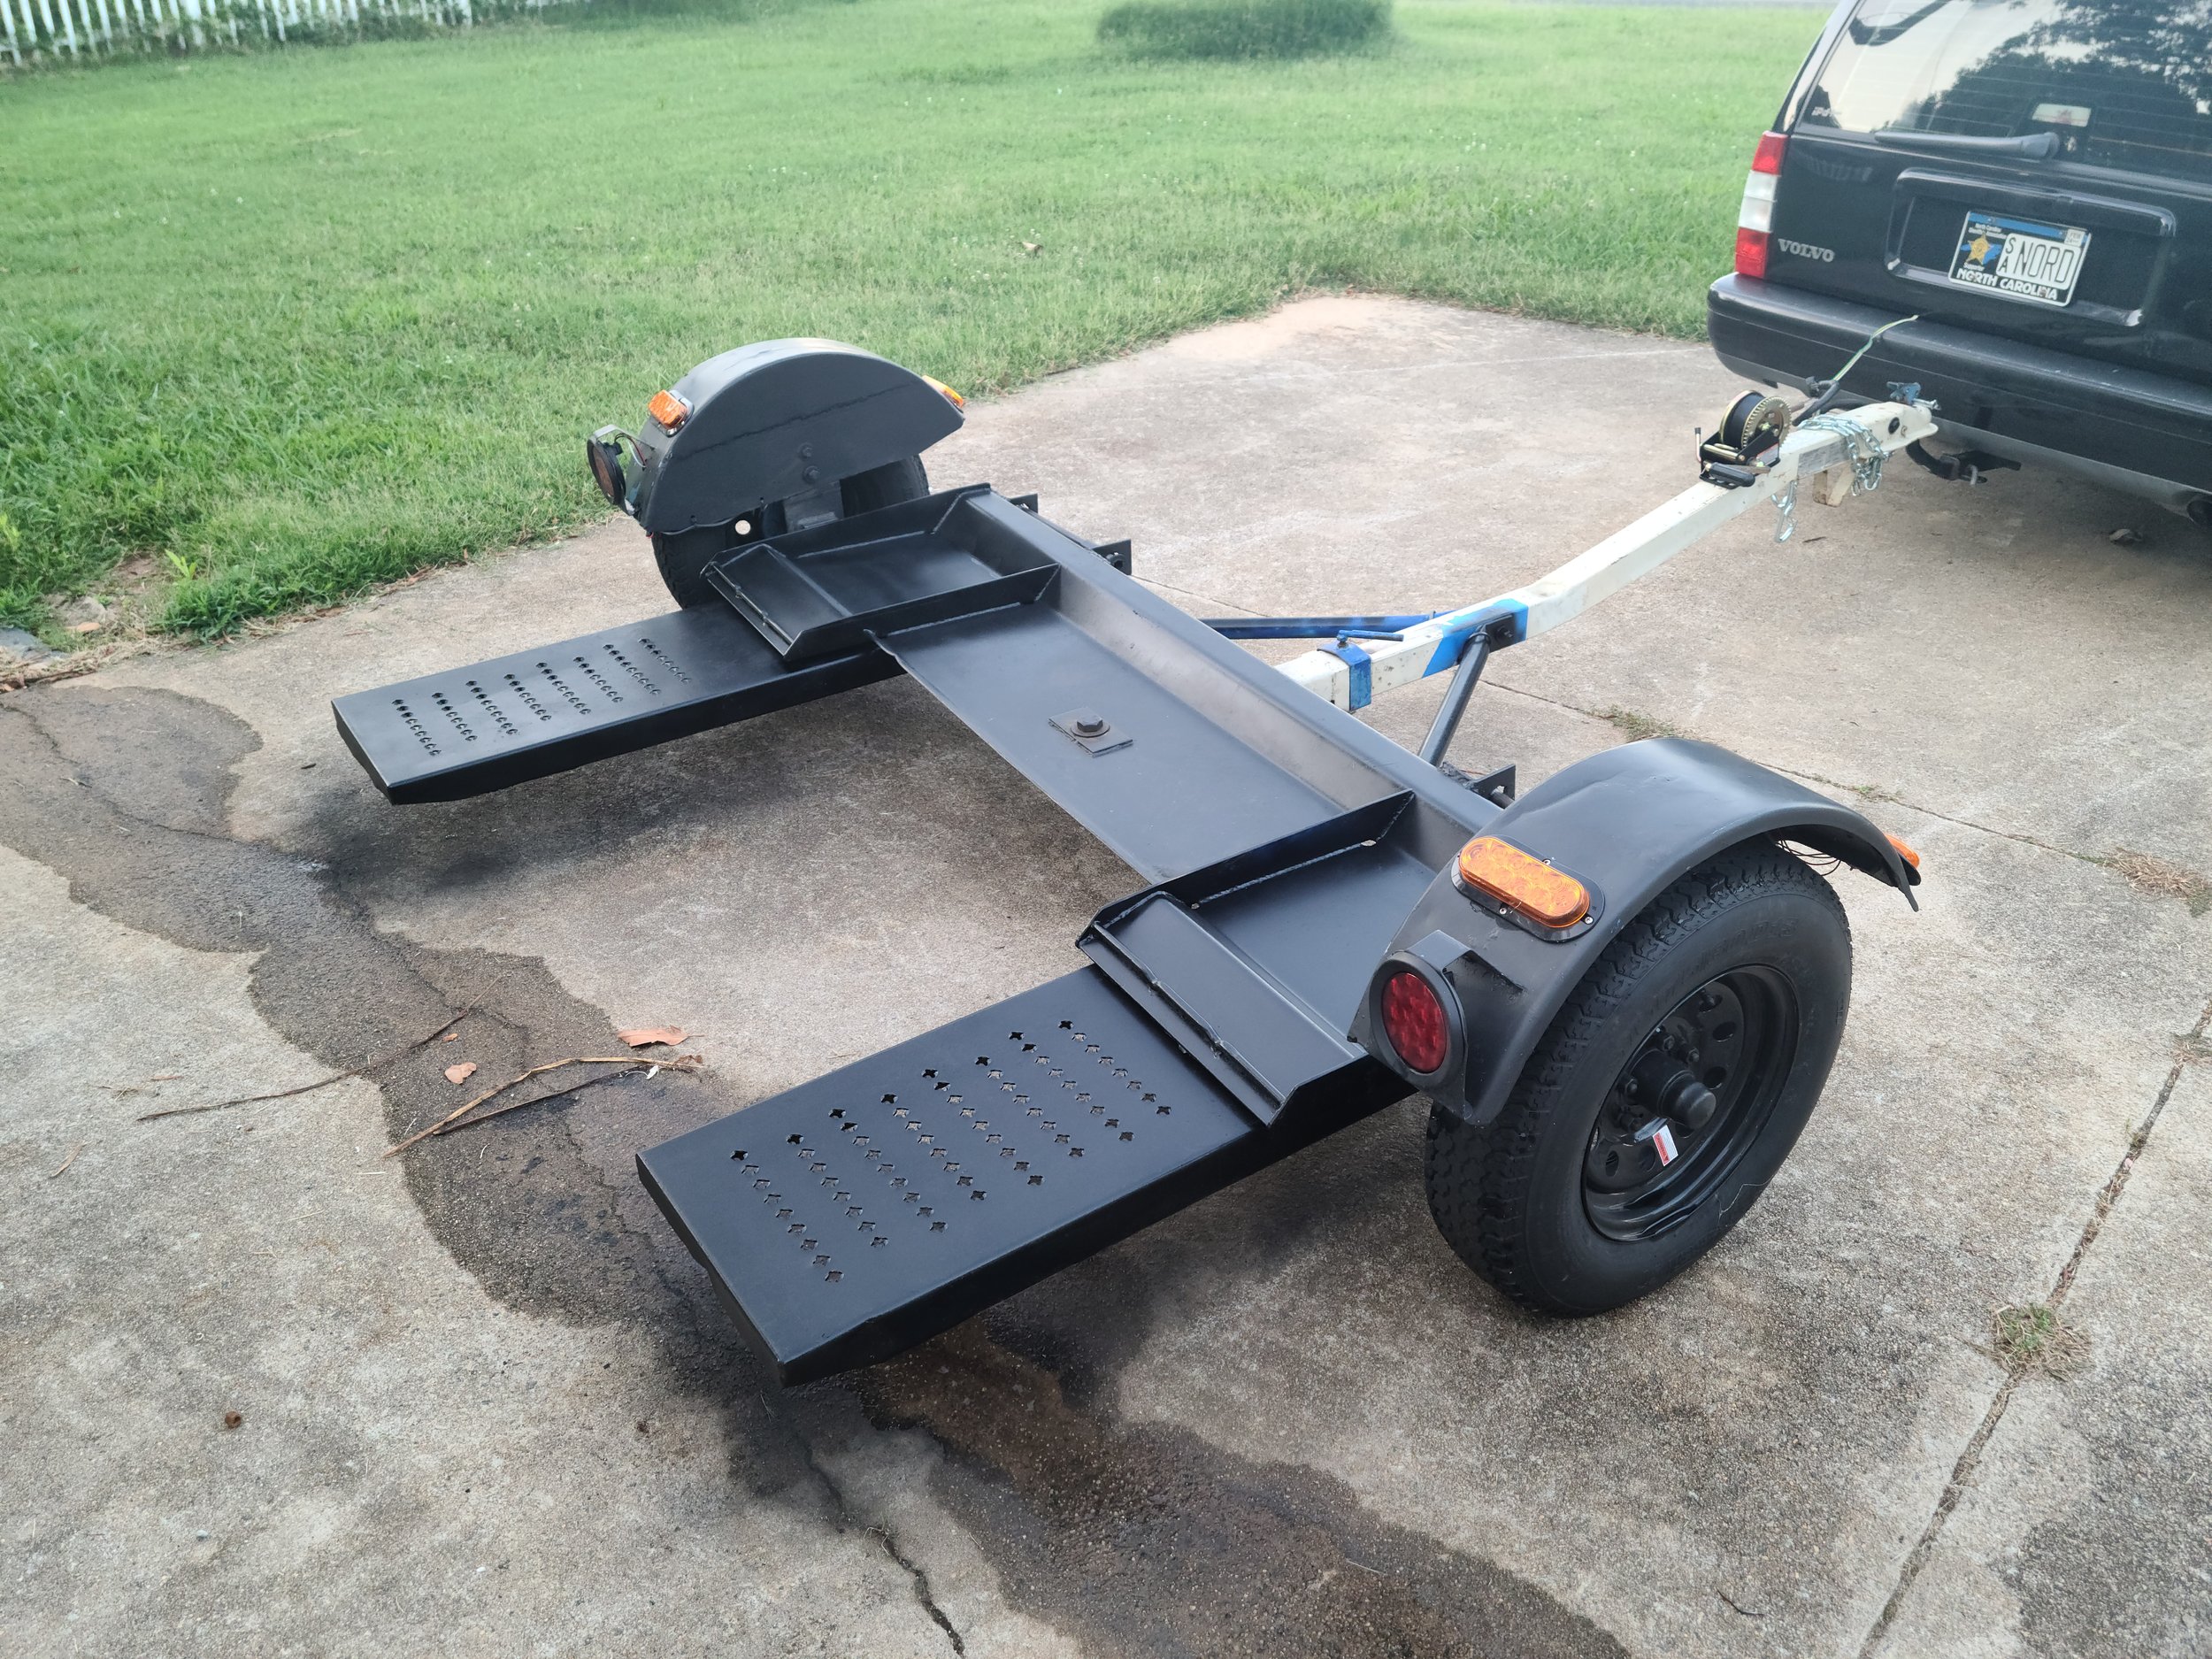
The deck and fenders painted.
Most importantly new wheels and tires were added. I sprung for some premounted black trailer wheels which I thought looked pretty good and cleaned up the look significantly. While the trailer was still a little ugly, it was time for its maiden voyage. Some new wheel tie downs and some grease in the hubs and it was off to the races.

6 hour round trip to pick up a drivetrain-less Volvo 740 to part out.
This first trip went off without a hitch. The trailer did great, and was surprisingly tame behind the 960. I did manage to lose a light on my second tow when I let this 740 off the trailer and it smacked the fender without me noticing. I was able to fix the bracket and move on, no harm no foul. As I have done a few more tows (longer distances and heavier vehicles) I have begun to add small upgrades here and there. The biggest bonus was adding a winch to the tongue. Now I should have gone with a wire cabled one over the one I bought, however after using it to pull a dead Volvo 760 turbo diesel onto the dolly, I felt that its probably good enough for the handful of uses it will get.

This winch is bolted through the frame. While it may not be as strong as welded, drilling a hole and running bolts from the hardware store through is my only option until I can afford a welding setup. The winch is from Harbor Freight, and the bolts were generic metric bolts and nuts from Lowes. They thankfully had a 4” long bolt that was a perfect fit for the application!
In preparation for its most recent tow job (the aforementioned 760 Turbo Diesel) I gave the dolly a second paint job. This time with a much stronger bed liner spray. This seemed to hold up much better, however I think the areas where the wheels sit will need a few extra coats to give them the protection I am looking for and to better hide and blue paint that comes through.

On this trip the sway from the trailer was much more noticeable when it was unloaded. This I think is in part to a fix I did on the tilt lockout system. The dolly has two locks for the tilt bed, one on the horizontal, and another that is vertical helping relieve strain from the horizontal pin. Unfortunately on this trailer that vertical clamp system is stripped out and would allow the collar to vibrate off, leading to more strain on the horizontal pin.

The collar and pin in question. Ignore the unfinished paint job.
I ended up drilling a hole into the top of the white tilt bed allowing the vertical pin to stay in place. This unfortunately means its no longer putting any pressure down on the system to sandwich the tilt system leading to more sway. I will remedy this with a D ring on the tilt bed which will be hooked to the winch when not in use. This in theory should eliminate the “lift” from the shifting deck and reduce sway.
The last upgrade I have planned is for the bearings. This lead me down a rabbit hole of wasted money and time. To give you some context almost all trailers, whether they be tow dolly’s or utility trailers use (for the most part) a standard wheel lug pattern and a standard hub ID for bearing and bearing caps. This standard is 1.98” for the ID of the hub, and a hub cover / dust boot is needed to prevent grease from flying out at speed. My trailer has none. Well it has one, but its missing parts so it may was well have none. I then spent a pretty penny on some of the best bearing covers on the market; Bearing Buddies. Well In my infinite wisdom I assumed the dolly would use the 1.98” covers. I even cross referenced this with the MasterTow website which lists their bearings having this measurement. Well lo-and-behold they arrive and they are too small. After some more mucking about, I finally break out the calipers and find the ID of my bearings is 52mm (2.047”in.). Great. That means at some point the hubs were replaced or the older models use this weird size. Additionally one of the grease zerks on one side of the axle is completely wallowed out and gone. GREAT.

The remnants of the dust boots on each side. No rubber cap at all.

The BearingBuddy installed with the new rubber protector.

With the correct size BB’s installed this trailer is ready for even more hard work and hopefully a much longer useable life. The BearingBuddies are great as the design has a grease zerk integrated into the face so extra grease can be packed behind them, helping eliminate my broken grease zerk issue.
Personal Note:
I am finally back after a long hiatus of no content. I am still working on a write up for the new TFT dashboard for the V70, I have been waiting on Johnny of PxTool to finish adding the final code to the program that allows it to read and write with a wider selection of part numbers. I have been hard at work with the business and my house, so my time to write these has been limited. I hope you all enjoy this installment, and I look forward to making some great new write ups for you all.