
2013+ Shifter Retrofit Project Pt. 2 - Reconstruction and Installation
This is the second part of replacing the shifter, if you have not seen part 1 yet, I highly recommend starting there!
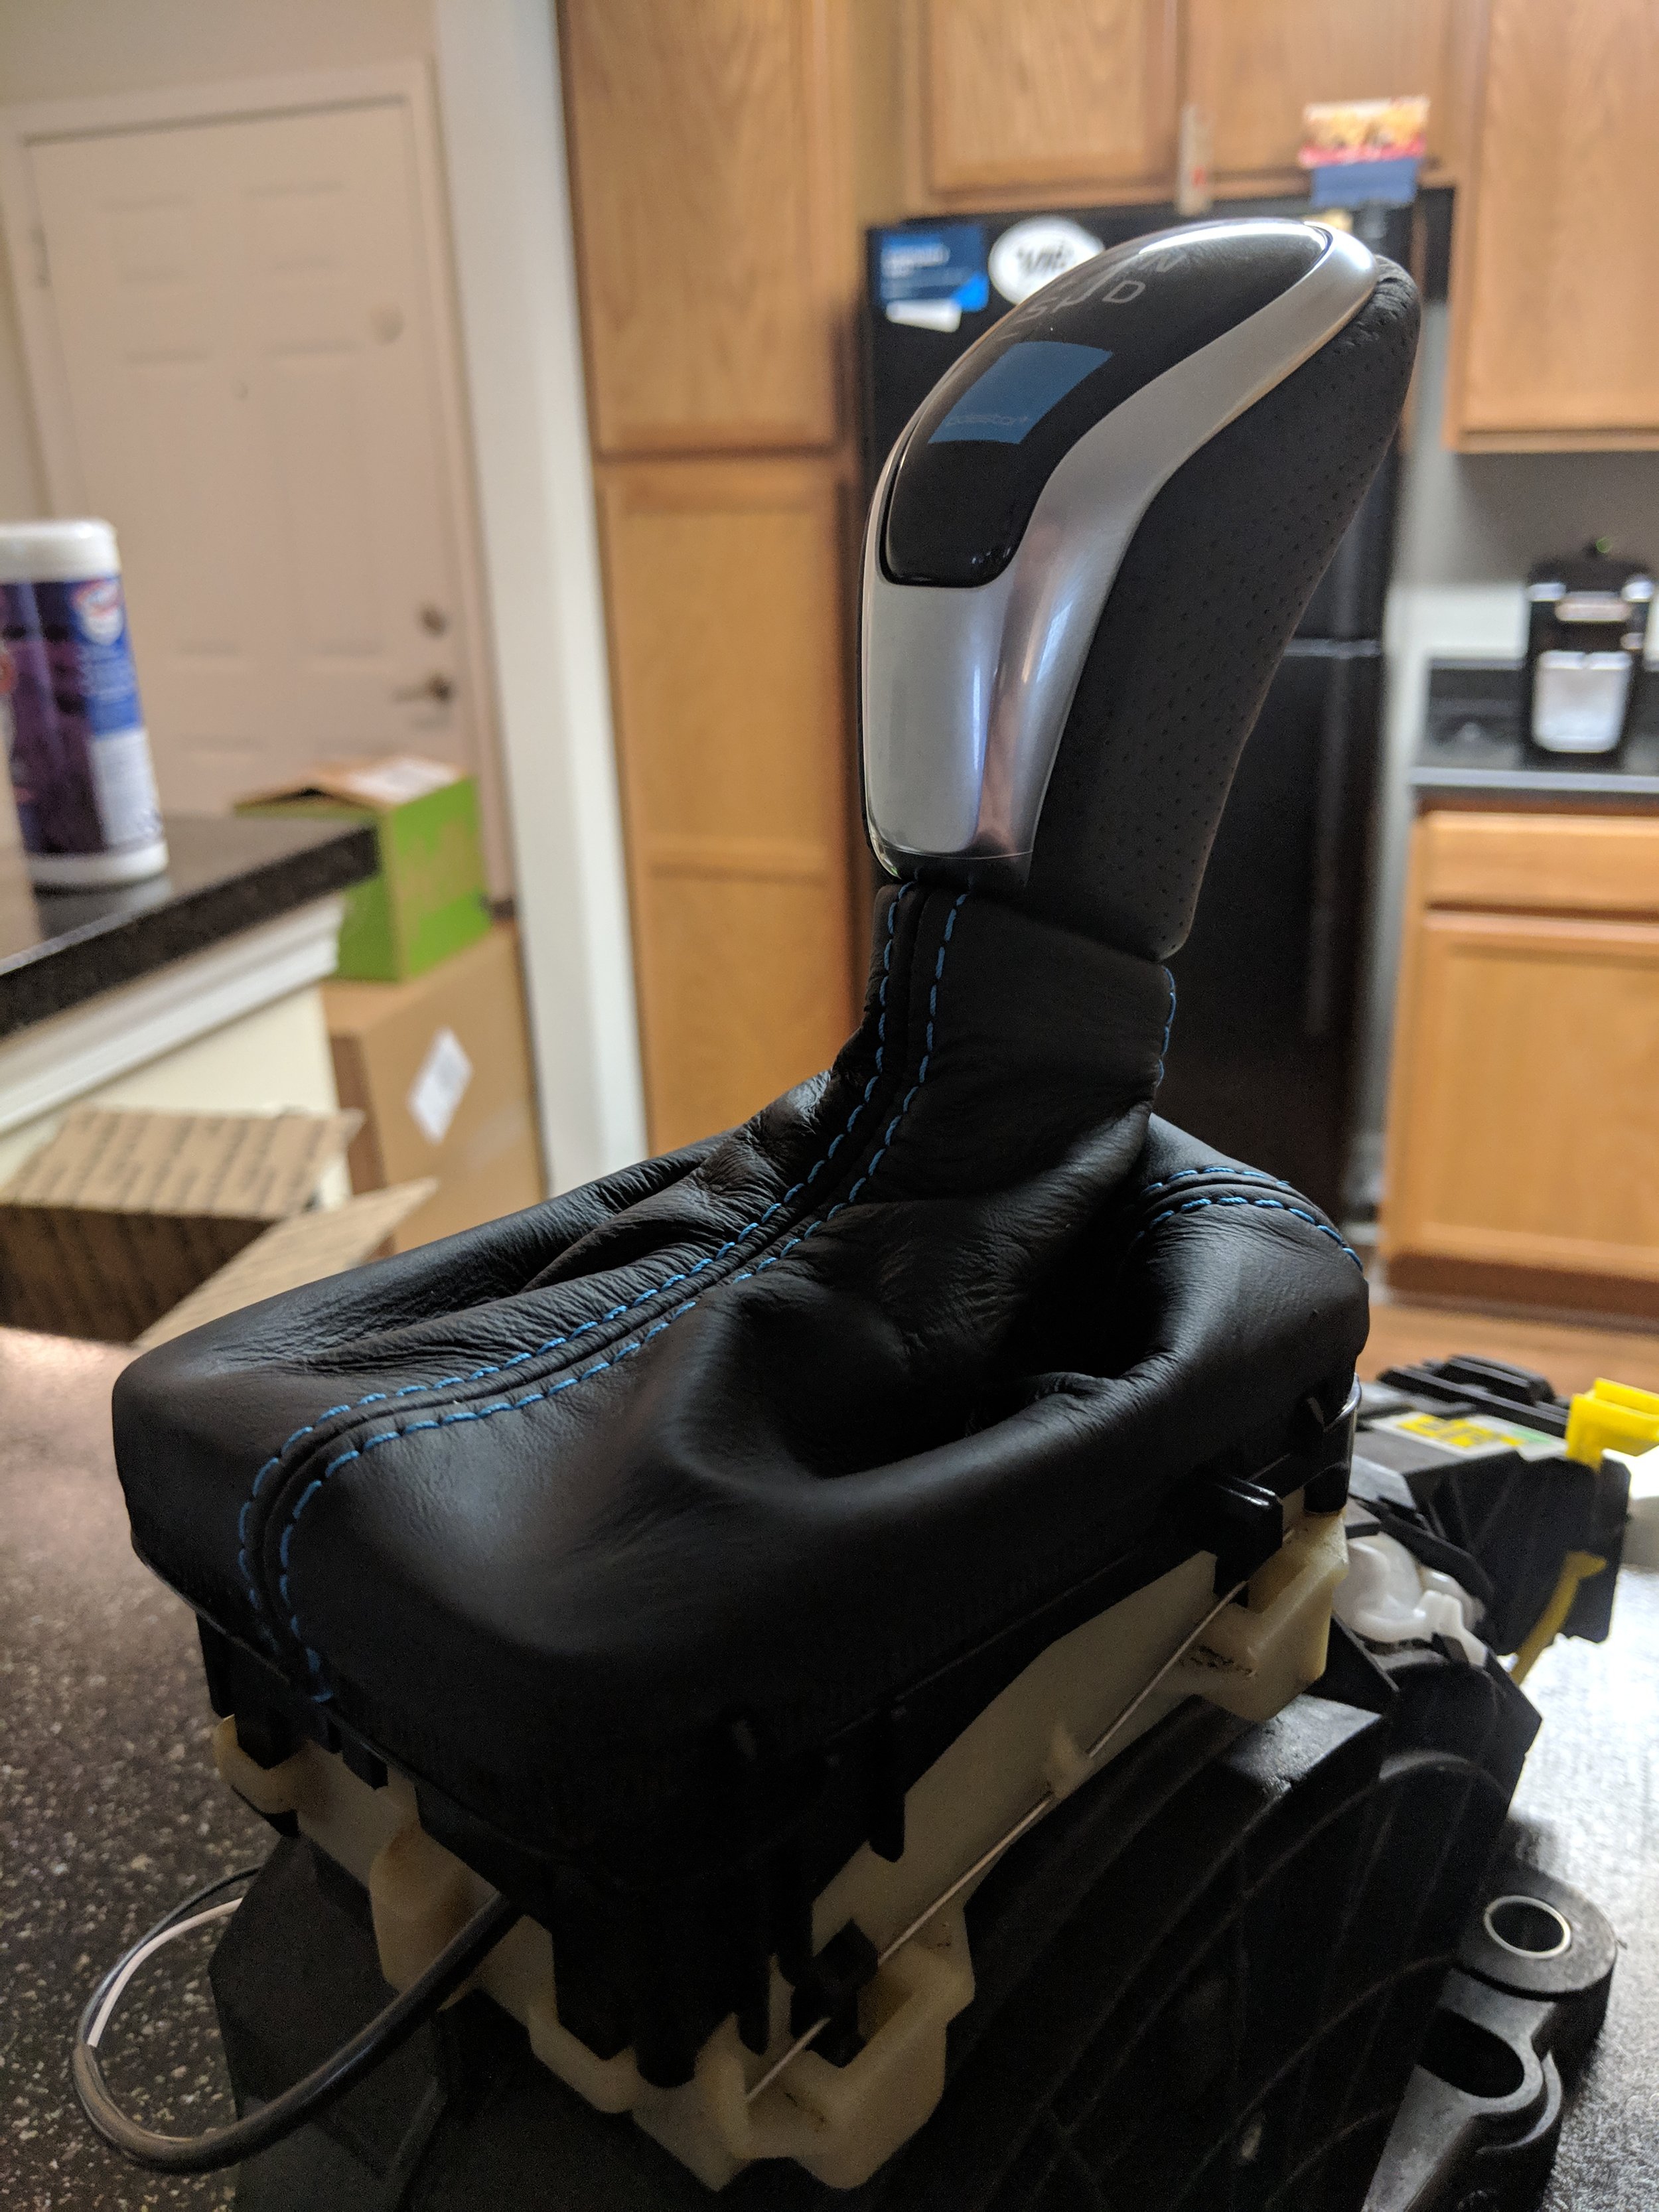
Installation of the new parts is like the teardown but in reverse. One thing to note is that you can not attach the knob and boot before attaching them to the shaft of the shifter! The design of the clips is made to that it retains the knob and boot when it is attached. During installation, place the boot on the shaft (do not clip it in until the end, especially the lower clips at the base of the boot) and then attach the knob and move it down into position. Make sure you have the knob trigger pressed in when pushing down, and test to make sure the movement is working. From there, press the top of the boot into place, this requires a good bit of force, as once these clips attach, the whole upper assembly is locked in.

From here, move the wire into the provided zip tie loop and move it around the base and plug it in. I made the mistake of clipping in the boot base clips and had to carefully undo them to move the wire into the correct location. Once the cable is in place, press down on the corners of the boot to lock it into place.
Now we will begin the process of installing the shifter into the car!
For this, I used p.ricos guide on the Swedespeed forums.
As a secondary resource, I also had handy a copy of the PDF from Vida which shows techs the process of removal.
The process is actually very easy, and may seem daunting. The tools you will need are minimal, and the hardest part is just shimmying many of the parts in and out of position. Personally this job took me around an hour and a half, and I had one other person help me.

Mid-removal of the old shifter.
Following the guide makes the process a breeze, and always make sure to test everything before re-assembly! There is a small connector on the side that if not plugged in will not trigger the brake release. Overall I am very happy with this upgrade, and the new shifter looks and feels great. Its even quieter than the old one which is a plus! My next project will most likely be my venture into the world of using V.DASH so stay tuned! I will leave the comments open on this post, so feel free to ask questions here of in the respective SwedeSpeed forum post.