
850R - Better and Brighter Tail Light Installation
The greatest enemy when working on an older car is time itself. Over time things like rubber and plastic degrade due to exposure to the elements, its just something you cant control. I ran into this issue originally when removing the new taillights that we had purchased from LKQ Greensboro. The 850 Estate that I removed them from had dry, cracking, rear trim. I had hoped that this was a isolated case, but when I went to install the new lights on the 850R I found that the rear plastic on our car was also in a sad state of brittleness. This discovery did not hamper the installation, however I had to take extra care to remove the panel clips and make sure the plastic wasn't being stressed. Unfortunately in this installation I ended up cracking one of the rear speaker grilles.
Removal and installation of the tail lights is a simple process, needing only an 8mm socket, and extension, a small ratchet, and some thin hands. The upper light pieces are very easy to remove, as both of the 8mm bolts are unobstructed by any trim panels or wires, and this piece can be removed only be removing the rear tweeter cover.
The D pillar cleaned up after removing the upper light assembally.
On the 850 wagon the lower tail light assembly is where the real fun stuff is. To get the the bolts holding the lower section, almost all of the trim pieces around the rear hatch need to be moved. On the drivers side I had a much easier time with this process as many of the clips were already broken or moved already. (I am assuming this is from one of the many rear repairs done by the dealer at some point). To get to these bolts you will certainly need a ratchet extension and some thin hands. Almost all of these bolts you will need to put on and off using your hand so that they do not fall down into the abyss below the light assembly. To make matter worse, the light harness that comes out has a much shorter loom length than the upper light, making it much harder to move it out of the way when trying to grab a bolt.
The new light with the red corner piece installed vs the old piece.

The lower light removed from the drivers side. A lot of junk has built up behind these over the years!
One thing I have to say is that being able to work on a junkyard car before your own is a great learning experience. This process is pretty straight forward, but knowing what tools I needed, and how the lights were attached before hand took out any guess work I had to do when swapping the housings out. The passenger side took me a bit more time as one of the panels that I easily removed on the drivers side was being very stubborn and required me to blindly undo a bolt using my hand instead of the socket. For this job I really recommend that you purchase a magnet-snake tool that can grab any bolts that may fall down into the car during this project.

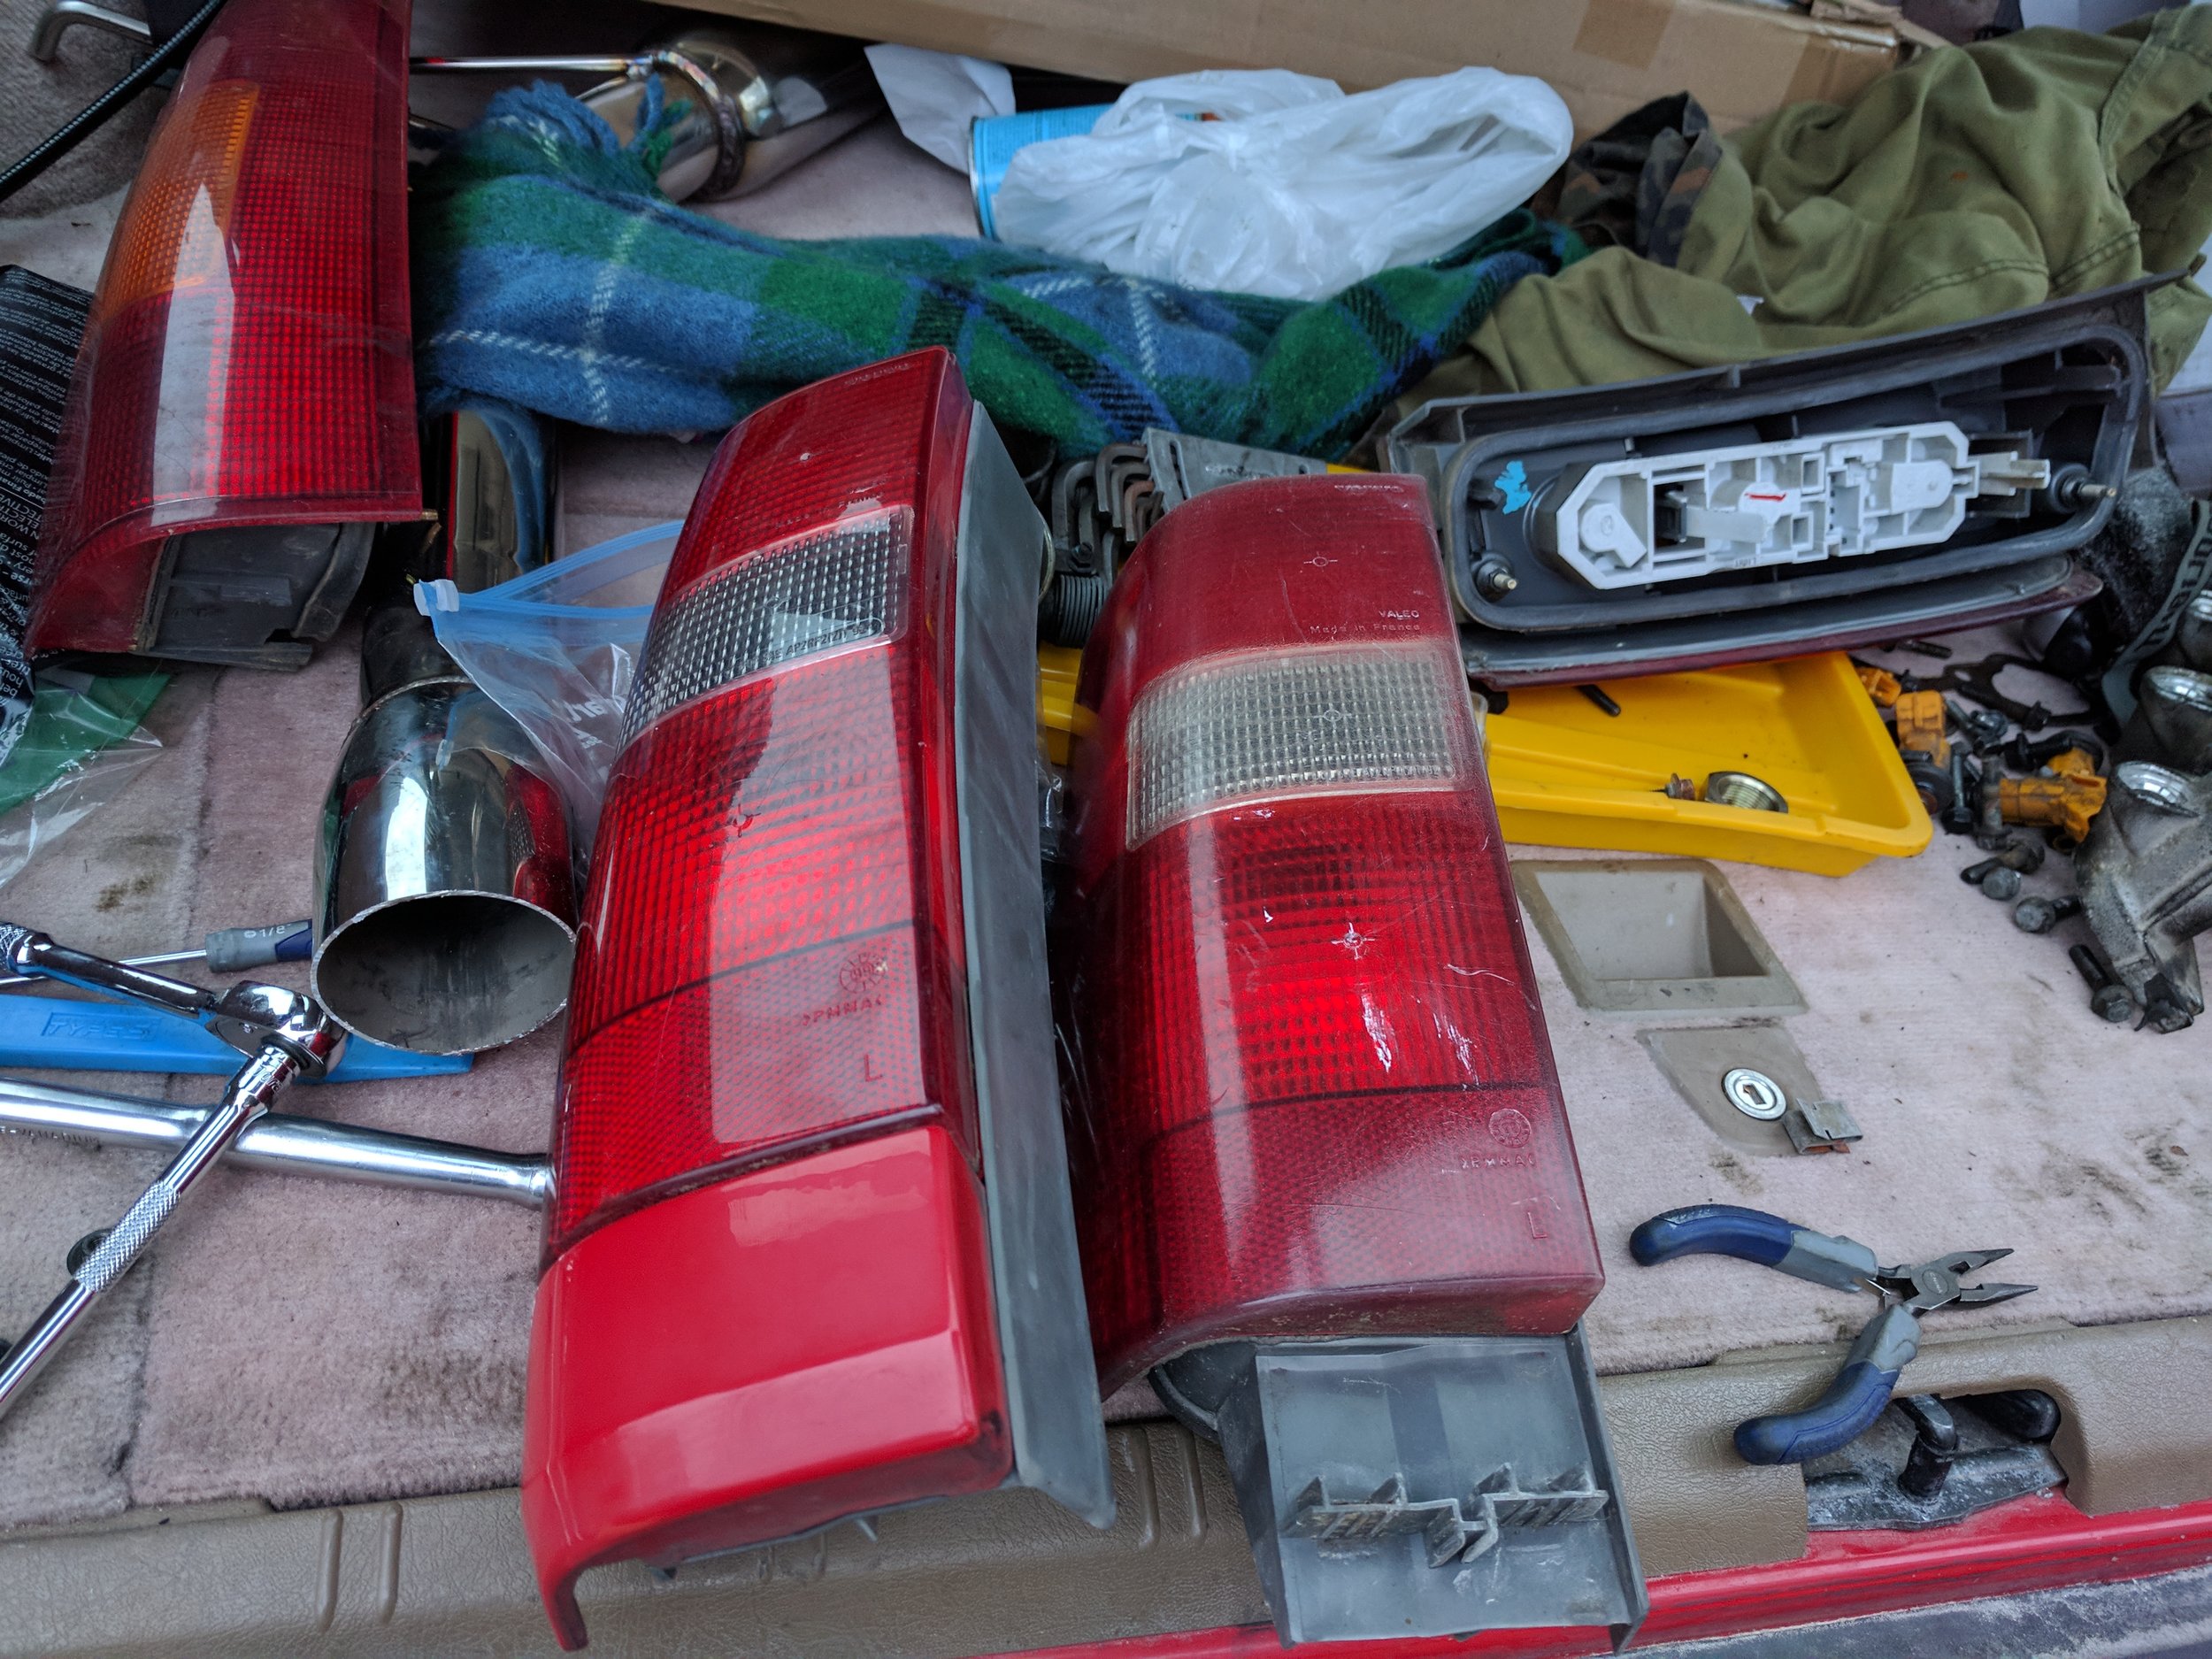
A comparison shot: new on the left, old on the right.
Overall the project took less than an hour. Even someone with little mechanical skill can get this done. Unfortunately by the time I finished it was already getting dark so the final shots do not accurately show the progression from old to new.
As a note, I would like to mention this will probably be the last update on the 850R until January when Steve and I return from our college winter break. Hopefully then we will be able to work on installing the exhaust as well as the new intake manifold. Do worry though, updates on my personal vehicle (my 2012 S60 R Design) will still be coming over the break. Have a happy holidays!