850R

850R - Junkyard Pulls for Performance & New Rear Lights

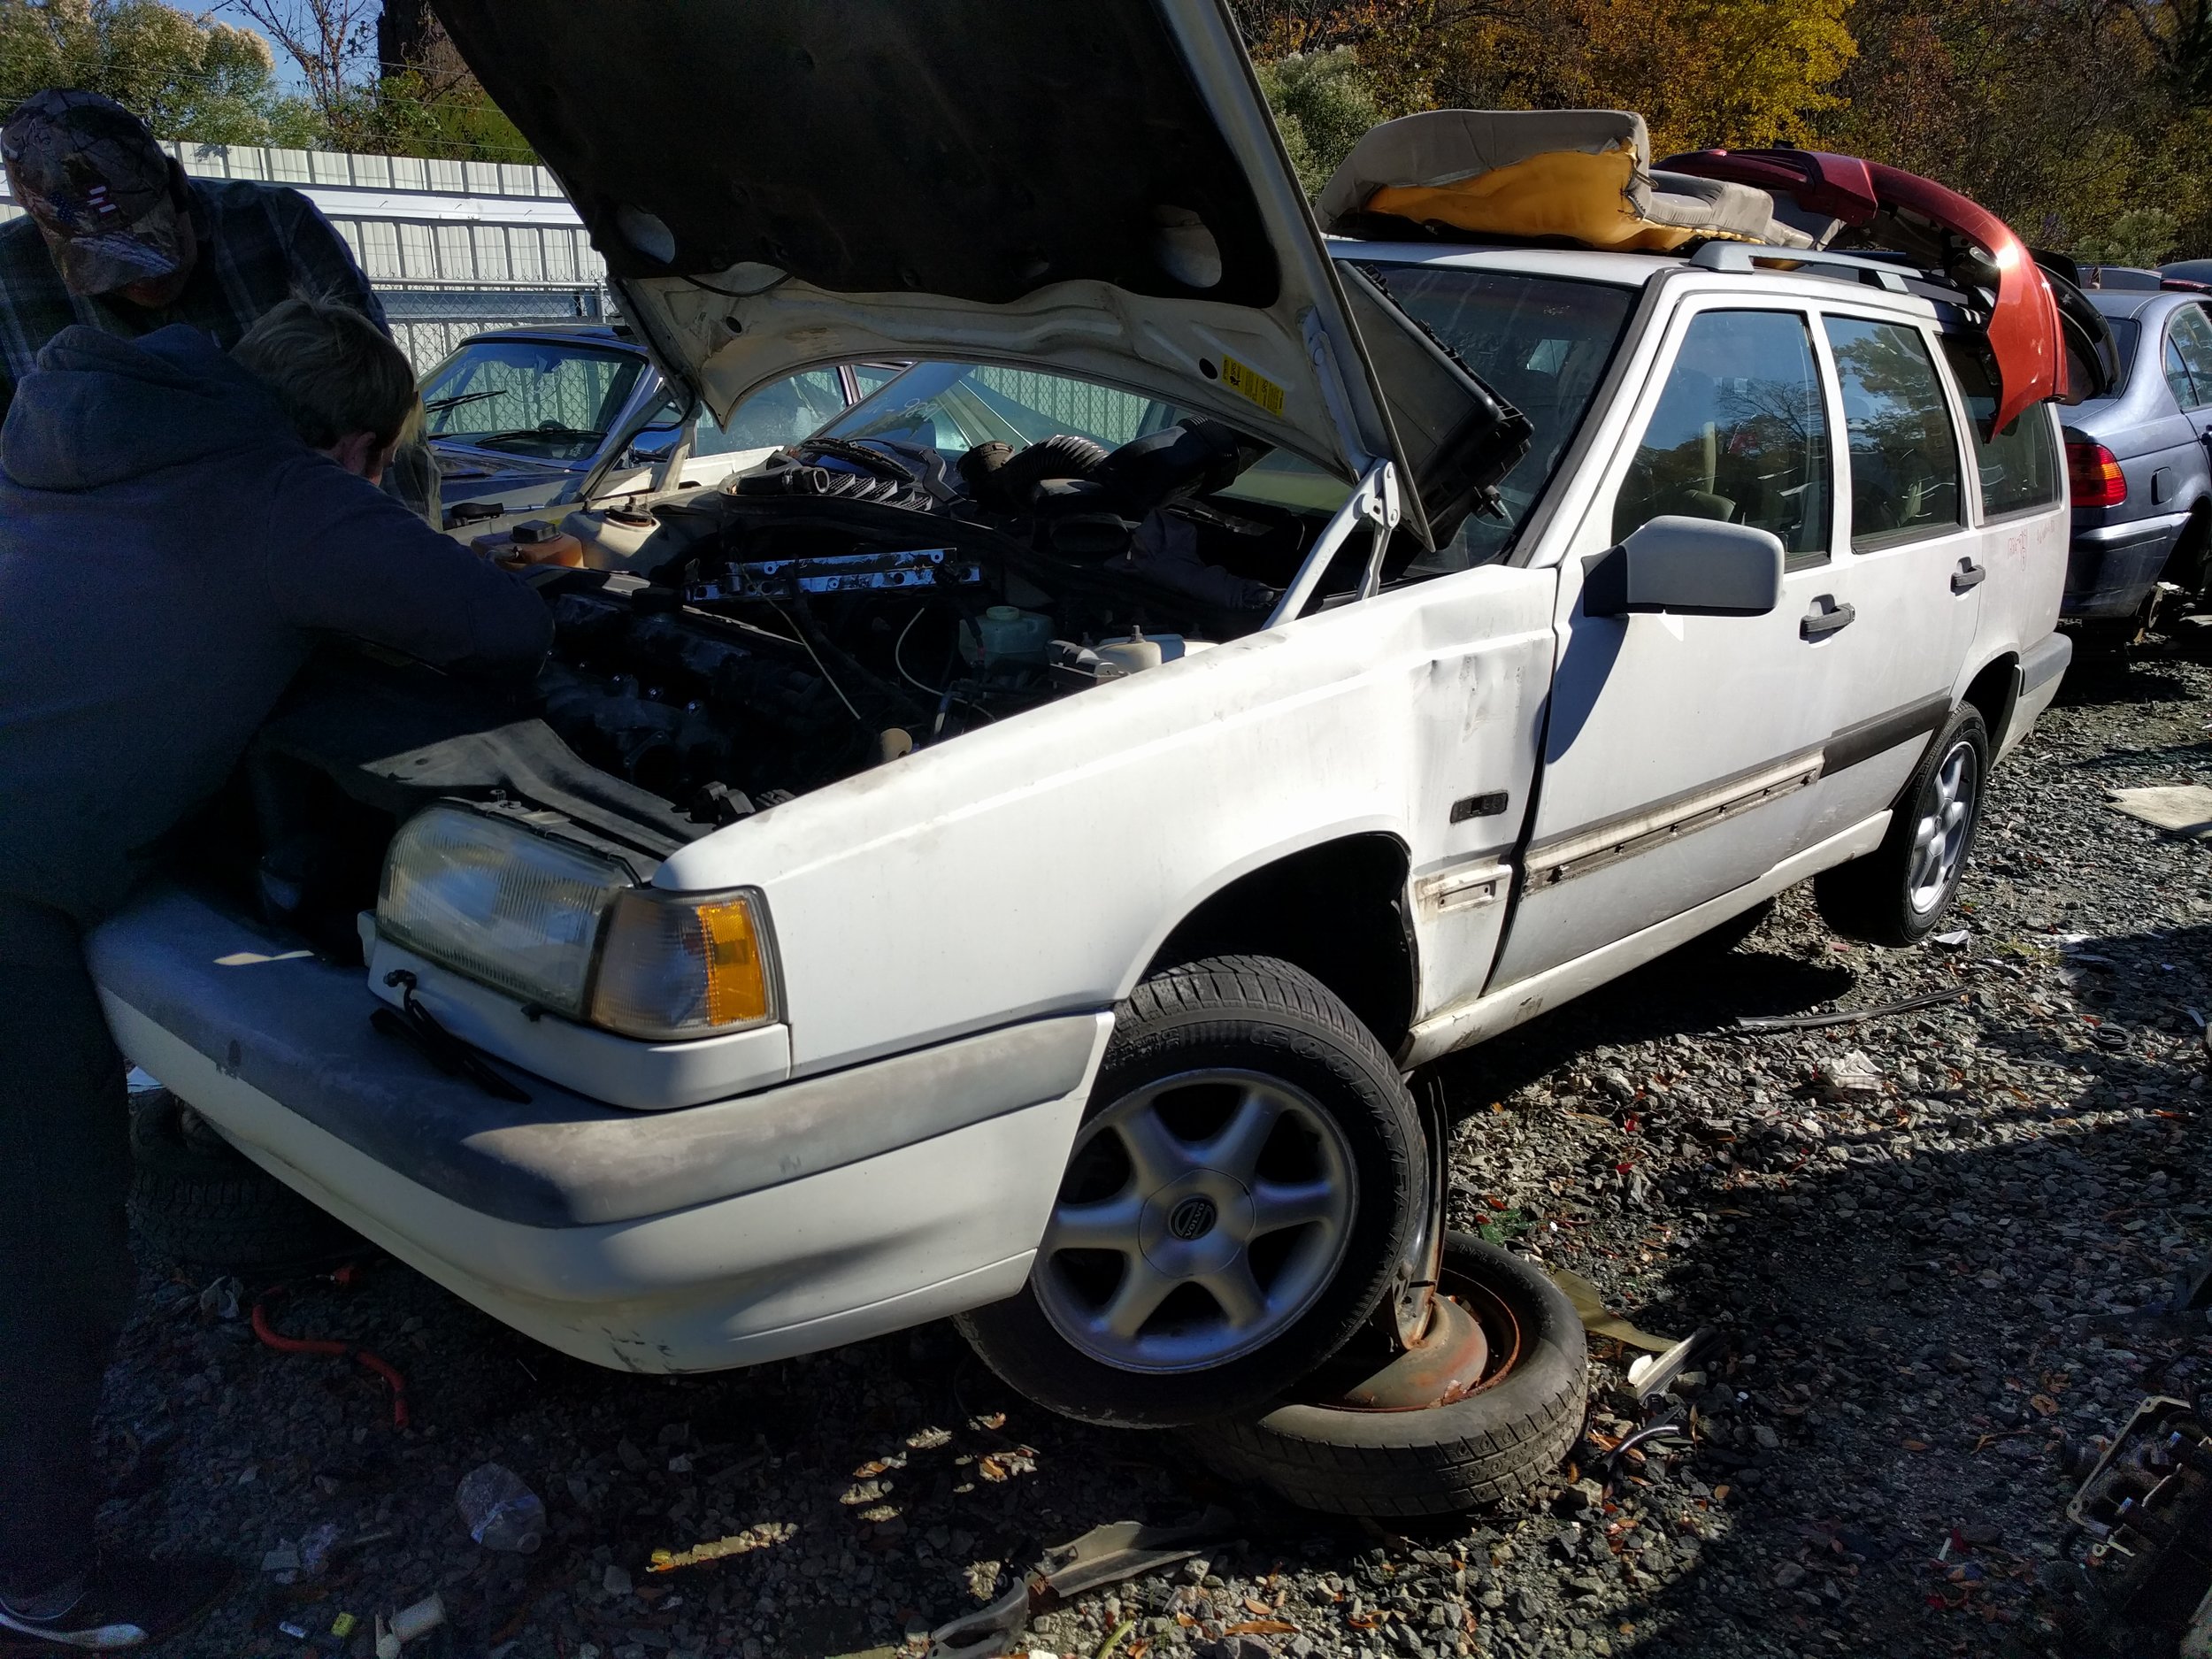
As the weather in North Carolina has started its harsh descent into winter, progress has gotten slower on the 850R. Many of the projects still left on the car are either too time consuming, or require a professionals touch (like the interior headliner). We have started working on acquiring parts for a performance upgrade that should give the 850R a bit more power. This process involves using an intake manifold from a naturally aspirated 850, and the throttle body off of a 960. As luck would have it, our local LKQ had both of these cars in (well actually we already knew that from when we had to get the new caliper). Removing the parts was easy, and while Steve and Andrew set about on removing the intake from the 850 wagon, I began the process of removing the tail lights to replace the old, beaten, faded tail lights currently installed on our 850R.

The rear of the 855 after removing the tail lights.

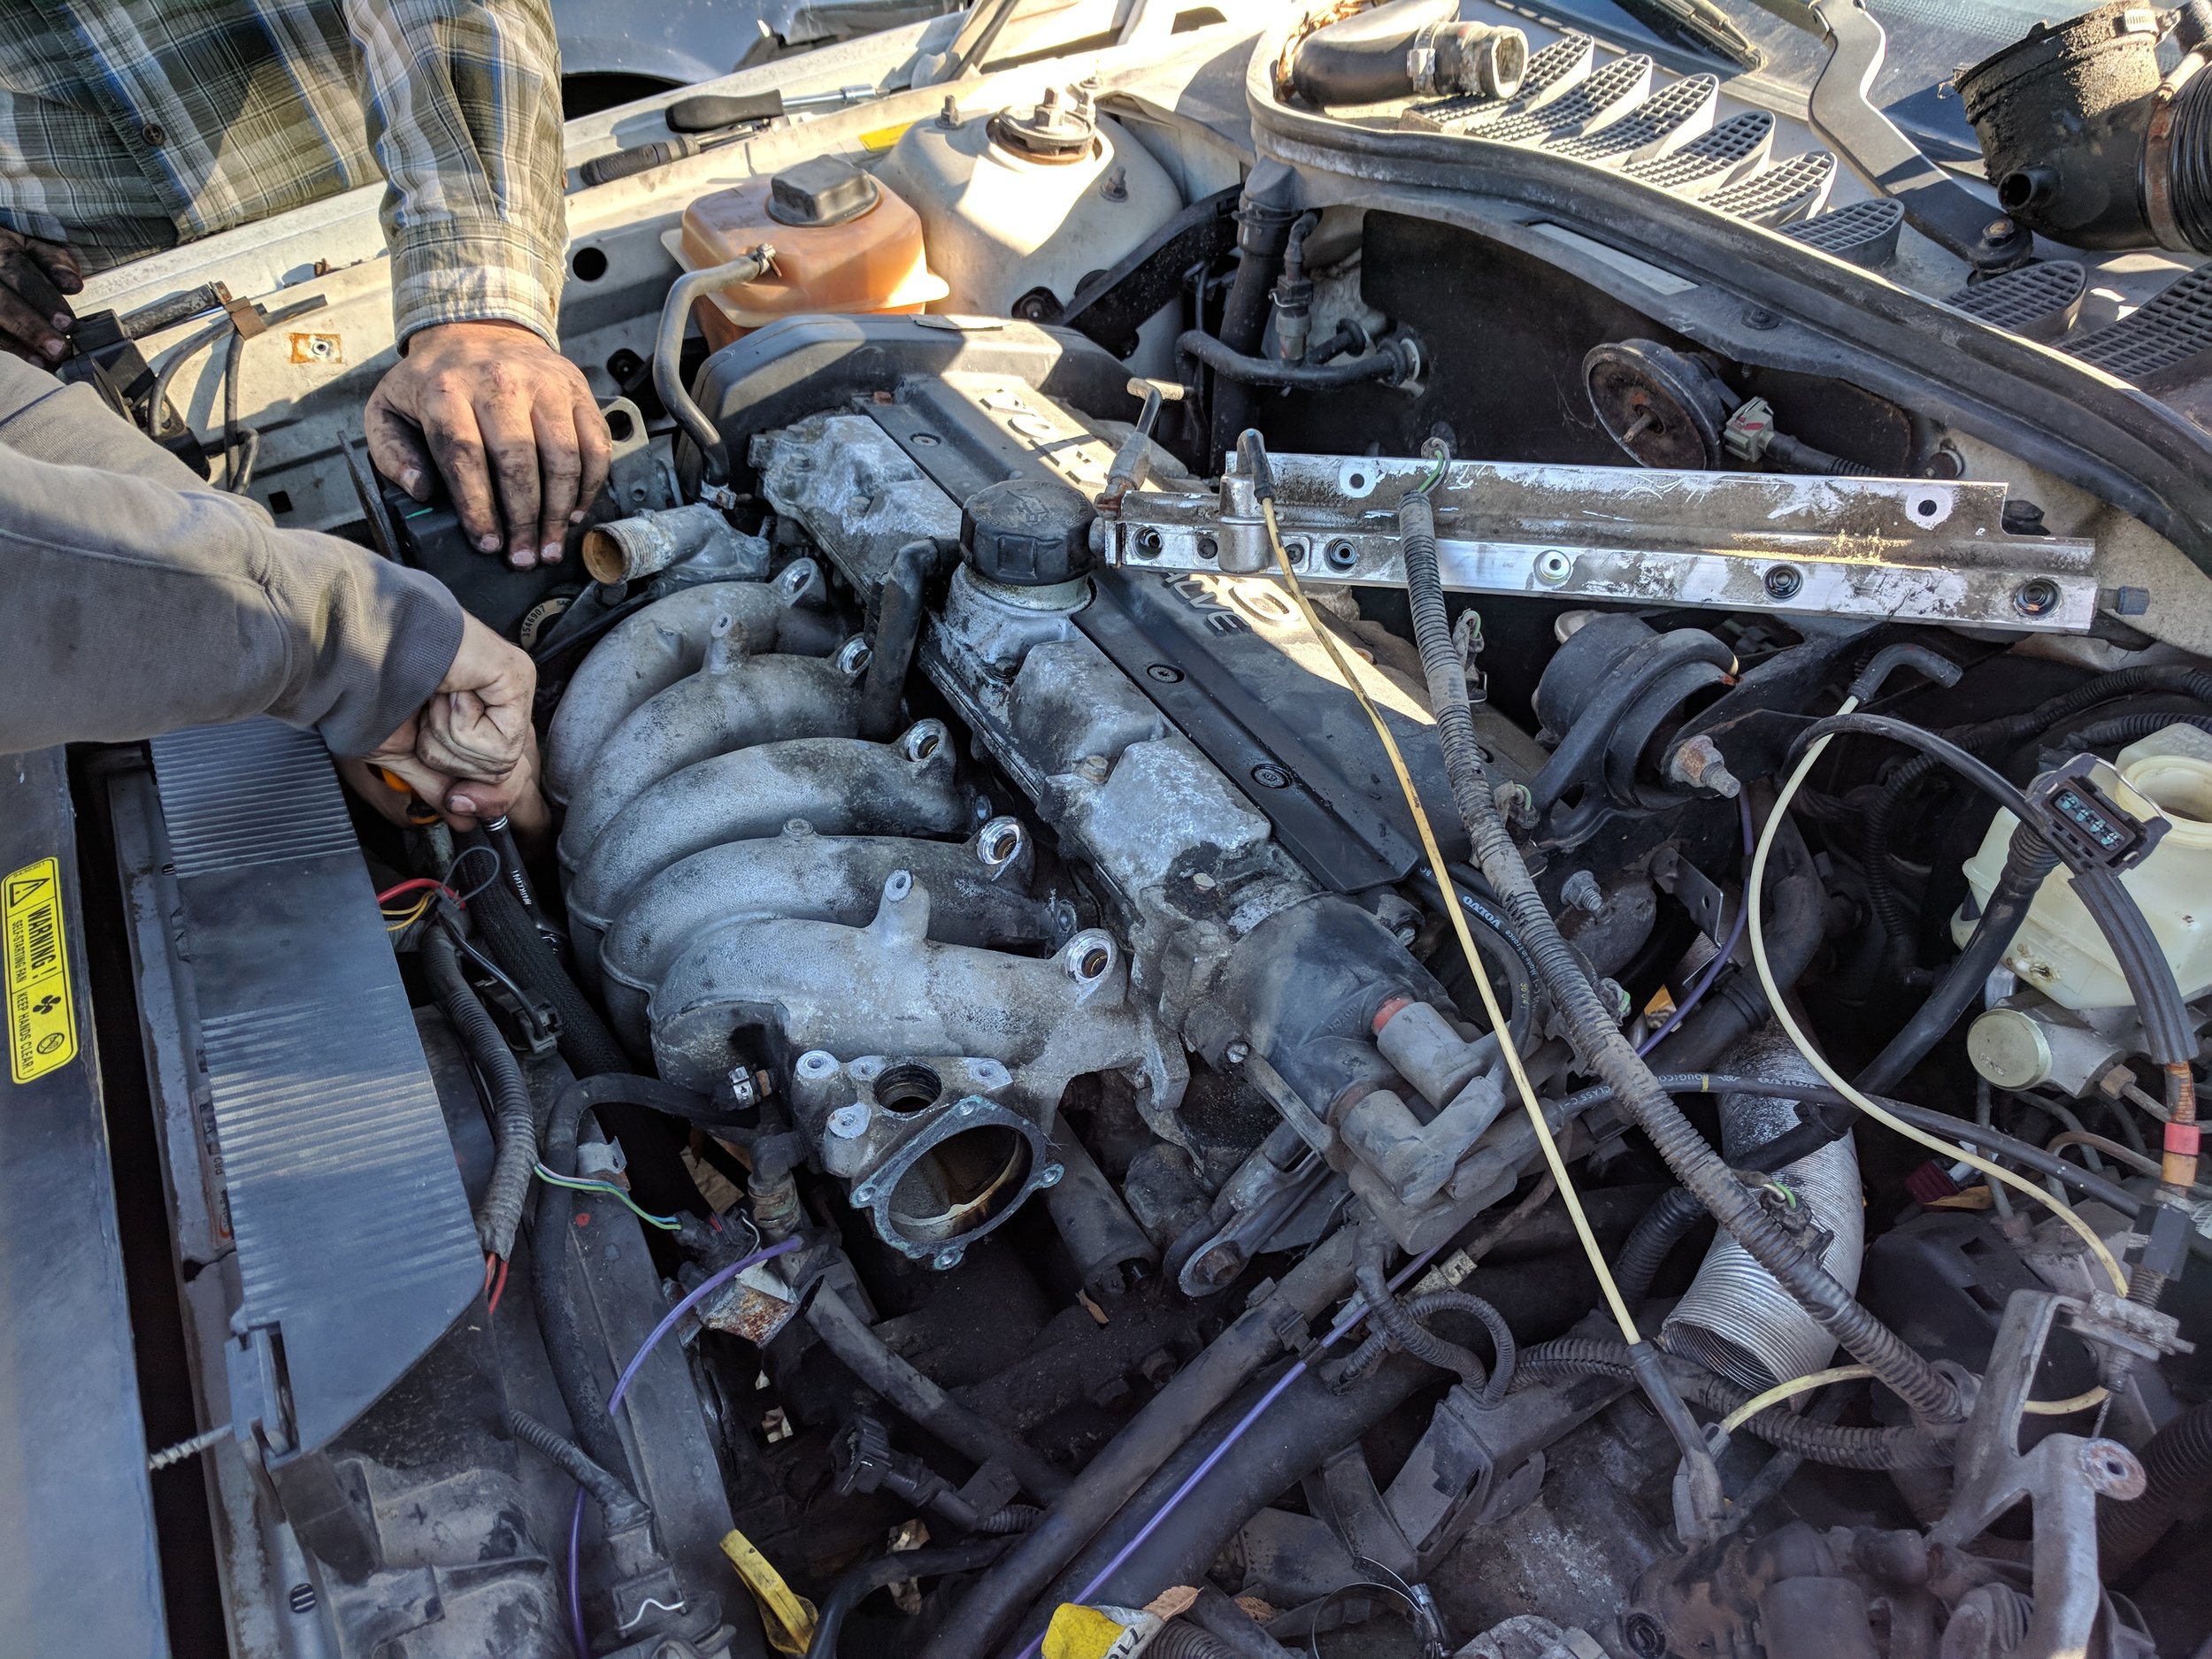
Removing the intake from the 850 was a standard affair, and while I did not take part in the removal, the process only took about 20-30 minutes. The use of an extremely lengthened wrench was needed to remove some trick bolts, however with the tool kits we brought along we had no issue getting each bolt out.

The naturally aspirated 850 features a larger, higher bore, intake manifold allowing for better airflow over the stock turbo intake manifold.

The naturally aspirated 850 features a larger, higher bore, intake manifold allowing for better airflow over the stock turbo intake manifold.

Working on removing the pieces around the intake manifold for removal.

Working on removing the pieces around the intake manifold for removal.

Our haul of parts from the 850. We are also able to take the ECUs from the engine bay.

Our haul of parts from the 850. We are also able to take the ECUs from the engine bay.

With all the parts collected, we moved on to the Volvo 960 that was also in the yard. Thankfully for us the car was only 1 row over, and was almost completely untouched. On this car the only part that we needed was the throttle body. The throttle body from the 960s 6cyl engine has a larger diameter inlet, and will allow us to increase airflow. This increase in air flow from both the new throttle body and intake manifold will create a good starting point for a performance tune on our 850Rs engine. The one down side of this modification will be the need to have the car dyno tuned to properly match the air/fuel ratio. If we can not achieve this, expect to see these parts in the Volvo Parts section of the website!

Steve and Andrew working on removing the throttle body from the 960. 

Steve and Andrew working on removing the throttle body from the 960. 

With the warm patch of weather we should be able to install the new tail lights and interior trim pieces. Stay tuned as we continue to build and work on this amazing project!

850R - Stage 0 Dreams Pt. 1

After a lot of swearing, cursing, and collective problem solving the 850R went back on the road today. The progress towards fully stock, aka Stage 0, has made many leaps and bounds in the past few days. On both sides of the car we have installed brand new sway bar end links, control arms, tie rods, stainless steel brake lines, rotors, and pads. The final piece that we competed was flushing all the brake fluid, which was something that should have been done a long time ago. The brake fluid in the lines was so full of particulate that the initial pumps sent out a jelly like substance before any sort of fluid. We also discovered a flaw in the 850s stock brake lines (a common issue as mentioned on the forums), they had built up so much pressure, and were caked with so much road grime that they were fully fused to the brake hard-line. Luckily, like the bolts on the passenger side, we were also to use the Dremel to cut the lines and remove them for the new steel brake lines. It is also worth mentioning the CV axle was re-installed as well, as has worked great.

A shot of the new Brembo discs, along with the stainless steel hard-lines and new hadware installed.

A shot of the new Brembo discs, along with the stainless steel hard-lines and new hadware installed.

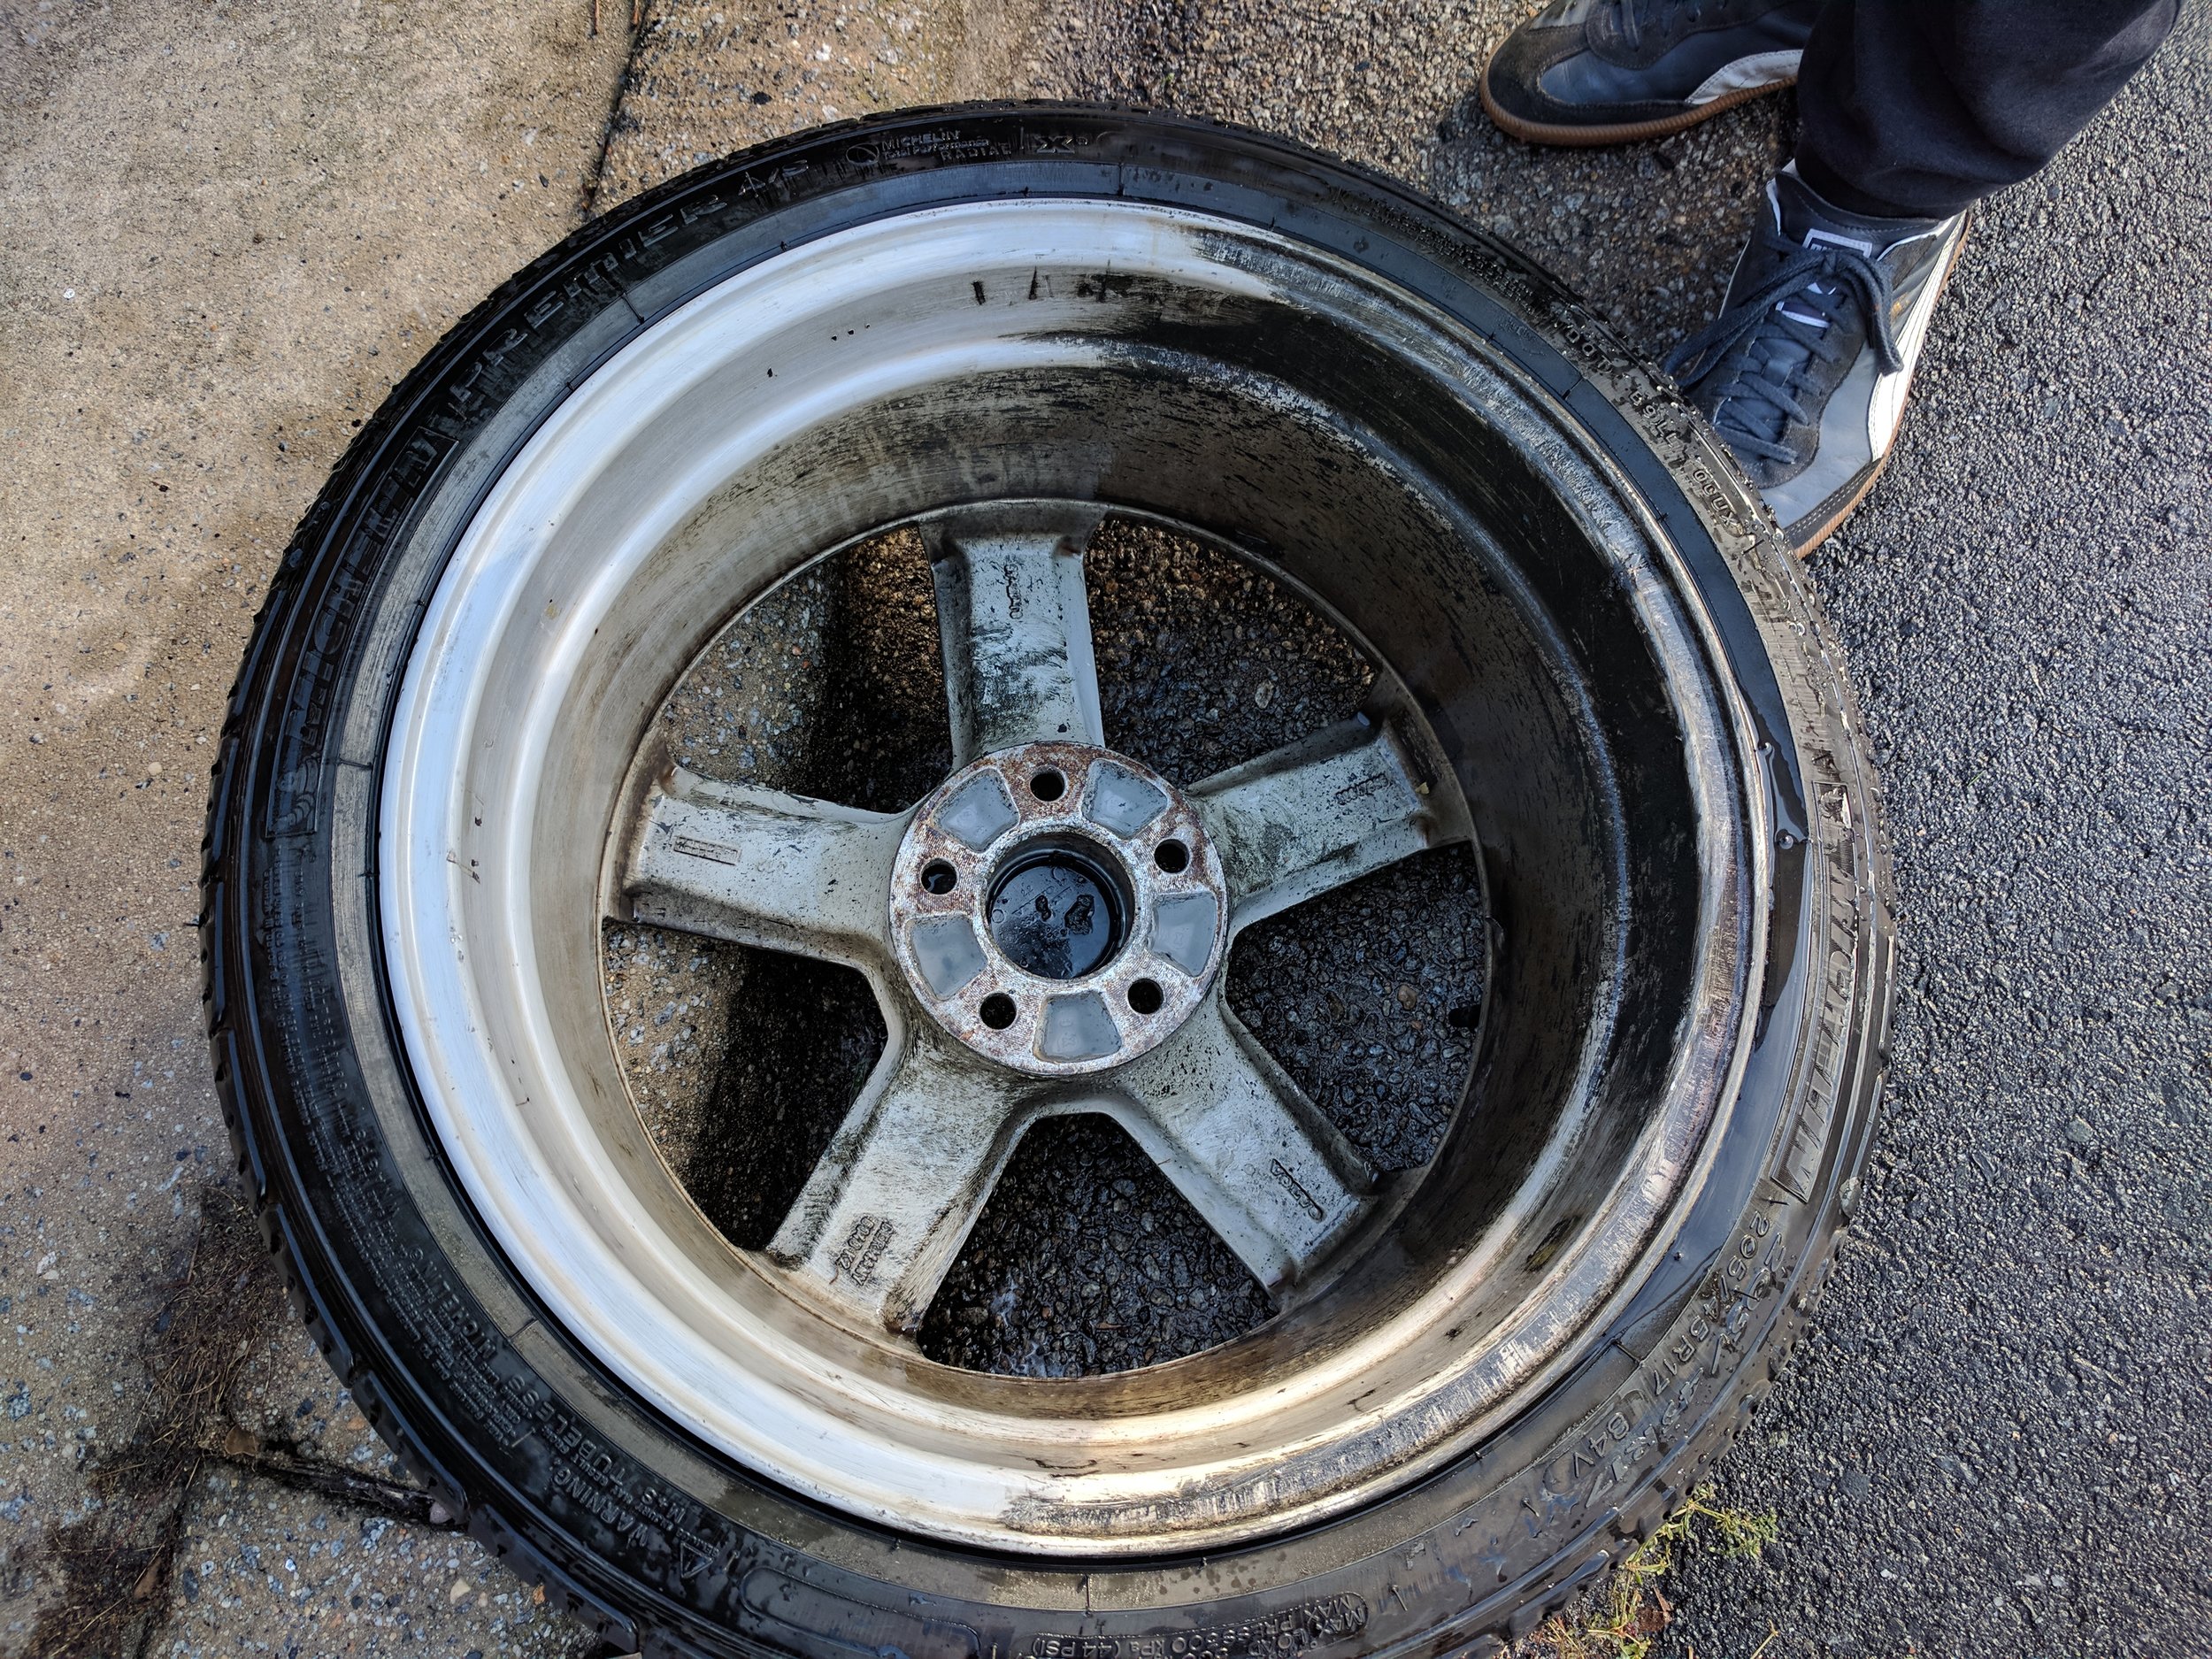
What wheel cleaning fluid and steel wool can do to remove road grime and splattered axle grease. Unfortunately the Pegasus wheels we have still need major repairs for the curb rash that they have developed over time.

What wheel cleaning fluid and steel wool can do to remove road grime and splattered axle grease. Unfortunately the Pegasus wheels we have still need major repairs for the curb rash that they have developed over time.

A shot of the installed CV axle with the new boots. You can also see the new tie rods and sway bar end links.

A shot of the installed CV axle with the new boots. You can also see the new tie rods and sway bar end links.

With as much as we have completed so far, there is a lot to go. A falling headliner, and a mysterious oil leak still need to be remedied. A fluid flush of the cooling system may be in order, along with new oil. In the more short term, we need an alignment, and plan on getting many more bits and pieces from some donor cars to fix pieces on the interior and exterior.

850R - Firestone Fixes CV Axle while Suspension Nears Completion

After trying, and failing, to repair the axle boots ourselves, we finally broke down and decided to have them professionally rebuilt. To our surprise, finding a shop that would do this was more difficult than we expected. Many automotive shops in High Point, NC would not touch it, and the one axle & drive-train shop that we were sent too seemed like it had been out of business for quite a few years. We were giving up on the idea of having the boots replaced and focused on a re-built one sold by O'Rileys or NAPA until I saw that Firestone, of all places, will actually repair CV boots. For the tune of $52, we were able to have the boots installed and repacked.

The new axle coming back from Firestone. New boots along with new grease. We did not check the bearings for damage, as when we removed the boots there was still a large amount of grease left in the original boots.

The new axle coming back from Firestone. New boots along with new grease. We did not check the bearings for damage, as when we removed the boots there was still a large amount of grease left in the original boots.

With the axle done Steve was able to button up the passenger side suspension with the new control arm, sway bar end links, and new tie rod. With this complete we are slowly getting closer to moving onto new parts of the project. The new brake discs from FCP Euro (OEM spec Brembos) along with new brake lines will most likely be installed soon as well. After these parts are installed it will be a matter of bleeding the brakes for new fluid, then isntalling new pads to the calipers.

Interior work is coming soon as well. We have installed the new panels on the rear, however there are still many sagging trim panels to fix, broken clips to replace, and dirty interior fabrics to be deeply cleaned.

The passenger side suspension all buttoned up. We will defintely need to get an alignment though!

The passenger side suspension all buttoned up. We will defintely need to get an alignment though!

850R - Axle Removal and CV Boots Halt Progress

Today we were able to finally get all the bolts removed that we needed to continue on the passenger side. After removing the axle and cutting the old, ripped CV boot off we began to remove all of the axle grease. Unfortunately the clip that holds the end of the axle on (near the hub) that we are unable to reach with our tools. This means that the boots will need to be installed by a professional shop after the weekend. Hopefully once this is done we can continue progress of rebuilding the passenger side suspension (tie rods, sway bar end links, control arms, etc.) Overall the cost of the rebuild will not be that high, and NAPA carriers re-manufactured axles for $50, a steal!

Old and new tie rod ends. They were completely worn on the drivers side as well and most likely contributed to the bad pull we had when braking.

Old and new tie rod ends. They were completely worn on the drivers side as well and most likely contributed to the bad pull we had when braking.

By the end of next week the new brake lines and brake discs from FCP Euro should arrive and allow us to button up the entire front end. After this our plan is to drop the exhaust and take a look at the mysterious oil around the turbo. With any luck it will be a leaky gasket, however worst case we rebuilt the turbo with Steve's plan of a 20 blade turbine.

850R - Air Tool Woes and Broken Brakes

As any shade-tree mechanic knows, there is nothing worse than an over torqued nut in a hard to reach place. Unfortunately, as we have continued to progress on the 850Rs front steering and suspension components we have run into issues of over-torqued bolts, most likely done with airguns by incompetent service techs. We ran into this issue on the lower strut tower bolts (first pictured), and the upper bolt for the sway bar end links (also pictured). Thankfully due to their location we were able to cut the nuts off the bolt and hammer them out. In the case of the sway bar end link, the thread was part of the linkage, however they would be replaced anyway. The bolt that was cut from the strut tower was easily replaced, Steve and I found a few 850s and a donor S70 in our local LKQ Pick-A-Part, which also allowed us to get the second piece that we had broken yesterday, the drivers side brake caliper.

The bolt that needed to be cut from the strut tower. This bolt also prevented the brake caliper bolt from being removed which posed quiet an issue when using the Dremel cutting wheels.

The bolt that needed to be cut from the strut tower. This bolt also prevented the brake caliper bolt from being removed which posed quiet an issue when using the Dremel cutting wheels.

The end of the sway bar linkage that needed to be cut for the linkage to be removed for replacement.

The end of the sway bar linkage that needed to be cut for the linkage to be removed for replacement.

Unfortunately in our haste to break the castle nut off the passenger side of the car, we neglected to affix any disk inside of the drivers side caliper that was sitting off the car on a bucket. By compressing the brakes, the drivers side caliper ended up shearing the rubber seals on the piston, effectively ruining the caliper. Now because we were already at the pick-n-pull for the bolt, we snagged the (somewhat) newer caliper off of the S70 we were working on. Now for the tune of $25 we were able to fix our mistake without any major setback.

Additionally we found two tan trim pieces that we needed that were originally missing from the rear hatch. The 850 that we found in the yard also had much clearer, newer, tail lights that we will most likely take in the coming weeks. By the end of the week, we should have the all new control arm, tie rod, and sway bar end links installed on the passenger side, along with the new CV boots which Steve and I will be doing a seperate write up on.