
NordCarolina Blog
Formerly BoostMoose.com
Volvo 960 Project Pt. 6 - Still Alive
As usually, my writings tend to drop off during the spring into the early summer. The weather is nicer, things are happening and with the full removal of any travel and event restrictions, my time on weekends isnt spent sitting at a desk all day. Actually, that’s a lie but I am still busy! God knows how much Volvo stuff has been going on since my last post back in March, but it has been a lot. Progress on the 780 has been slow / stalled out. I have lost a lot of motivation in working on it, and just have been waiting for a few small pieces to tie it all together and get it ready for sale. In the mean time, I have started a project on the 960 that I never thought I would have the ability to do… fully deleting the sunroof.
This topic has been, shall we say sensitive, to many of my European friends across the internet as they believe that a sunroof is the peak of luxury. “How could you do this, and why?!” they say. I said, with an angle grinder.
But all joking aside this was a project a long time coming, as the sunroof in my 960 had been leaking for some time. Even after resealing the glass and the drains, I was still getting significant water intrusion into the car. The roof and headliner were a few things I never really showed off in the car, or always tried to hide in photos. Much of the panels were either damaged, peeling, ripped, etc. I wanted to redo the interior, but it would have been a moot point if it was just going to get damaged by water again.
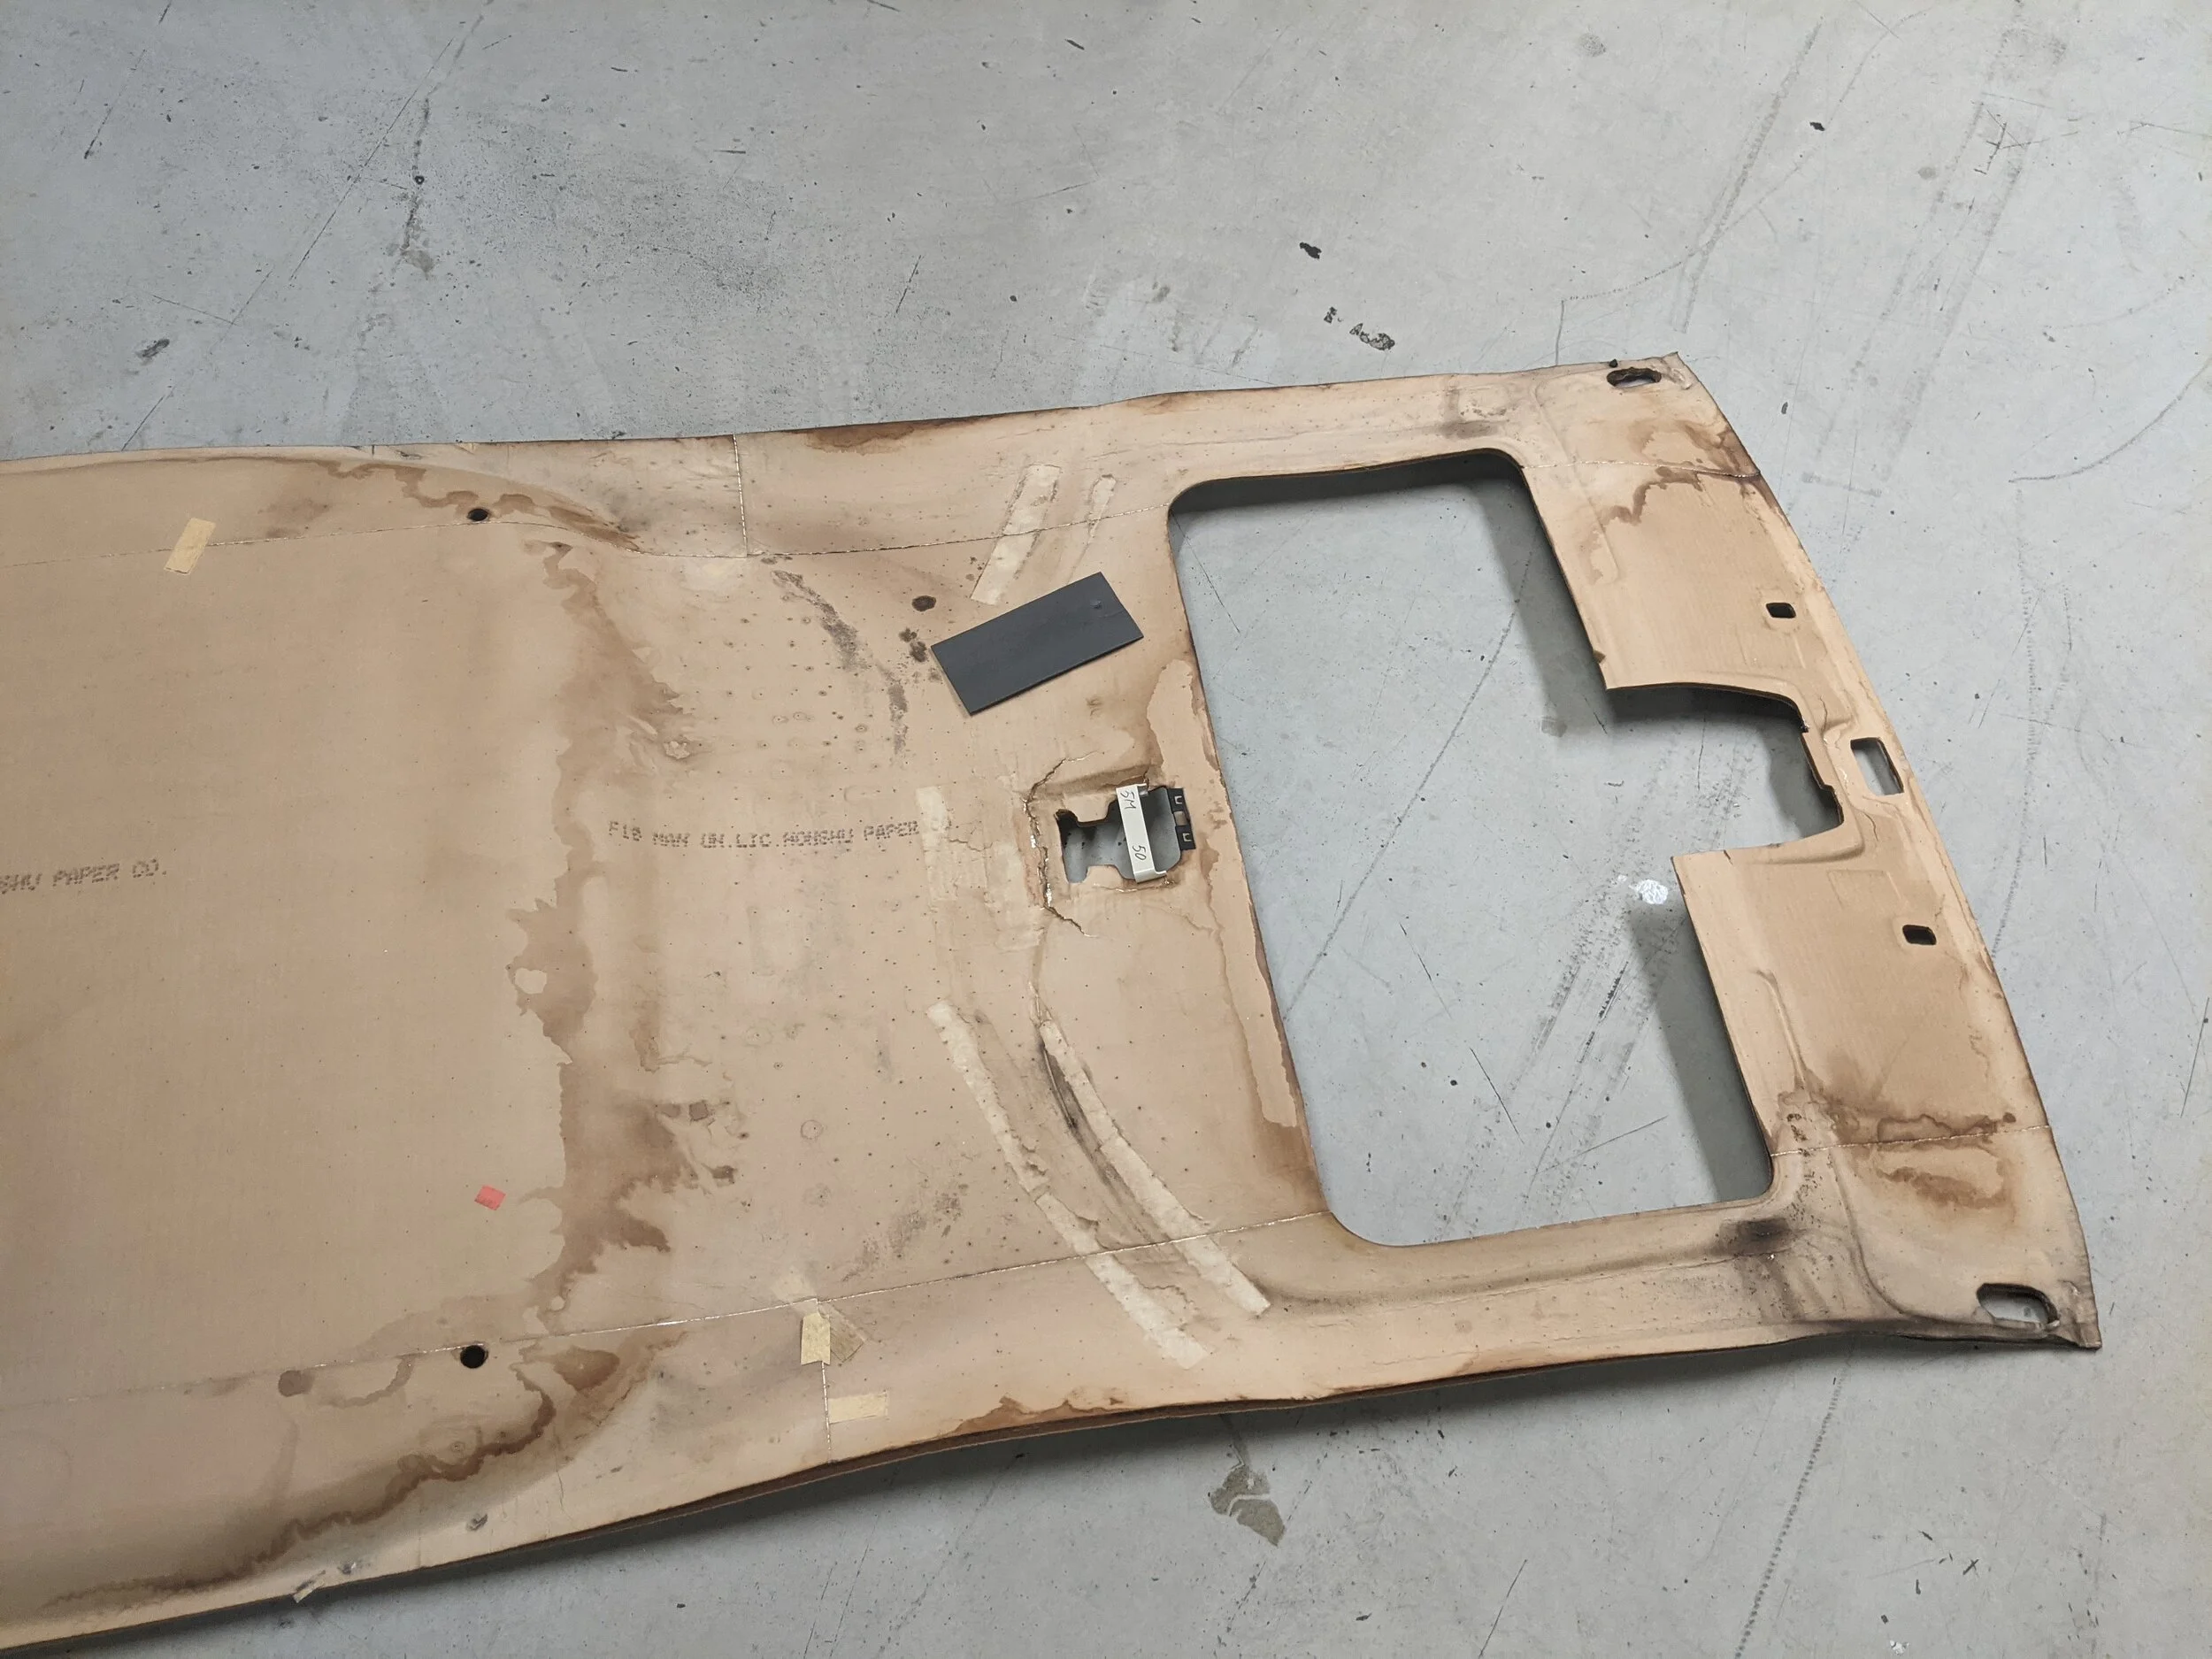
The headliner was severely damaged from water, and had warped entirely.
Like anything, the best way to start was jumping right in. I started by removing almost all the interior panels from the door panels up. Much of the tan fabric interior had signs of water damage as it was peeling away from the brittle plastic backing. The headliner, which had been sagging for some time, was in a state when removed. The cardboard like material was falling apart, and signs of mold were beginning to show.

I also collected all the pieces I was going to need for the interior. Thankfully, a 940 wagon interior was just what I needed. The panels are identical to the 960, but lack the fabric covering, make them very easy to work with and paint. I was also able to get the new headliner from said 940, which did not have the hole from the sunroof. Lets just say, driving with a spare headliner inside a car of the same size, isnt very fun.

The panels laid out in the sun for drying.
For this project I grabbed the A, B, and C pillar panels, all of which were painted with a coat of Duplicolor Vinyl and Fabric Coating, gloss black. This was also used on the headliner as well. it adhered very well to the panels after they were quickly wiped down and cleaned before paint. Using the sun, they dried almost instantly. All of the small interior pieces also received a quick spray like the mirror cover trim, grab handles, and screw covers.

After removing the interior assembly of the sunroof, it was time to sink the teeth in. This was easily the hardest part of the process, not because of the very slow grinding, but also because I wasnt quite sure how I should be doing it. The sunroof is supported inside the roof by an extra cage that is welded into the roof structure and has the roof skin folded down into it. The metal would need to be removed to make room for the new headliner, so cutting was a must. The first corner was rough, however I slowly started to get a feel for how the metal was shaped and where to cut to make pulling the supports out easy.

DONT BE LIKE ME, COVER YOUR WINDOWS AND PANELS BEFORE GRINDING OR WELDING!
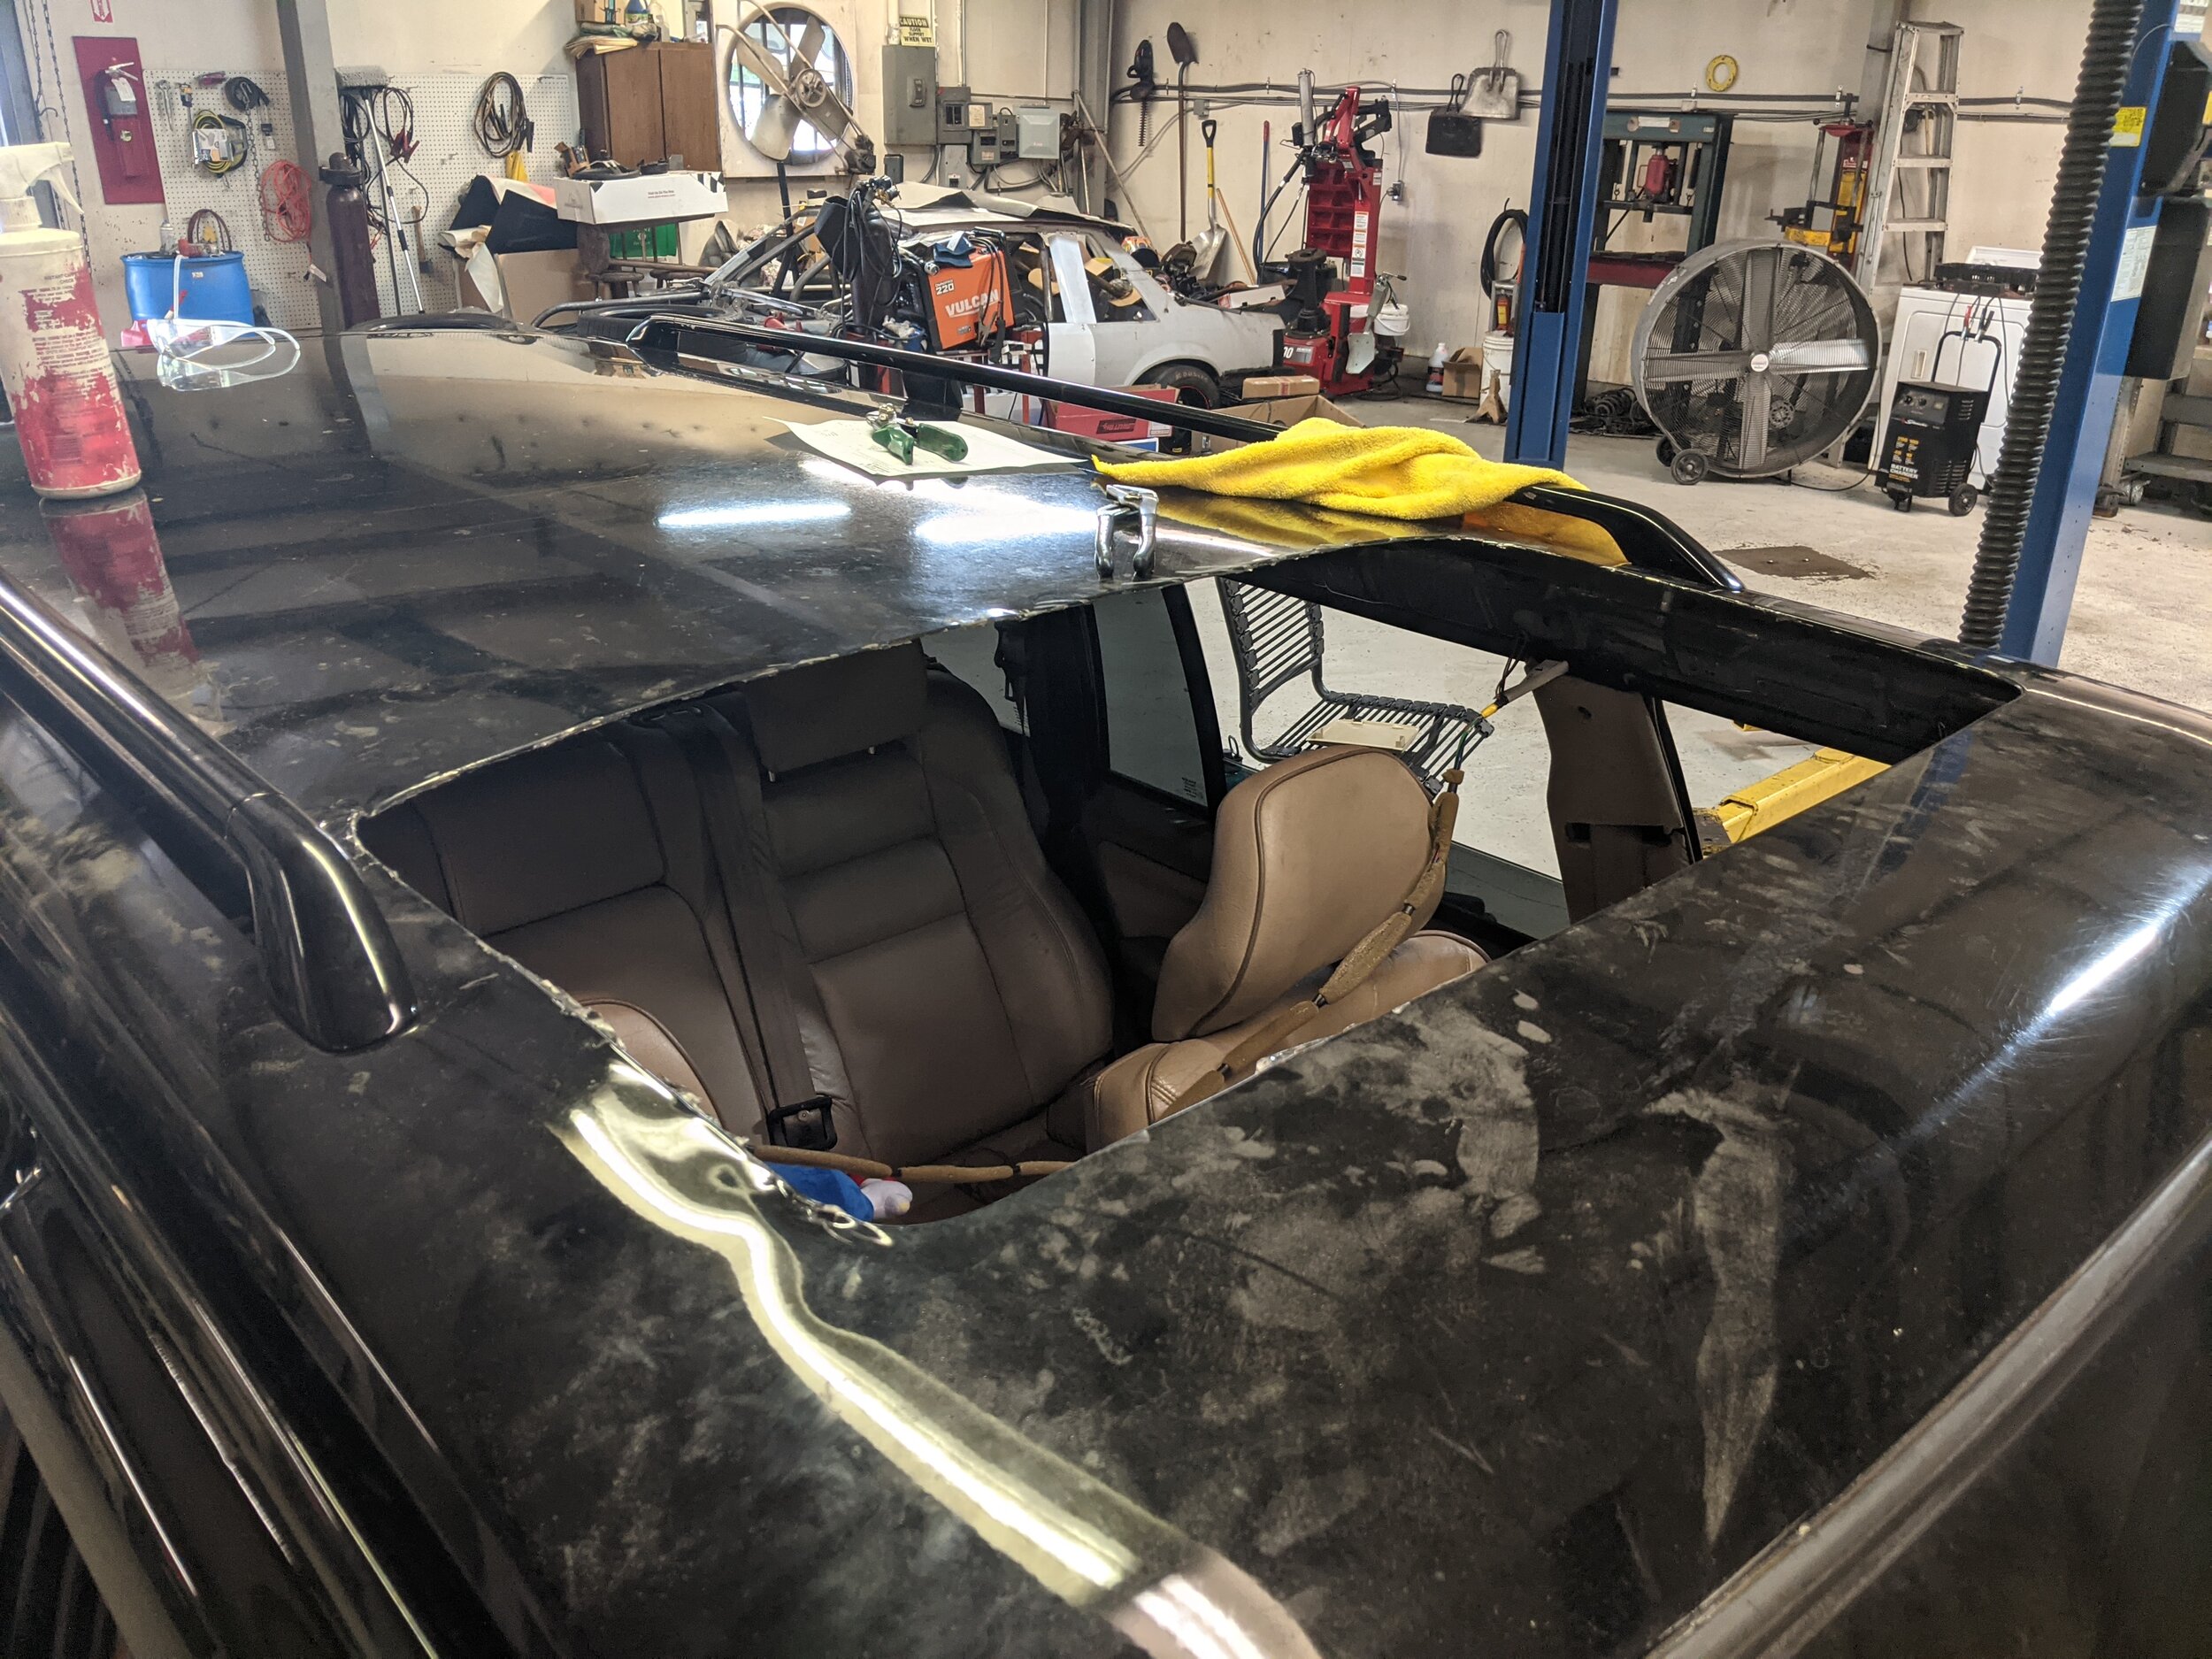
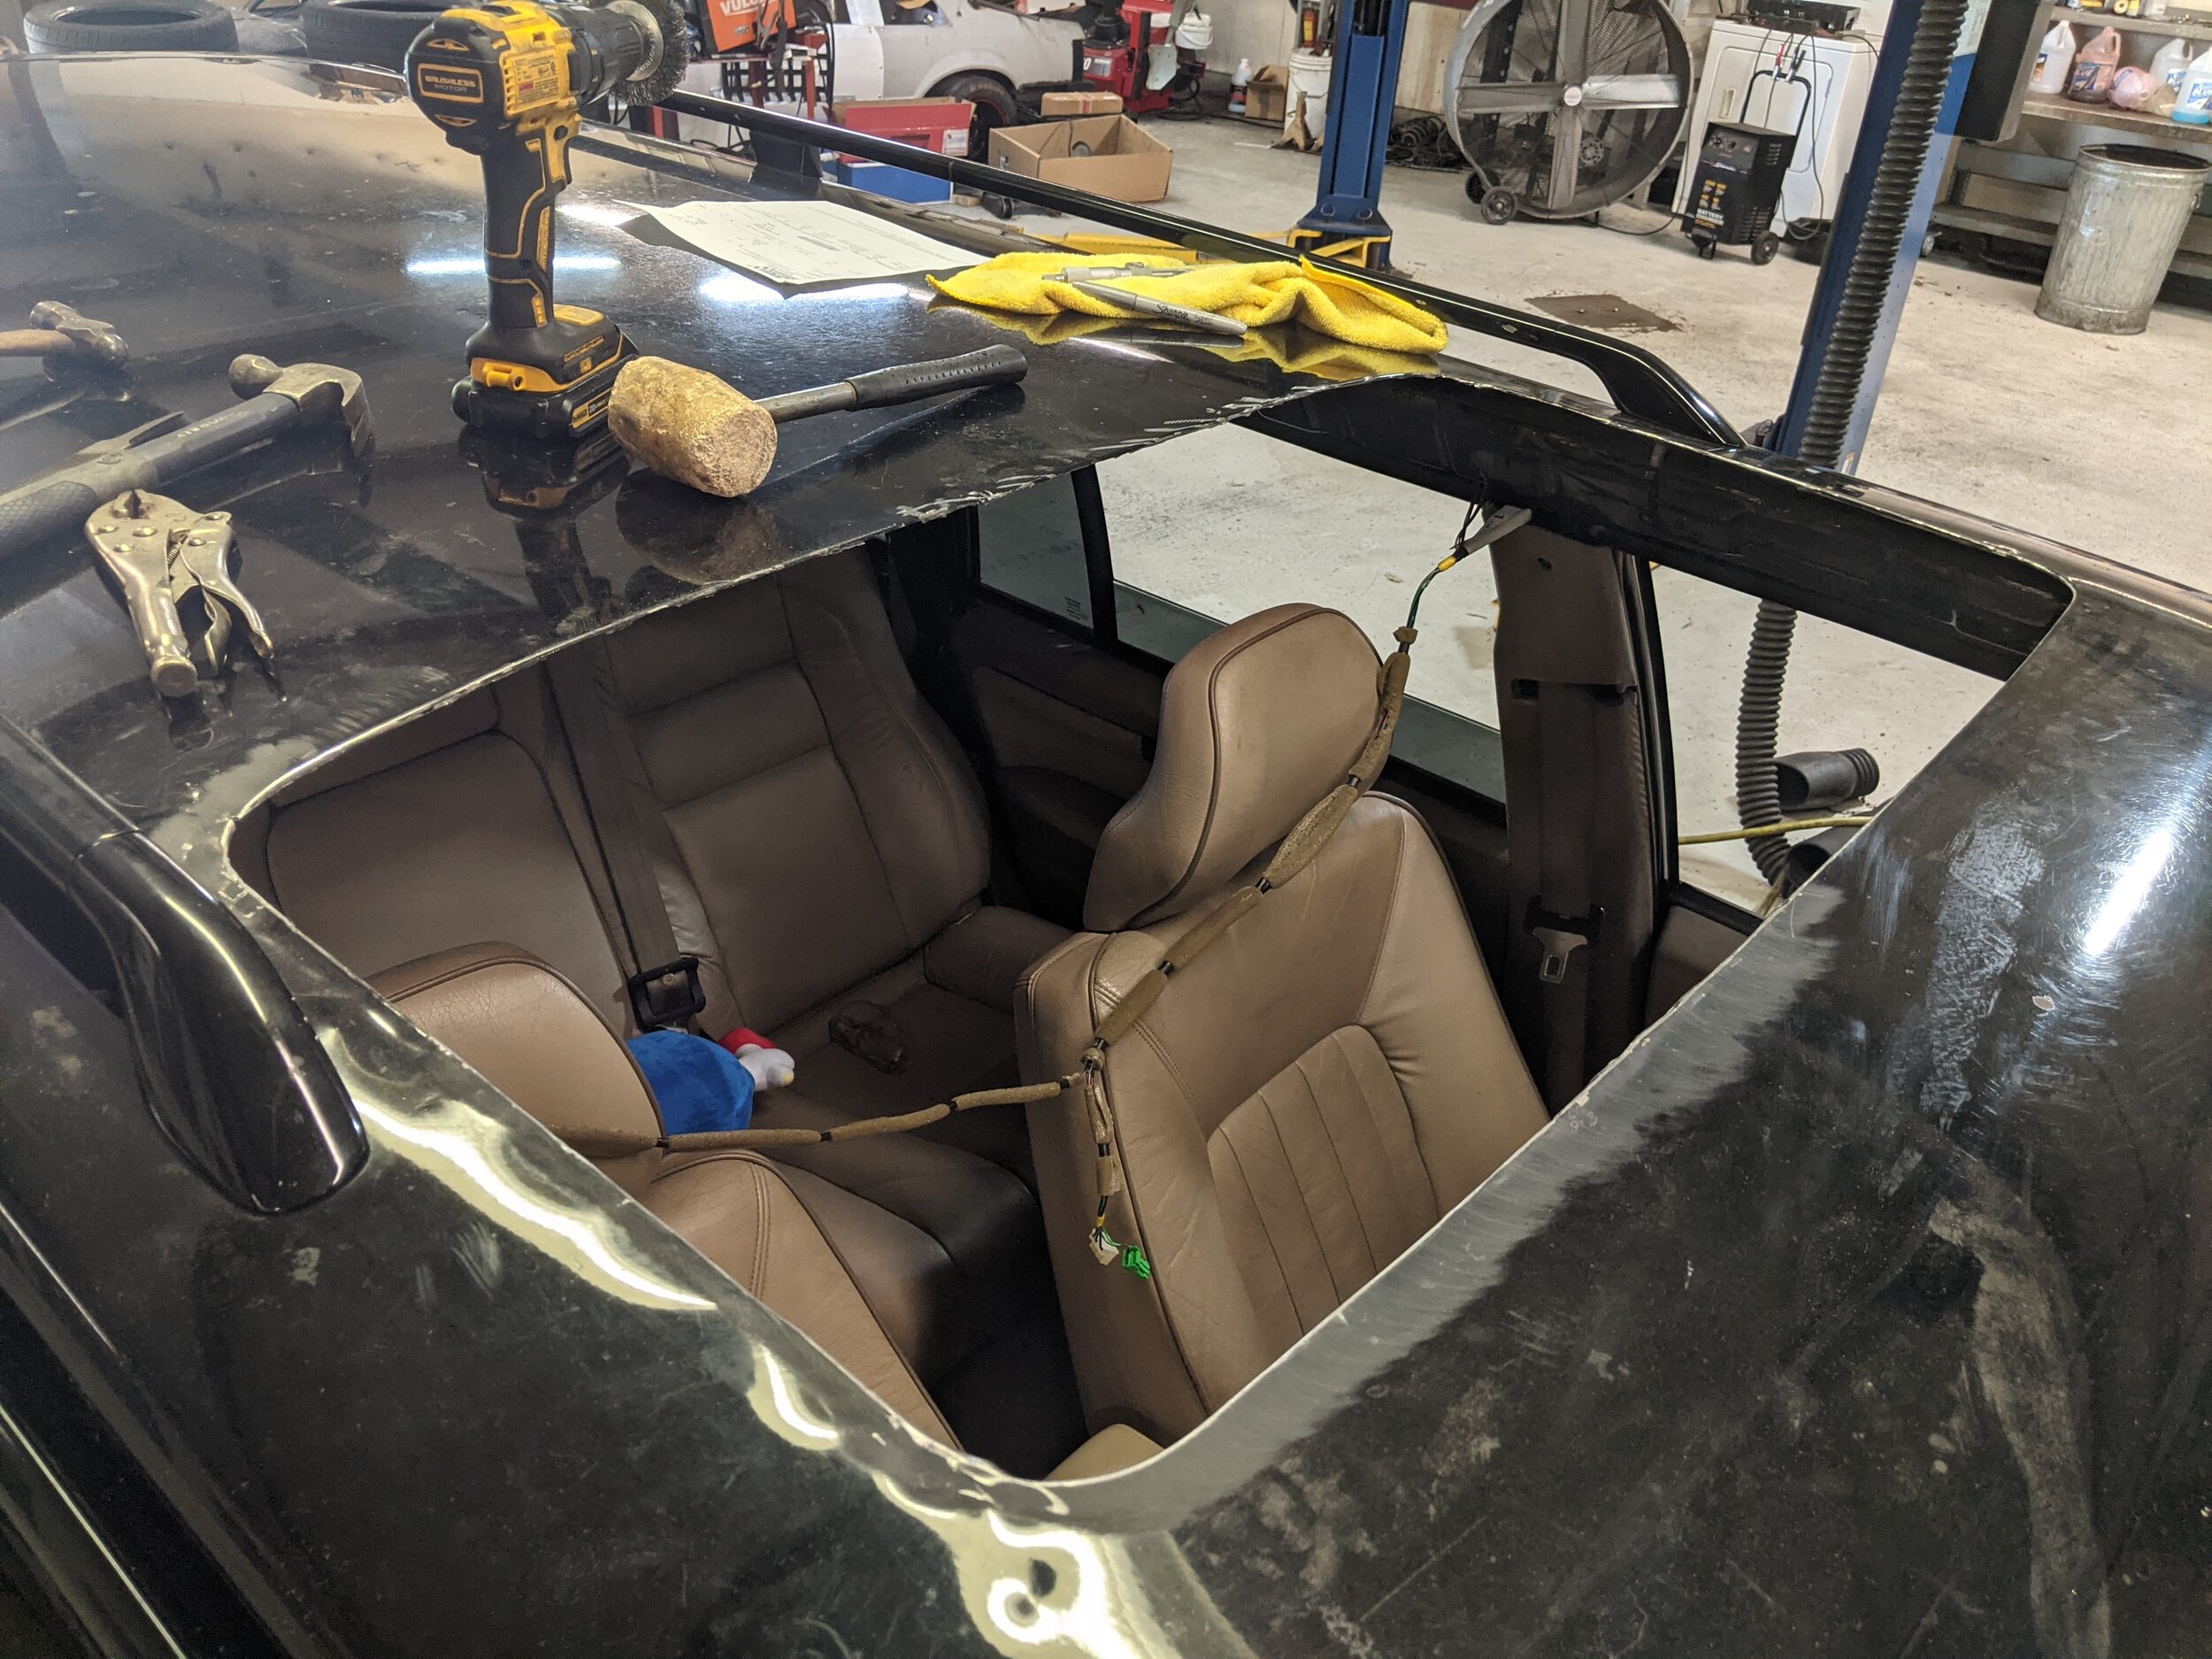
With the supports out, I had reached the first ‘checkpoint’ of the project. However, seeing the big hole in the roof was certainly not very fun. It looked awful, all jagged and bent up. I wondered to myself if it was ever going to turn out the way I wanted.
With the roof out it was time to start devising the plan on how it would all go back together. The sunroof support cage also functioned as the cross member support for the roof skin. Without it the roof is very flexible and tends to bend and distort with any sort of pressure or high winds. A new cross support was needed.
Reusing the old metal seemed to be the best method as the bracket had already been designed to follow the curve of the roof, and sit exactly on the inner roof rails.

With the cross rigidity solved, next was getting a roof panel and designing that to work. However, with how long this post has already become. I will be saving the rest of the write up for part 2. There is a lot more done over what has been pictured, and 90% of what will be in part 2 I already have done. But for my sake, lets keep this one under 2 pages.
Volvo 780 Bertone Project Pt. 2 - Why buying another persons project is the WORST.
Well already 2 months have passed of 2021, and here I am writing an update on my 1987 780 whilst sitting at my cold garage desk. To say this project has gone way deeper than I expected would be an understatement, but it has been a great learning experience along the way. As usual with these “catch up” posts, I will start from the oldest photos I have and work my way up to the present. This allows me to try and cover in-depth what I am doing and why, as well as structure the narrative a bit better. Without any further rambling, lets begin.
Lots of the work on the car so far has been in the engine bay. As expected with a PRV, nothing is quite perfect, and getting replacement parts is no easy task. Many of the parts are standard Volvo and Bosch units, however things like the Fuel Pressure Regulator is a Bosch part shared with a few air-cooled Porsches of the era, making them impossible to find at a reasonable price.

An engine bay detail was in order to really give the car some new life, as well as increase my quality of life while I spent long hours wrenching away.
Finally solving my rough running issues (which still somewhat persist now unfortunately), was a massive research undertaking. One piece I never checked originally was the cars air filter and MAF, a good place to start with any car suffering from performance issues. What I found was something I had never seen before.

Inside the filter housing.

The inside of the Bosch MAF
Let me explain these two photos. At some point Ether was used to try to start the car. Well the resulting backfire from this process caused the air filter to light on fire, which then melted the plastic. This molten plastic, then was sucked through the MAF from the engines vacuum, which coated the inside of the MAF in plastic, completely destroying it. Not once have I ever seen something like this. Thankfully, I was able to source a good used MAF, and trim the melted plastic out of the air filter housing. One problem for the books.
Next I replaced the “thermotimer”, which is Volvos name for the coolant temp. sensor. The unit on the car was original, and most likely as to blame for some of the rough running issues.
Last piece was the fuel pressure regulator, which was leaking significant amounts of fuel into the engine bay as well as past its rubber diaphragm. The old gas in the tank was sucked out as it had expired many years ago, and fresh premium gasoline was added to the tank. The filter was not replaced, however I may do that as well.

Moving on from the engine bay it was in order to clean up some pieces around the chassis that had been overlooked or improperly repaired by the previous owners. When the car was up on the lift it was easy to see that one of the sway bar end links had been damaged at some point, somehow resembling a “J” shape.
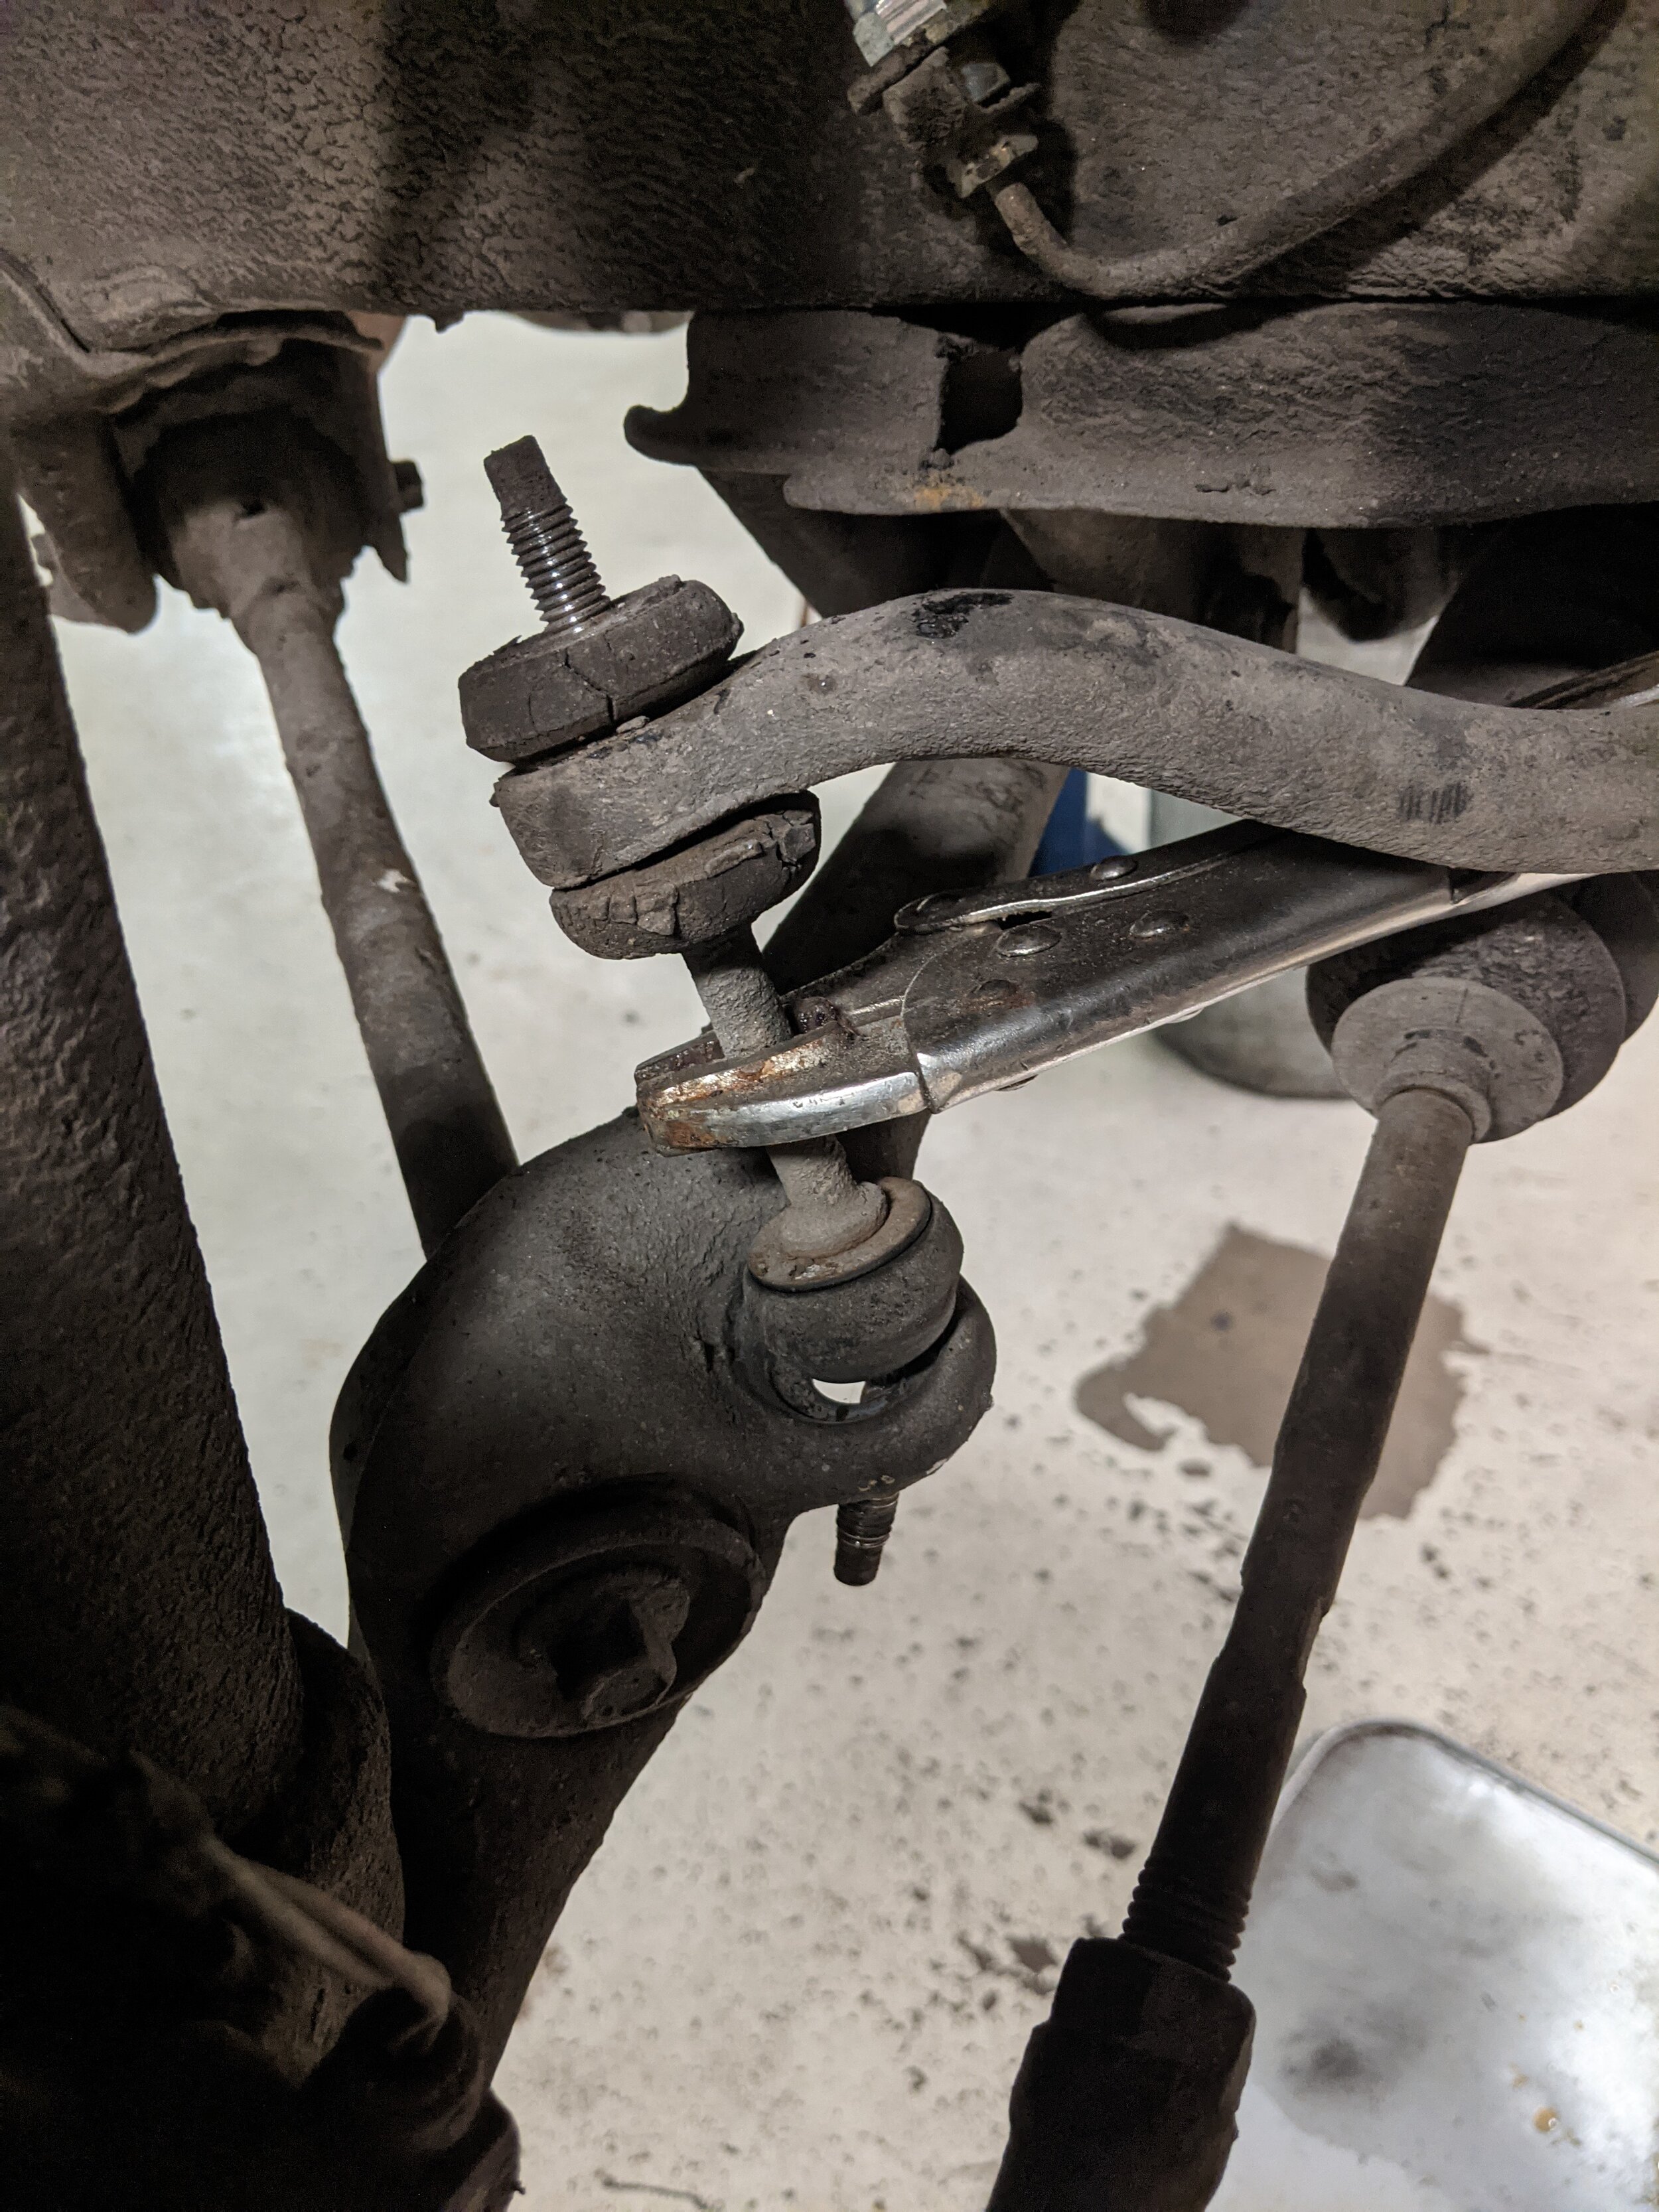
Vice grips were needed to prevent the rusted up end links from free spinning when removing the bolts.

The drivers side vs. passenger side end links.
As you can see from the photos, these were most likely original as well. The bent side was obviously trash and missing the lower bushings as well. Installation of these is actually very straight forward, and doesn’t even use a ball joint like many modern cars. These simply are a threaded rod with 2 bushings on each end to sandwich the chassis and sway bar.
Small details like the gas door cap were also fixed. This one really upset me because of the way it was repaired. These fuel doors were used on many different model Volvos, and a rebuild kit from online suppliers like IPD cost about $10 for a new clip and spring. The previous owner of this car was very liberal with their use of butyl “dumdum” tape.

Rivets and butyl tape…completely unneeded.
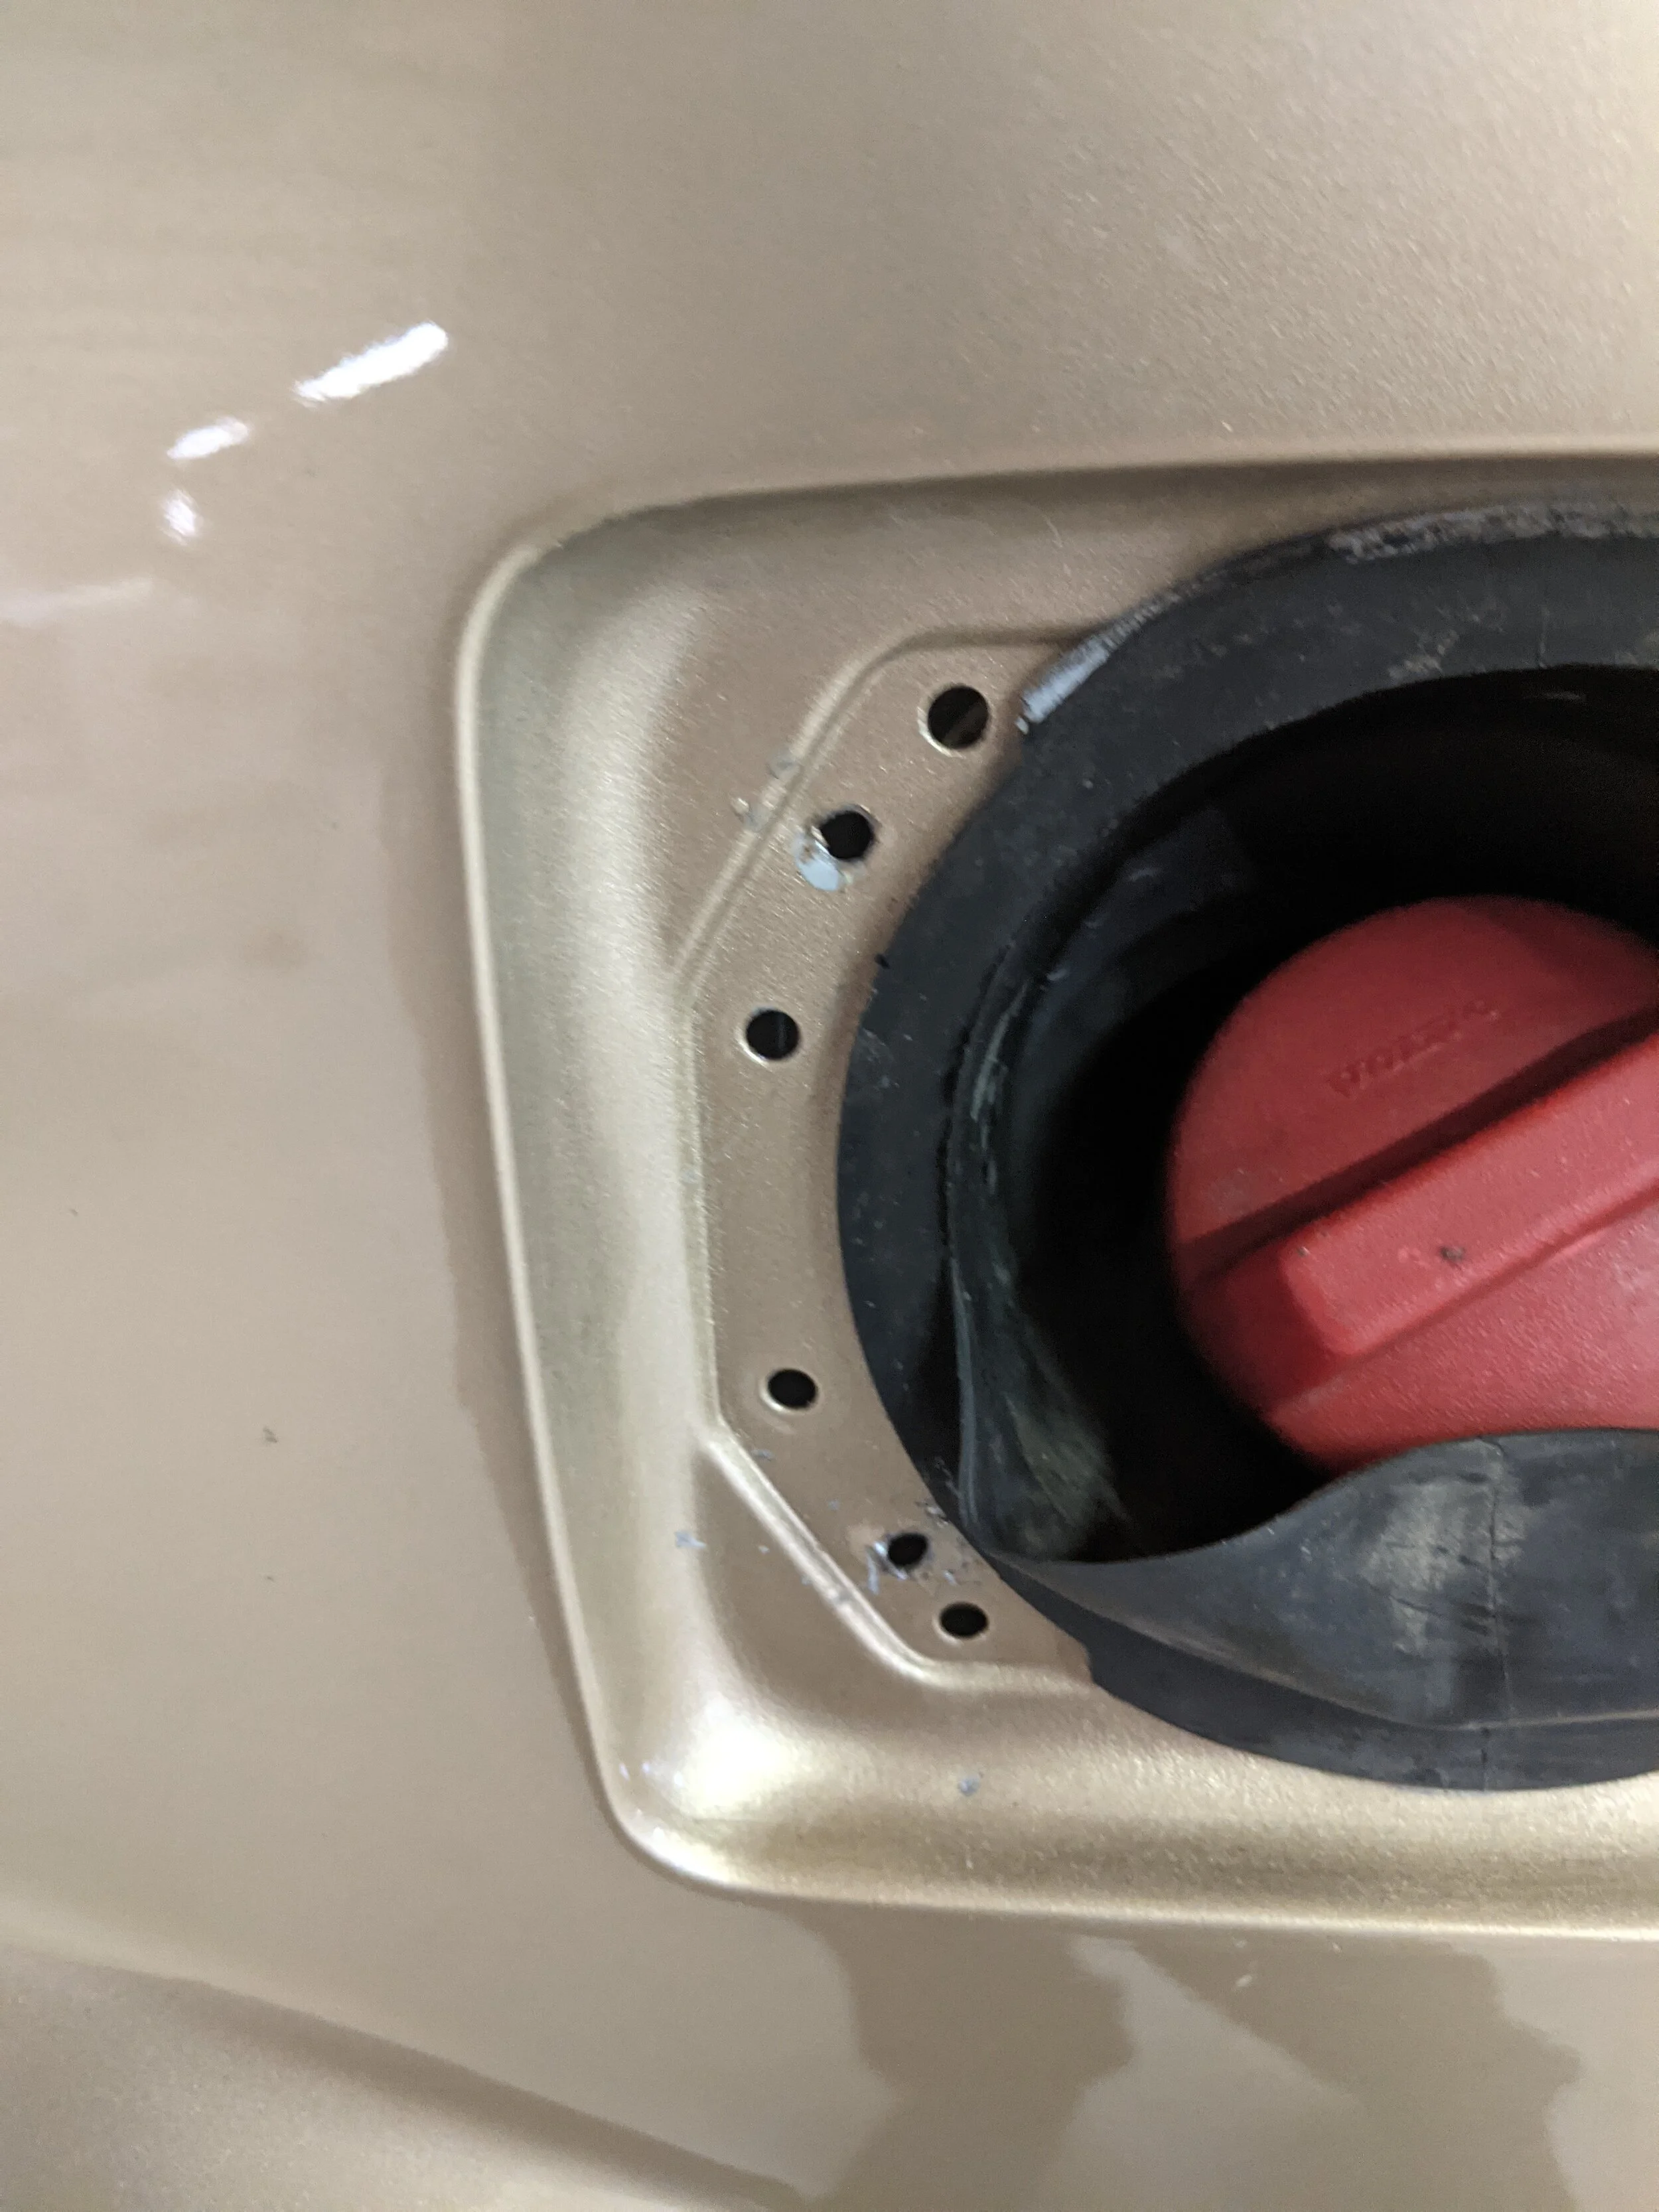
The rivets and tape were carefully removed to not exacerbate the damage they had done any more. The area was then wiped down and I was able to snap the new hinge into place. Its the small details that can really add value and show that the car was properly cared for, not just thrown together. Its these small details that I always strive to fix and improve, especially on a car as rare and collectible as this.
Part 3 should be following this write up soon. I wanted to split this into a few sections as I have a whole writeup on the power seats planned. Lets just say, its not a pretty sight…
Archive
-
2025
- Dec 15, 2025 11-16 Ford Super Duty Remote Start Ultimate DIY Guide Dec 15, 2025
- May 5, 2025 Volvo 700 Series In-Tank Fuel Sender Assemblies - Whats the deal? May 5, 2025
- Apr 28, 2025 Store Update: Shipping Rates and Carriers Apr 28, 2025
- Jan 1, 2025 Cash for Clunkers and Todays Car Marketplace - A Mathematical Analysis on Why Cash For Clunkers Doesn't Matter Anymore. Jan 1, 2025
-
2024
- Nov 25, 2024 11-16 Ford F250 / F350 Super Duty - Definitive Flow-Through Center Console Install Guide Nov 25, 2024
- Jul 30, 2024 13-16 F250 Steering Wheel and Audio Control Upgrade / Retrofit Guide for Dummies Jul 30, 2024
- Mar 13, 2024 Misc. Project - Volvo P3 Desk Chair Mar 13, 2024
- Jan 16, 2024 The Definitive P2 XC90 External Transmission Cooler Writeup Jan 16, 2024
-
2023
- Aug 8, 2023 TFT Display with P3Tool Guide Aug 8, 2023
- Aug 4, 2023 Facility Upgrades and Updates Pt. 2 - Tow Dolly Aug 4, 2023
- Mar 27, 2023 Facility Upgrades and Updates Pt. 1 - John Deere 165 Hydro Restoration Mar 27, 2023
-
2022
- Sep 27, 2022 P3Tool - Volvo Hacking Takes Its Next Big Step Sep 27, 2022
- Aug 25, 2022 Project Nashville Pt. 3 - MOST Excelent! Aug 25, 2022
- Jun 28, 2022 NordCarolina Shop Update! Jun 28, 2022
- Jun 20, 2022 Project Nashville Pt. 2 - Tech Talk Jun 20, 2022
- May 12, 2022 And I Would Drive 500 Miles - Project Nashville Pt. 1 May 12, 2022
- Mar 14, 2022 On life, cars, and business. Mar 14, 2022
-
2021
- Jul 19, 2021 Volvo 960 Project Pt. 6 - Still Alive Jul 19, 2021
- Mar 12, 2021 Volvo 780 Bertone Project Pt. 2 - Why buying another persons project is the WORST. Mar 12, 2021
-
2020
- Dec 7, 2020 Volvo 780 Bertone Project Pt. 1 - In Over My Head Dec 7, 2020
- Dec 7, 2020 Volvo 960 Project Pt. 5 - Taking my time. Dec 7, 2020
- Sep 11, 2020 A Very Volvo September Sep 11, 2020
- May 15, 2020 960 Project Pt. 4 - End of Spring Almost Summer Updates May 15, 2020
- Feb 3, 2020 960 Project Pt. 3 - Always Remember Your Oil Feb 3, 2020
-
2019
- Dec 17, 2019 Nord Carolina - Starting my own E-Commerce Platform for Volvo Enthusiasts Dec 17, 2019
- Nov 20, 2019 960 Project Pt. 2 - I built it one piece at a time... Nov 20, 2019
- Oct 2, 2019 960 Project Pt. 1 - Diving In Oct 2, 2019
- Sep 20, 2019 1997 Volvo 960 Project Pt. 0 - $800 Worth of Headaches Sep 20, 2019
- Aug 3, 2019 VDASH Pt. 2 - Cloud Based Car Tuning Aug 3, 2019
- Jul 2, 2019 VDASH Pt 2. is coming.... Jul 2, 2019
- Apr 1, 2019 VDASH Pt. 1 - A new tool for a modern Volvo hacker Apr 1, 2019
- Mar 18, 2019 2013+ Shifter Retrofit Project Pt. 2 - Reconstruction and Installation Mar 18, 2019
- Feb 17, 2019 2013+ Shifter Retrofit Project Pt. 1 - Preparation and Disassembly Feb 17, 2019
- Feb 2, 2019 The P3 Common & Uncommon Repairs Documentation Project Feb 2, 2019
-
2018
- Dec 28, 2018 Mini-Post: New side skirt. Dec 28, 2018
- Dec 8, 2018 Driveability and Performance Report: December 2018 Dec 8, 2018
- Oct 8, 2018 Audio Modules & The Return to Boostmoose Oct 8, 2018
- Jul 28, 2018 The Final Report: 850R Beauty Shots Jul 28, 2018
- Jul 17, 2018 Mid-July Summer Update Jul 17, 2018
- May 15, 2018 Summer Progress Update May 15, 2018
- Apr 1, 2018 850R - Stage 0 Dreams Pt. 2 Apr 1, 2018
- Mar 18, 2018 850R - 960 Throttle Body Upgrade pt. 1 Mar 18, 2018
- Mar 14, 2018 850R - Seat Restoration Mar 14, 2018
- Jan 18, 2018 S60R - Wrap Repair + Driving the Eastern Shore Jan 18, 2018
- Jan 1, 2018 S60R - Vinyl Wrap Jan 1, 2018
-
2017
- Dec 4, 2017 850R - Better and Brighter Tail Light Installation Dec 4, 2017
- Dec 4, 2017 S60R - Holiday Charity Laps at Virginia International Raceway Dec 4, 2017
- Nov 16, 2017 850R - Junkyard Pulls for Performance & New Rear Lights Nov 16, 2017
- Nov 15, 2017 S60R - Scheduled maintenance.....yawn. Nov 15, 2017
- Nov 3, 2017 850R - Stage 0 Dreams Pt. 1 Nov 3, 2017
- Nov 1, 2017 850R - Firestone Fixes CV Axle while Suspension Nears Completion Nov 1, 2017
- Oct 28, 2017 850R - Axle Removal and CV Boots Halt Progress Oct 28, 2017
- Oct 27, 2017 850R - Air Tool Woes and Broken Brakes Oct 27, 2017